Table of Contents
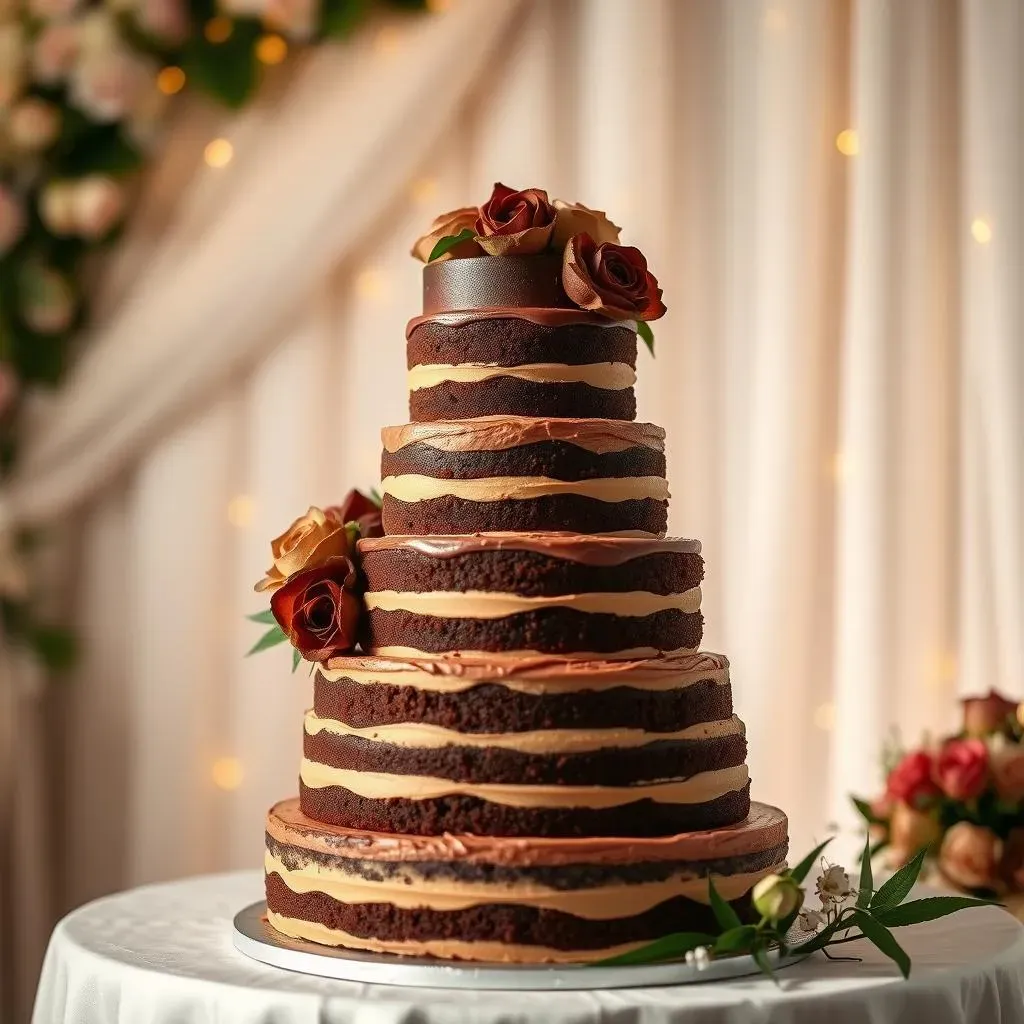
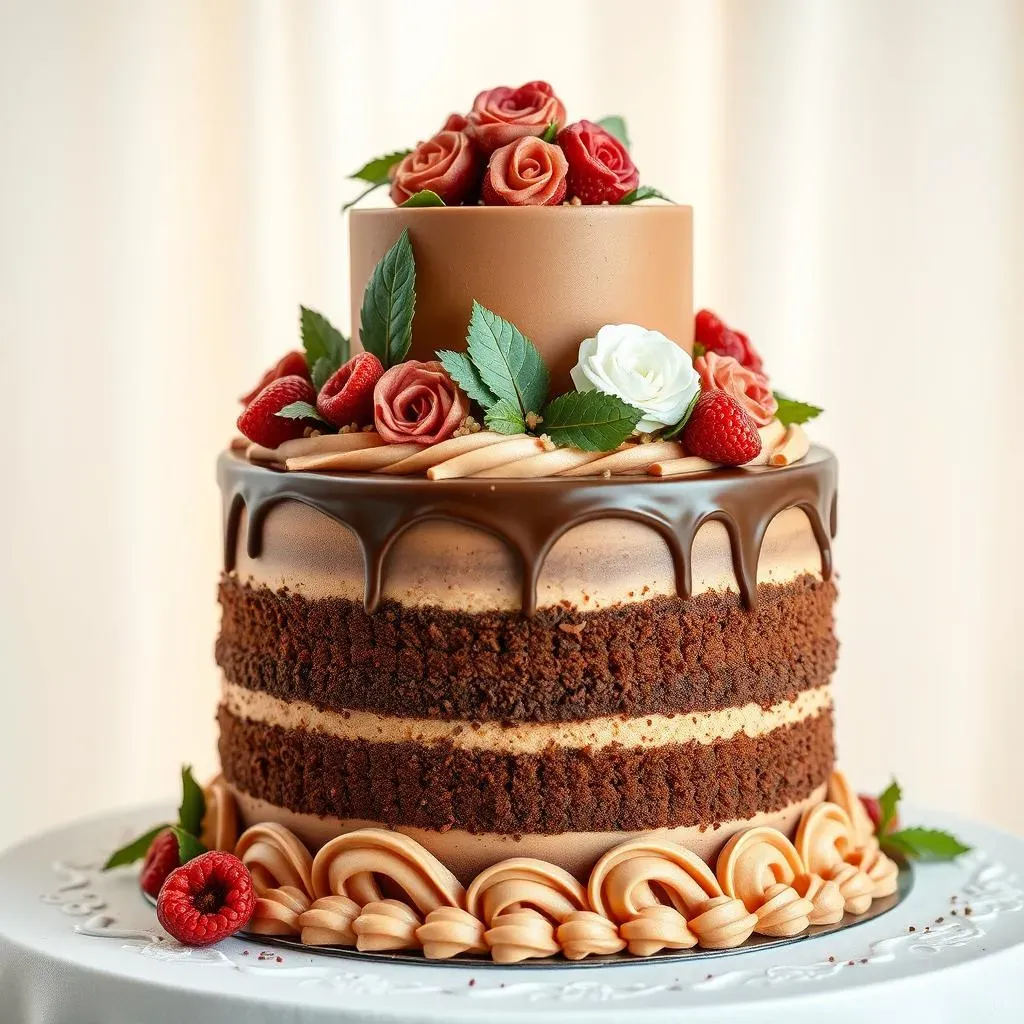
Planning a wedding? Let's talk cake! Forget the stress of finding the perfect centerpiece because we're diving headfirst into creating your own unforgettable confection. If you're on the hunt for the best chocolate cake recipe for wedding cake, you've landed in the right place. This isn't just another recipe; it's your guide to a moist, decadent, and structurally sound chocolate cake that will wow your guests and serve as the delicious foundation for your special day.
Why This is the Best Chocolate Cake Recipe for a Wedding Cake
Why This is the Best Chocolate Cake Recipe for a Wedding Cake
The Perfect Balance of Flavor and Structure
When it comes to wedding cakes, you need a recipe that delivers on both taste and stability. This chocolate cake recipe isn't just about creating a delicious dessert; it's about building a foundation for memories. It strikes that elusive balance between a rich, intense chocolate flavor that everyone will love and a sturdy crumb that can handle stacking, frosting, and all the decorative elements that make a wedding cake special. Forget about cakes that crumble or collapse; this recipe is engineered for success.
Moisture Without Sacrificing Stability
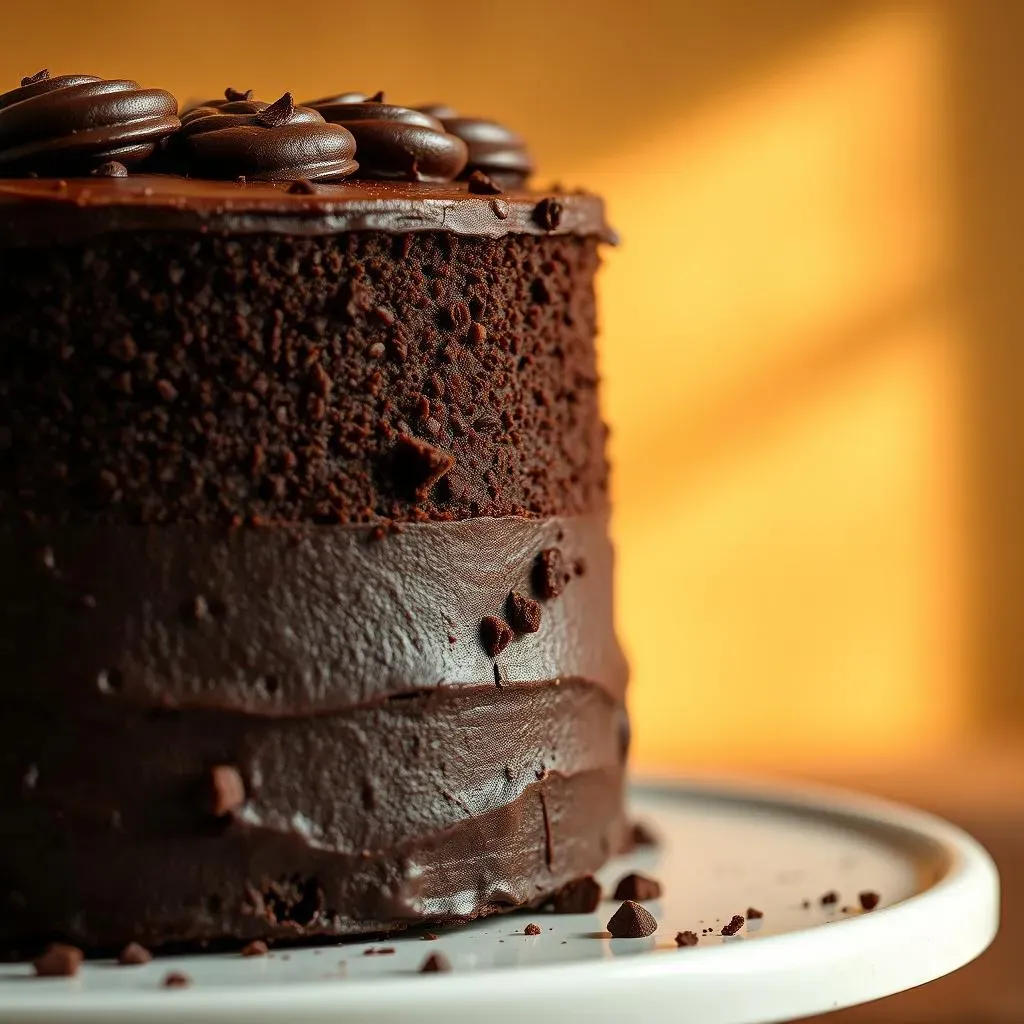
Ever had a chocolate cake that was either dry and crumbly or so moist it turned to mush? This recipe solves that problem. The secret lies in the careful ratio of wet to dry ingredients and the use of techniques like blooming the cocoa powder in hot water. This process unlocks the full potential of the cocoa, intensifying the chocolate flavor and creating a moist, tender crumb that still has enough structure to support multiple tiers. It's the best of both worlds!
Adaptable to Different Sizes and Styles
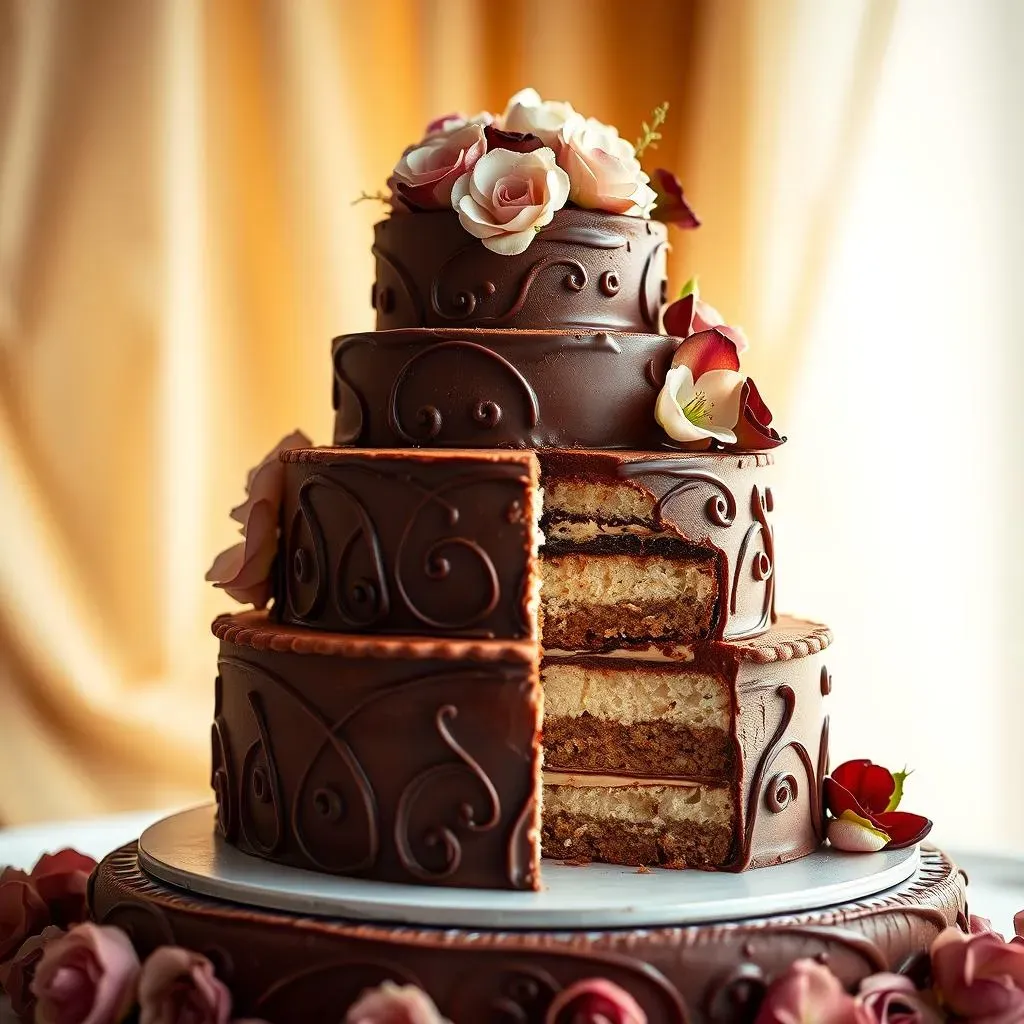
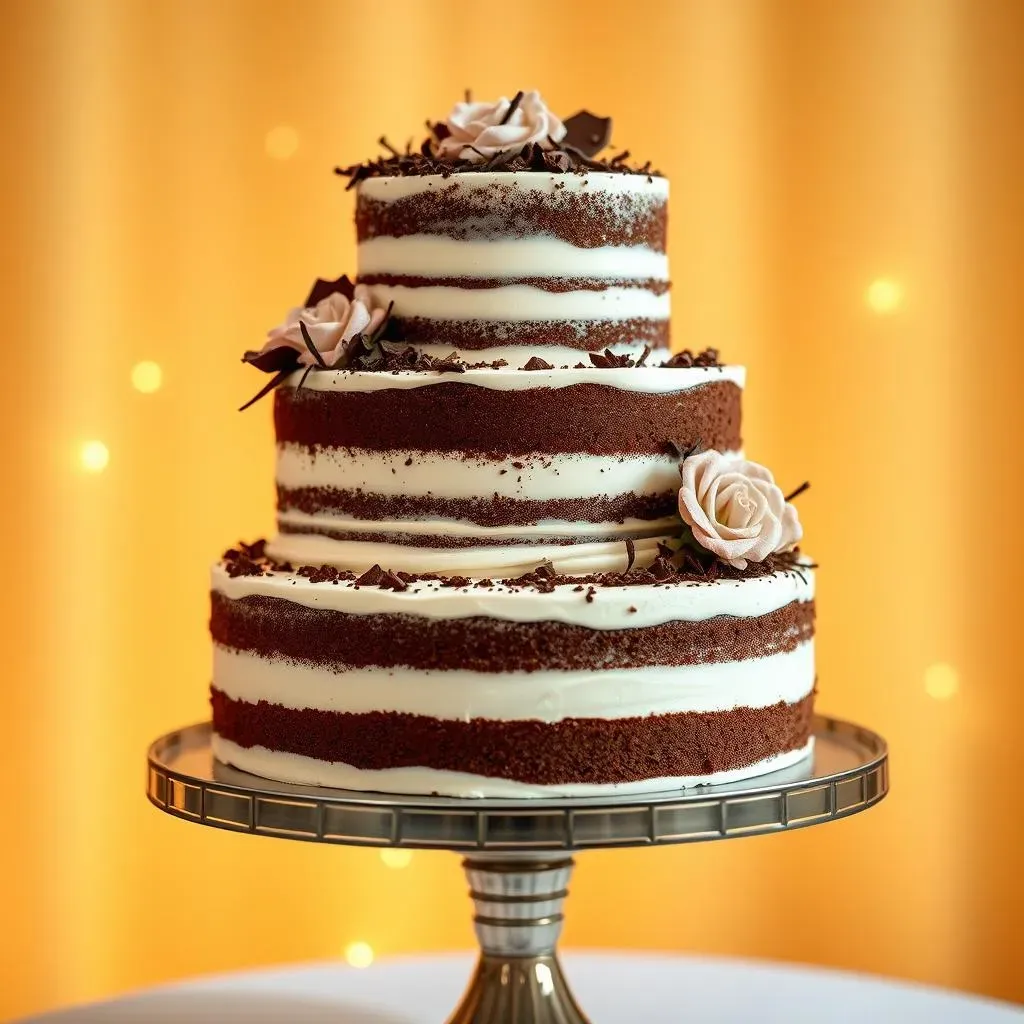
Whether you're planning a small, intimate gathering or a grand celebration, this chocolate cake recipe can be easily adapted to fit your needs. The recipe provides instructions for both 6-inch and 8-inch pans, and it's simple to scale up or down depending on the number of guests you're expecting. Plus, the cake's sturdy structure makes it ideal for a variety of decorating styles, from classic buttercream to elegant fondant. It's a versatile canvas for your wedding cake dreams.
Pan Size | Approximate Servings |
|---|---|
6-inch | 12-16 |
8-inch | 20-24 |
Achieving the Perfect Taste and Texture: A Deep Dive into This Chocolate Cake Recipe
Achieving the Perfect Taste and Texture: A Deep Dive into This Chocolate Cake Recipe
The Magic of Dutch Process Cocoa
Let's get into the nitty-gritty of what makes this chocolate cake recipe so divine. The star of the show is undoubtedly Dutch process cocoa. Unlike natural cocoa, Dutch process cocoa is treated with an alkaline solution, which mellows its acidity, darkens its color, and gives it a smoother, more rounded flavor. This translates to a chocolate cake that's rich, deep, and never bitter. It's the secret weapon for achieving that perfect chocolate intensity.
Also, blooming the cocoa in hot water or coffee before adding it to the batter is an important step. This process further enhances the flavor and ensures that the cocoa is fully dissolved, preventing any gritty texture in the final cake. It's a small step that makes a big difference.
The Role of Fat and Sugar
Fat and sugar aren't just about sweetness and richness; they play a crucial role in the cake's texture. The butter in this recipe contributes to a tender crumb and a moist mouthfeel. Creaming the butter and sugar together creates air pockets, which lighten the batter and result in a cake that's both fluffy and decadent. The sugar also helps to retain moisture, preventing the cake from drying out during baking.
A balanced amount of sugar is also key. Too much, and the cake will be overly sweet and potentially collapse. Too little, and it will be dry and dense. This recipe strikes the perfect balance, resulting in a cake that's sweet enough to satisfy your sweet tooth but not so sweet that it overwhelms the chocolate flavor.
The Importance of Wet-to-Dry Ratio
Baking is a science, and the ratio of wet to dry ingredients is one of the most important factors in determining the final texture of your cake. Too much liquid, and the cake will be soggy and dense. Too little, and it will be dry and crumbly. This recipe is carefully formulated to ensure the perfect balance, resulting in a cake that's moist, tender, and has a beautiful crumb.
Also, the use of buttermilk or sour cream adds extra moisture and tanginess, which complements the richness of the chocolate. These ingredients also help to tenderize the gluten in the flour, resulting in a cake that's incredibly soft and delicate.
Ingredient | Role in Texture |
|---|---|
Dutch Process Cocoa | Rich flavor, moistness |
Butter | Tender crumb, moistness |
Buttermilk/Sour Cream | Moisture, tanginess, tenderizes gluten |
Baking Your Dream Chocolate Wedding Cake: Pan Sizes and Adjustments
Baking Your Dream Chocolate Wedding Cake: Pan Sizes and Adjustments
Choosing the Right Pan Size for Your Wedding Cake
so you've got the best chocolate cake recipe for wedding cake, now let's talk pans! The size of your cake pans will directly impact the number of servings you get, so it's crucial to choose wisely. Think about your guest count and how many tiers you want your cake to have. A single 6-inch cake might be perfect for a small, intimate wedding, while a multi-tiered masterpiece with 8-inch and 10-inch layers will feed a larger crowd.
Also, consider the height of your pans. Deeper pans will give you taller cake layers, which can be visually stunning, but they may also require longer baking times. Shallower pans, on the other hand, will bake more quickly and evenly. Experimenting with different pan sizes and heights is key to finding what works best for your vision.
Adjusting Baking Times for Different Pan Sizes
Once you've chosen your pan size, you'll need to adjust the baking time accordingly. Smaller cakes will bake more quickly, while larger cakes will require more time in the oven. Start by checking the cake for doneness about 5-10 minutes before the recipe's recommended baking time. Insert a cake tester or toothpick into the center of the cake; if it comes out clean or with a few moist crumbs, the cake is done. If it comes out with wet batter, continue baking and check again every few minutes.
Also, keep in mind that oven temperatures can vary, so it's always a good idea to use an oven thermometer to ensure accuracy. A consistent oven temperature is essential for even baking and preventing your cake from drying out or burning.
Leveling and Preparing Your Cake Layers
Before you start frosting and decorating, it's important to level your cake layers. This will ensure that your cake is stable and that each tier sits evenly on top of the others. Use a serrated knife or a cake leveler to carefully trim the tops of the cake layers, removing any domes or unevenness. You want a flat, even surface to work with.
Also, consider wrapping your cake layers in plastic wrap and chilling them in the refrigerator for at least an hour before frosting. This will make them easier to handle and prevent them from crumbling. A cold cake is a happy cake!
Pan Size | Approximate Baking Time |
|---|---|
6-inch | 25-30 minutes |
8-inch | 30-35 minutes |
10-inch | 35-40 minutes |
Ingredients and Substitutions: Crafting Your Ideal Chocolate Cake Recipe
Ingredients and Substitutions: Crafting Your Ideal Chocolate Cake Recipe
Dutch Process Cocoa vs. Natural Cocoa: Understanding the Difference
let's talk cocoa! As we mentioned, Dutch process cocoa is the MVP for this best chocolate cake recipe for wedding cake, but what if you only have natural cocoa on hand? Don't panic! You can still make a delicious cake, but you'll need to make a few adjustments. Natural cocoa is more acidic than Dutch process, so it will react differently with the baking soda in the recipe. If you substitute natural cocoa, reduce the amount of baking soda by half and add an equal amount of baking powder. This will help to balance the acidity and ensure that your cake rises properly.
Also, keep in mind that natural cocoa has a lighter color and a more intense, slightly bitter flavor than Dutch process. Your cake will be a bit lighter in color and have a more pronounced cocoa taste, but it will still be delicious. Experimenting with different types of cocoa is a fun way to customize your cake and find your perfect chocolate flavor profile.
Flour Power: All-Purpose vs. Cake Flour
Flour is the backbone of any cake, but not all flours are created equal. All-purpose flour is a versatile option that works well in most cakes, but if you want an even more tender and delicate crumb, consider using cake flour. Cake flour has a lower protein content than all-purpose flour, which means it will produce less gluten, resulting in a softer texture. If you substitute cake flour for all-purpose flour, use the same amount, but be careful not to overmix the batter, as this can still develop the gluten and make the cake tough.
Alternatively, if you only have bread flour on hand, you can still use it, but you'll need to make some adjustments to compensate for its high protein content. Try reducing the amount of flour by a tablespoon or two and adding a bit more liquid to the batter. This will help to prevent the cake from becoming too dense or chewy.
Sweet Alternatives: Sugar Substitutions for Dietary Needs
Got guests with dietary restrictions? No problem! There are plenty of sugar substitutes that you can use in this chocolate cake recipe. For a lower-sugar option, try using a sugar substitute like erythritol or stevia. Keep in mind that these substitutes may not brown as well as regular sugar, so your cake might be a bit lighter in color. You may also need to adjust the amount of liquid in the recipe, as some sugar substitutes can be drying.
Alternatively, if you're looking for a more natural sweetener, try using honey or maple syrup. These sweeteners will add a unique flavor to your cake, so be sure to choose one that complements the chocolate. You'll also need to reduce the amount of liquid in the recipe, as honey and maple syrup are already quite moist. Experimenting with different sweeteners is a great way to create a cake that's both delicious and healthy.
Ingredient | Substitution | Notes |
|---|---|---|
Dutch Process Cocoa | Natural Cocoa | Reduce baking soda, add baking powder |
All-Purpose Flour | Cake Flour | Be careful not to overmix |
Sugar | Erythritol/Stevia | May need to adjust liquid |
StepbyStep Guide to Baking the Best Chocolate Cake Recipe for Your Wedding
StepbyStep Guide to Baking the Best Chocolate Cake Recipe for Your Wedding
Get Your Mise en Place Ready
Alright, let's get baking! The first step to any successful recipe, especially when you're aiming for the best chocolate cake recipe for wedding cake, is to get your "mise en place" in order. That's fancy chef talk for having all your ingredients measured out and ready to go. Trust me, there's nothing worse than realizing you're out of eggs halfway through mixing the batter. Preheat your oven to 350°F (175°C) and grease and flour your cake pans. I like to use parchment paper rounds in the bottom for extra insurance against sticking.
Measure out your flour, sugar, cocoa powder, baking soda, baking powder, and salt into a bowl and whisk them together. This ensures that everything is evenly distributed. In a separate bowl, whisk together your eggs, buttermilk (or sour cream), melted butter, and vanilla extract. And don't forget to bloom your Dutch process cocoa in hot water or coffee – this is a game-changer for flavor! Having everything prepped and ready will make the baking process smooth and stress-free.
Mixing the Batter: The Key to a Perfect Crumb
Now for the fun part – mixing the batter! In a large bowl, cream together the softened butter and sugar until light and fluffy. This step is crucial for creating air pockets, which will give your cake a light and tender crumb. Gradually add the dry ingredients to the wet ingredients, alternating with the bloomed cocoa mixture, beginning and ending with the dry ingredients. Mix until just combined; be careful not to overmix, as this can develop the gluten in the flour and make the cake tough. Overmixing is a cardinal sin in cake baking!
Once the batter is mixed, divide it evenly between your prepared cake pans. I like to use a kitchen scale to ensure that each pan has the same amount of batter. This will help your cakes bake evenly and prevent one layer from being taller than the others. Smooth the tops of the batter with a spatula and pop them into the preheated oven.
Baking and Cooling: Patience is a Virtue
Bake the cakes for 25-35 minutes, or until a cake tester inserted into the center comes out clean or with a few moist crumbs. Baking times will vary depending on your oven and the size of your cake pans, so it's important to keep an eye on them. Once the cakes are done, remove them from the oven and let them cool in the pans for 10-15 minutes before inverting them onto a wire rack to cool completely. Resist the urge to cut into them while they're still warm – patience is key!
Once the cakes are completely cool, wrap them tightly in plastic wrap and chill them in the refrigerator for at least an hour before frosting. This will make them easier to handle and prevent them from crumbling. And there you have it – perfectly baked chocolate cake layers, ready to be transformed into a stunning wedding cake!
Step | Description |
|---|---|
1 | Preheat oven, grease and flour pans |
2 | Whisk dry ingredients together |
3 | Whisk wet ingredients together |
4 | Cream butter and sugar |
5 | Combine wet and dry ingredients |
6 | Divide batter evenly between pans |
7 | Bake until done |
8 | Cool completely before frosting |
Your Dream Chocolate Wedding Cake Awaits
So, there you have it: your comprehensive guide to crafting the best chocolate cake recipe for wedding cake. Armed with this knowledge, you're well-equipped to bake a cake that not only tastes incredible but also stands tall as a symbol of your special day. Remember, baking is as much about the experience as it is about the final product. Embrace the process, experiment with flavors, and most importantly, have fun creating a cake that reflects your unique love story. Here's to a lifetime of happiness and delicious cake!