Table of Contents
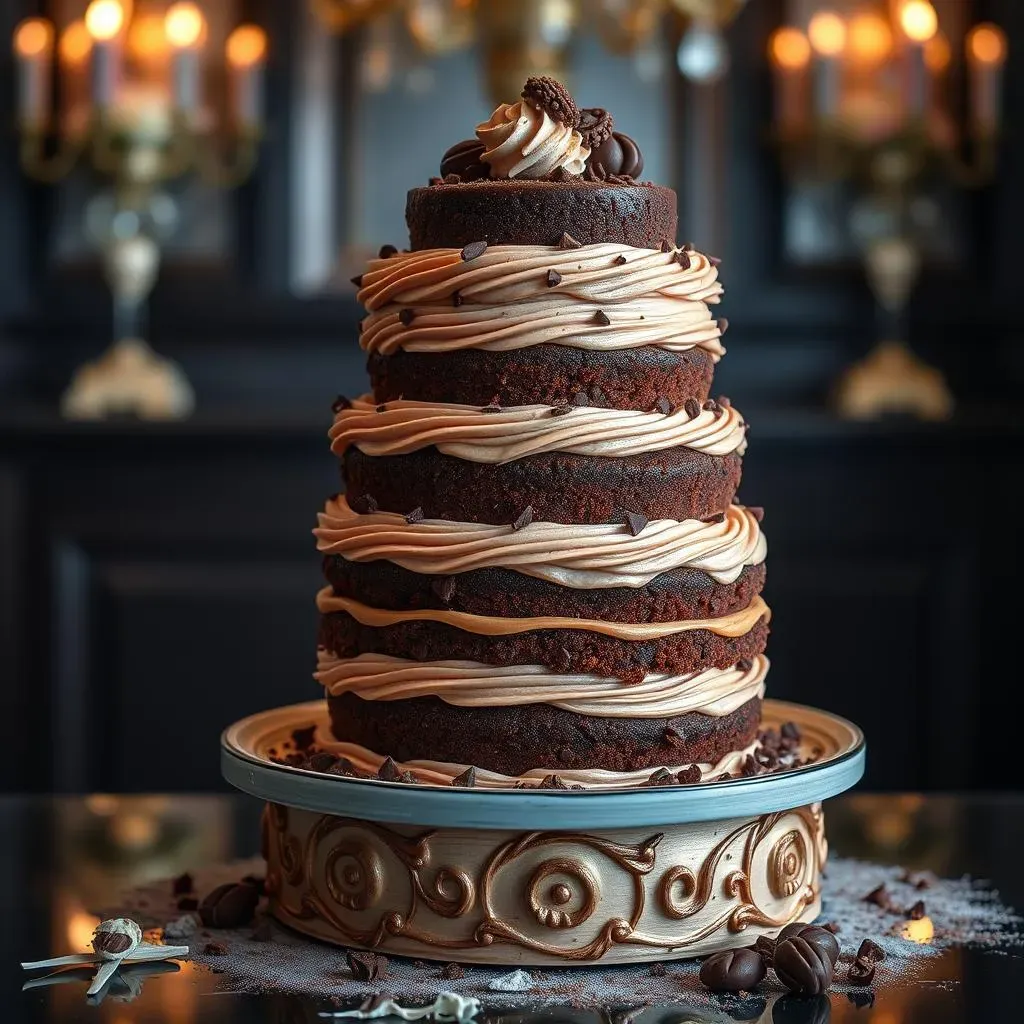
Craving a show-stopping centerpiece for your next celebration? Look no further! We all know that finding the best chocolate cake recipe for tiered cakes can feel like searching for a unicorn. You want a cake that's rich and decadent, but also sturdy enough to hold its own under layers of frosting and decorations. This isn't just any chocolate cake; it's your ticket to creating a multi-tiered masterpiece that will wow your guests. In this guide, we're diving deep into a recipe that hits all the right notes: moist, fluffy, intensely chocolatey, and strong enough to stack without collapsing. We'll walk you through selecting the perfect ingredients, mastering the baking process, and troubleshooting common issues. Get ready to unleash your inner cake artist and bake a tiered cake that's as delicious as it is impressive. Let's get baking!
Why This is the Best Chocolate Cake Recipe for Tiered Cakes
Why This is the Best Chocolate Cake Recipe for Tiered Cakes
let's get real about cake. You've probably seen those Pinterest-perfect tiered cakes and wondered how they even exist. The secret? It's not just about frosting skills; it starts with the right cake recipe. This chocolate cake recipe isn't just "good," it's engineered for tiered cake success. What makes it stand out from the hundreds of other chocolate cake recipes out there?
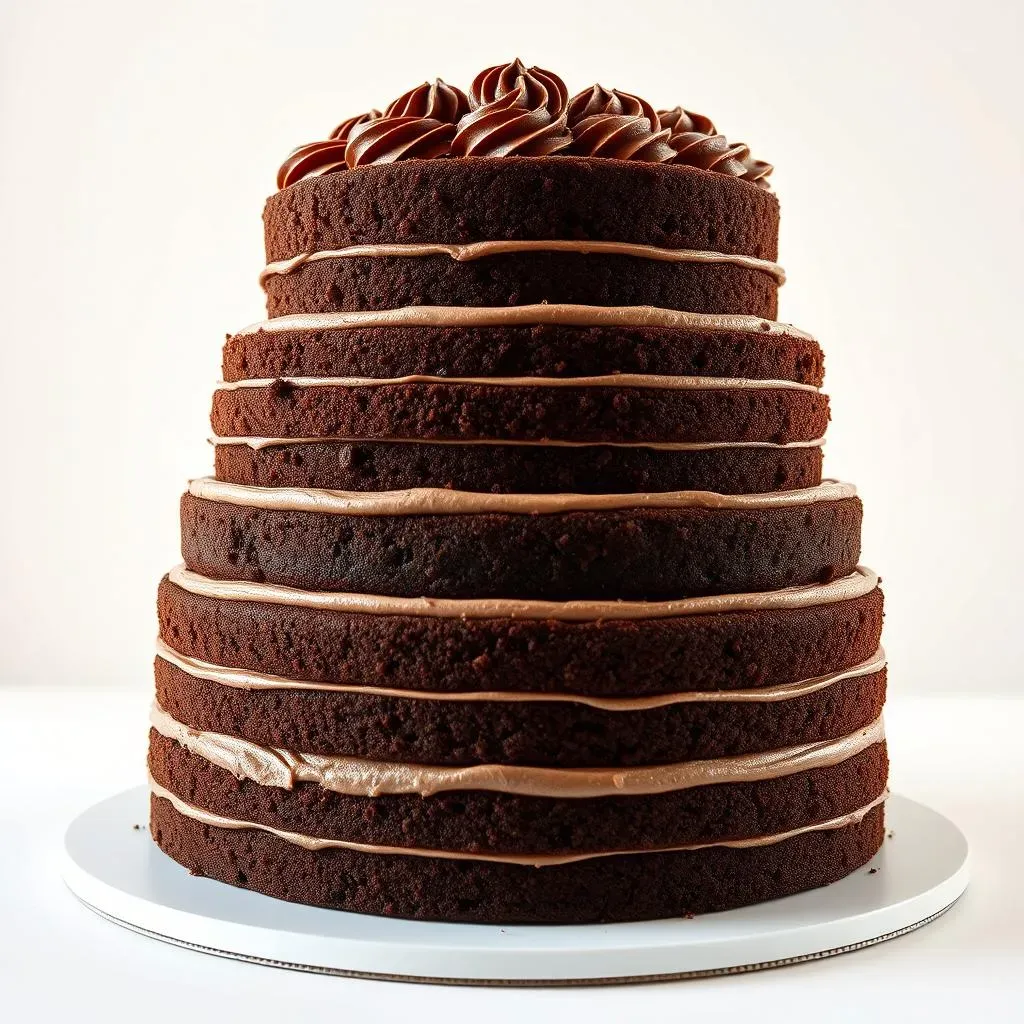
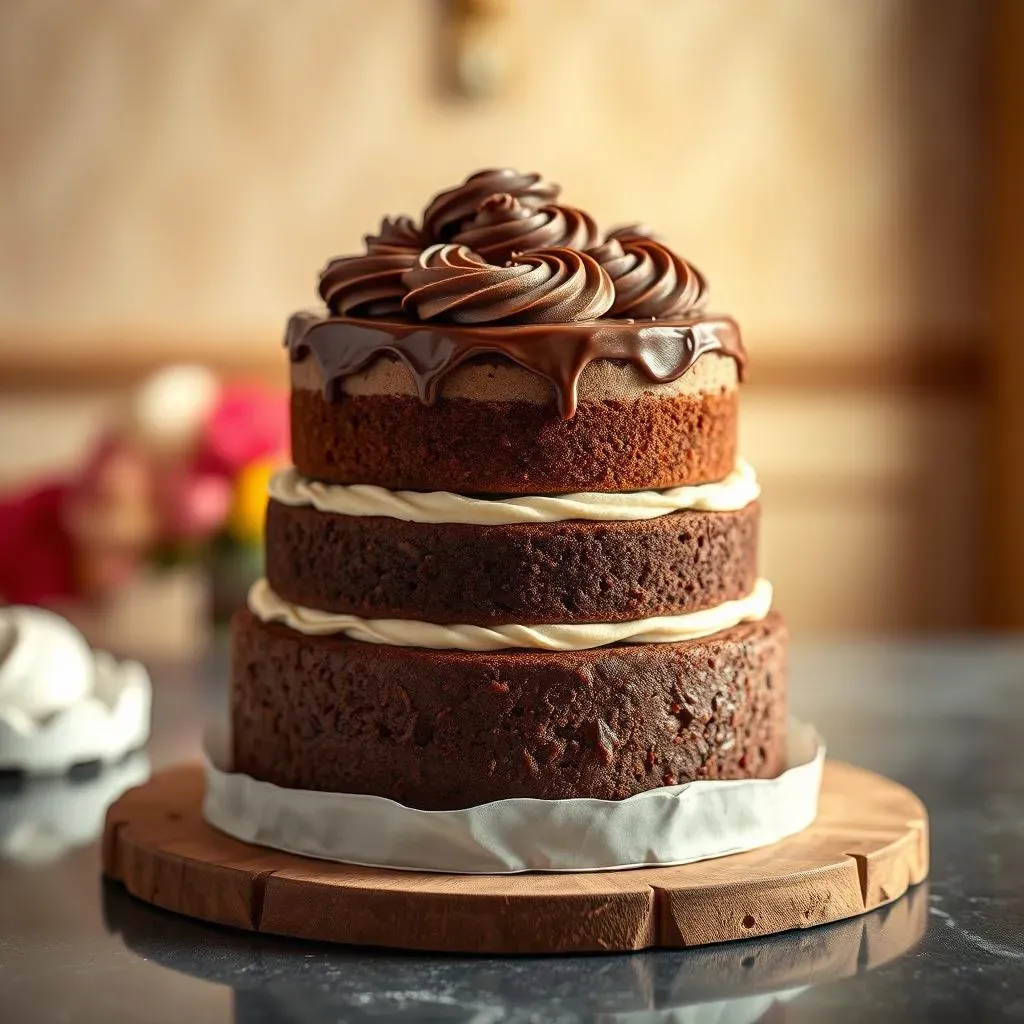
- Structure: It's got the backbone to support multiple layers without collapsing into a chocolatey mess.
- Moisture: No one wants a dry, crumbly cake, especially when you're serving a fancy tiered creation. This recipe delivers a moist, tender crumb that stays fresh for days.
- Flavor: It's intensely chocolatey, thanks to a few key ingredients and techniques we'll dive into later.
- Reliability: This recipe has been tested and tweaked to perfection, so you can trust it to deliver consistent results every time.
Think of it this way: you wouldn't build a skyscraper on a shaky foundation, right? The same goes for tiered cakes. This recipe provides that solid foundation, ensuring your masterpiece looks as amazing as it tastes. It's about having the confidence that your cake won't let you down, no matter how elaborate your design.
Key Ingredients for a Sturdy Chocolate Tiered Cake
Key Ingredients for a Sturdy Chocolate Tiered Cake
Flour Power: Choosing the Right Type
let's talk flour. Not all flour is created equal, especially when you're aiming for a sturdy cake. For this recipe, we're using cake flour. Why? Because it has a lower protein content than all-purpose flour. That lower protein means less gluten development, which translates to a more tender crumb. And trust me, no one wants a tough chocolate cake.
But here's the thing: you need some structure. That's where the balance comes in. Cake flour provides the tenderness, while the other ingredients work together to create the necessary support. Think of it as the foundation of your cake's structural integrity.
If you absolutely have to substitute, you can use all-purpose flour, but be careful not to overmix the batter. Overmixing develops gluten, leading to a denser, less tender cake. And nobody wants that!
Chocolate Intensity: Cocoa and More
Now, for the star of the show: chocolate! This recipe calls for Dutch-processed cocoa powder. Dutch-processed cocoa has a more mellow flavor and a darker color than natural cocoa. It also reacts differently with baking soda, resulting in a more stable cake structure.
Want to really amp up the chocolate flavor? Add a touch of espresso powder. It won't make your cake taste like coffee, but it will enhance the chocolate notes, making them richer and more complex. It's like a secret weapon for chocolate lovers.
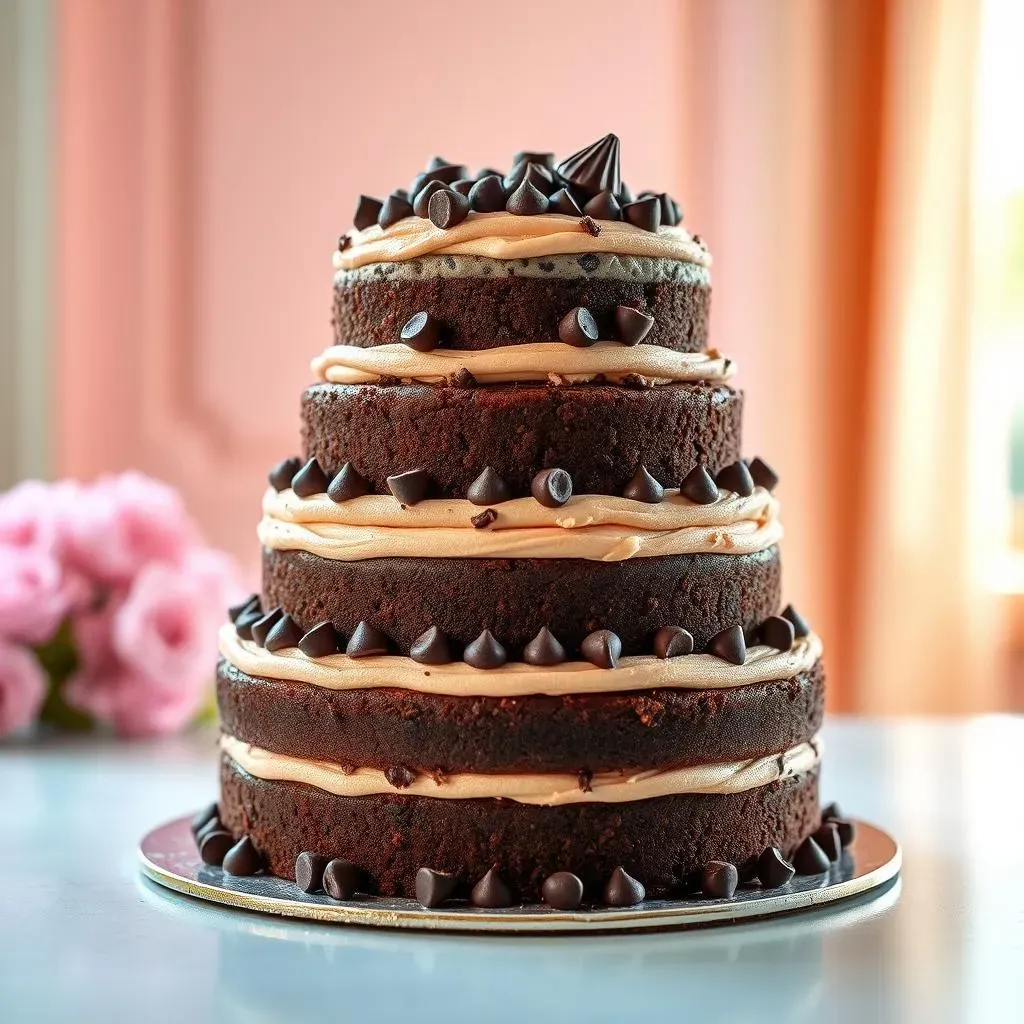
And don't forget the chocolate chips! Fold in some semi-sweet or dark chocolate chips for extra bursts of chocolatey goodness. They'll melt slightly during baking, creating pockets of molten chocolate that will make your taste buds sing.
The Binding Agents: Eggs and Dairy
Eggs and dairy play a crucial role in binding the ingredients together and adding moisture to the cake. This recipe uses both whole eggs and egg whites. The yolks add richness and flavor, while the whites provide structure and help lighten the batter.
For the dairy component, we're using buttermilk. Buttermilk adds a tangy flavor and helps to tenderize the cake. If you don't have buttermilk on hand, you can make a substitute by adding a tablespoon of lemon juice or white vinegar to a cup of milk. Let it sit for a few minutes to curdle, and voila! Buttermilk substitute.
Here's a quick rundown of the key ingredients and their roles:
Ingredient | Role |
|---|---|
Cake Flour | Tender crumb, delicate texture |
Dutch-Processed Cocoa | Rich chocolate flavor, dark color, stable structure |
Espresso Powder | Enhances chocolate flavor |
Chocolate Chips | Pockets of molten chocolate |
Eggs & Egg Whites | Binding, richness, structure |
Buttermilk | Tangy flavor, tenderizes cake |
StepbyStep: Baking Your Best Chocolate Cake for Tiered Cakes
StepbyStep: Baking Your Best Chocolate Cake for Tiered Cakes
Mise en Place: Get Organized
Alright, before we even think about turning on the oven, let's talk mise en place. It's a fancy French term that basically means "everything in its place." Trust me, it's a lifesaver when you're baking a cake, especially one that needs to be structurally sound. Measure out all your ingredients, grease and flour your cake pans (or line them with parchment paper), and have everything within arm's reach. This will prevent you from scrambling around mid-recipe and potentially messing things up.
Also, make sure your butter and eggs are at room temperature. Room temperature ingredients emulsify more easily, creating a smoother batter and a more even crumb. If you're short on time, you can quickly warm up your eggs by placing them in a bowl of warm water for a few minutes. For the butter, you can microwave it in short bursts, but be careful not to melt it!
Mixing Magic: Creating the Perfect Batter
Now for the fun part: mixing the batter! Start by creaming together the butter and sugar until light and fluffy. This process incorporates air into the batter, which helps to create a light and airy cake. Next, add the eggs one at a time, making sure each one is fully incorporated before adding the next. Then, mix in the vanilla extract.
In a separate bowl, whisk together the dry ingredients: cake flour, cocoa powder, baking soda, baking powder, and salt. Gradually add the dry ingredients to the wet ingredients, alternating with the buttermilk. Start and end with the dry ingredients, and mix until just combined. Be careful not to overmix the batter, as this will develop the gluten and result in a tough cake. Finally, fold in the chocolate chips.
Step | Action | Why |
|---|---|---|
1 | Cream butter and sugar | Incorporate air for a light cake |
2 | Add eggs one at a time | Ensure proper emulsification |
3 | Alternate dry and wet ingredients | Prevent overmixing |
4 | Fold in chocolate chips | Distribute evenly without deflating batter |
Tips & Troubleshooting: Perfecting Your Chocolate Tiered Cake Recipe
Tips & Troubleshooting: Perfecting Your Chocolate Tiered Cake Recipe
Baking Time Blues: Don't Overbake!
let's talk baking time because this is where things can go south real quick. Overbaking is the enemy of a moist, delicious cake. Start checking for doneness a few minutes before the recipe suggests. A toothpick inserted into the center should come out with a few moist crumbs attached, not clean. Remember, the cake will continue to bake from the residual heat as it cools.
If you notice the edges of your cake are browning too quickly, you can tent the top with foil. This will help to prevent it from burning while the center continues to bake. Also, make sure your oven temperature is accurate. An oven thermometer is a cheap and easy way to ensure your oven is heating to the correct temperature.
Here's a quick guide to troubleshooting baking time issues:
Problem | Possible Cause | Solution |
|---|---|---|
Cake is browning too quickly | Oven temperature too high | Lower oven temperature, tent with foil |
Cake is underbaked in the center | Oven temperature too low, baking time too short | Increase baking time, check oven temperature |
Cake is dry | Overbaking | Check for doneness earlier, reduce baking time |
Level Up: Achieving Flat Cake Layers
Ever wonder how those professional bakers get perfectly flat cake layers? It's not magic, it's technique. First, use baking strips. These are fabric strips that you soak in water and wrap around your cake pans. They help to insulate the edges of the pan, preventing them from heating up too quickly and causing the cake to dome in the center.
If you don't have baking strips, you can use a makeshift solution: wrap wet paper towels around your cake pans and secure them with foil. It's not quite as effective as baking strips, but it's better than nothing.
Once your cakes are baked, let them cool in the pans for about 10 minutes, then invert them onto a wire rack to cool completely. To ensure a perfectly flat surface, you can gently press down on the top of the cake with a flat object, like a cutting board, while it's still warm. This will help to flatten any domes that may have formed.
- Baking Strips: Insulate the edges for even baking.
- Cooling: Invert onto a wire rack to prevent sticking.
- Gentle Pressure: Flatten any domes while warm.
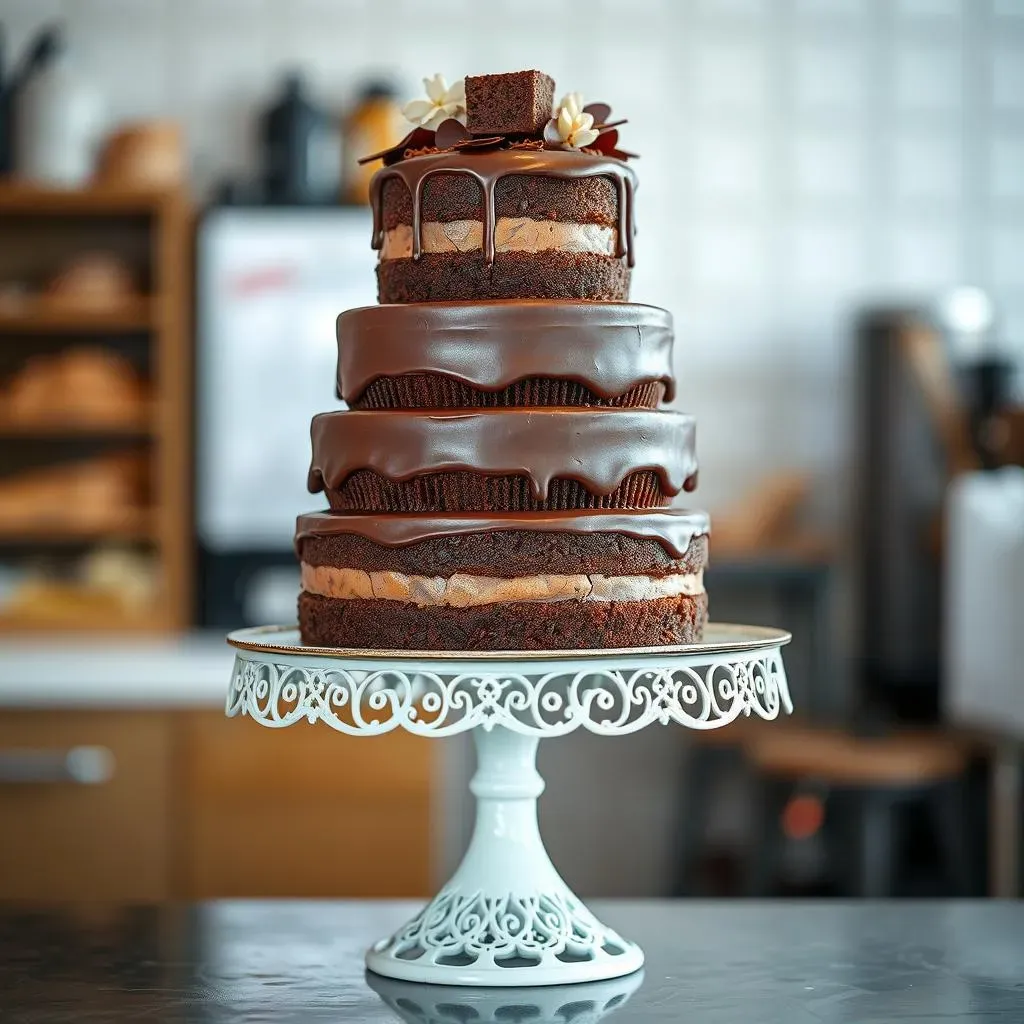
Stacking Strategy: Building a Stable Tiered Cake
Alright, you've baked your cakes, they're perfectly flat, and now it's time to stack them. But before you start piling layers on top of each other, let's talk strategy. The key to a stable tiered cake is to use supports. These can be dowels, straws, or even wooden skewers. Insert them into the bottom layers of the cake to provide support for the upper layers.
Cut the supports to the height of the cake layer they're supporting, so the upper layer rests directly on the supports, not on the cake below. This will prevent the bottom layers from being crushed under the weight of the upper layers.
Also, use a sturdy cake board that is the same size as the bottom tier. This will make it easier to move the cake around and will provide additional support. And don't forget to use a generous amount of frosting between each layer to act as glue and help hold everything together.
Your Best Chocolate Cake: A Tiered Triumph
So, there you have it – your guide to creating the best chocolate cake recipe for tiered cakes. With the right ingredients, techniques, and a little bit of patience, you can bake a cake that's not only delicious but also a stunning centerpiece for any occasion. Don't be afraid to experiment with flavors, frostings, and decorations to make it your own. Now, go forth and bake a tiered cake that will leave everyone craving more!