Table of Contents
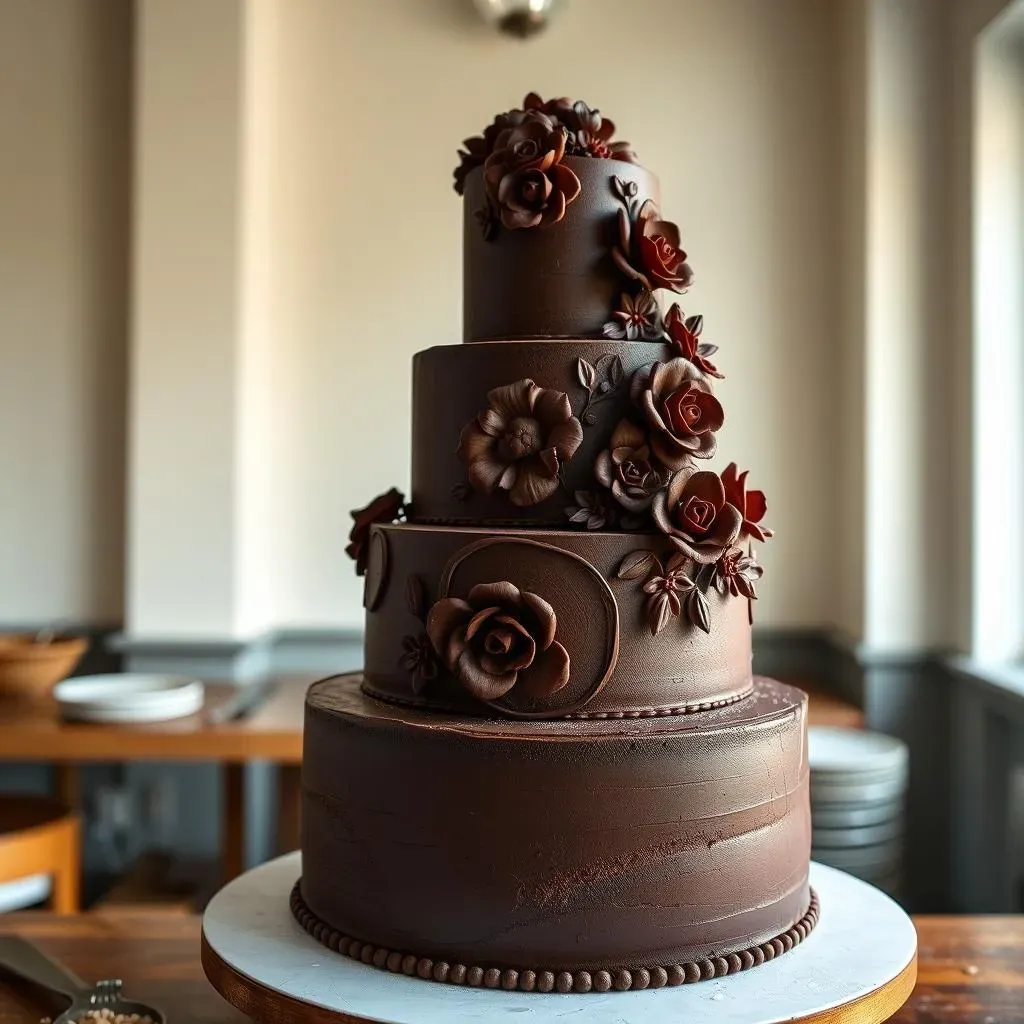
Looking for the best chocolate cake recipe for stacking and carving? You've landed in the right place. Forget those flimsy, fall-apart cakes that can't handle a multi-tiered masterpiece or a sculpted design. This recipe is your secret weapon for creating stunning, structurally sound chocolate cakes that taste as good as they look.
Why This is the Best Chocolate Cake Recipe for Stacking and Carving
Why This is the Best Chocolate Cake Recipe for Stacking and Carving
It's All About Structure and Taste
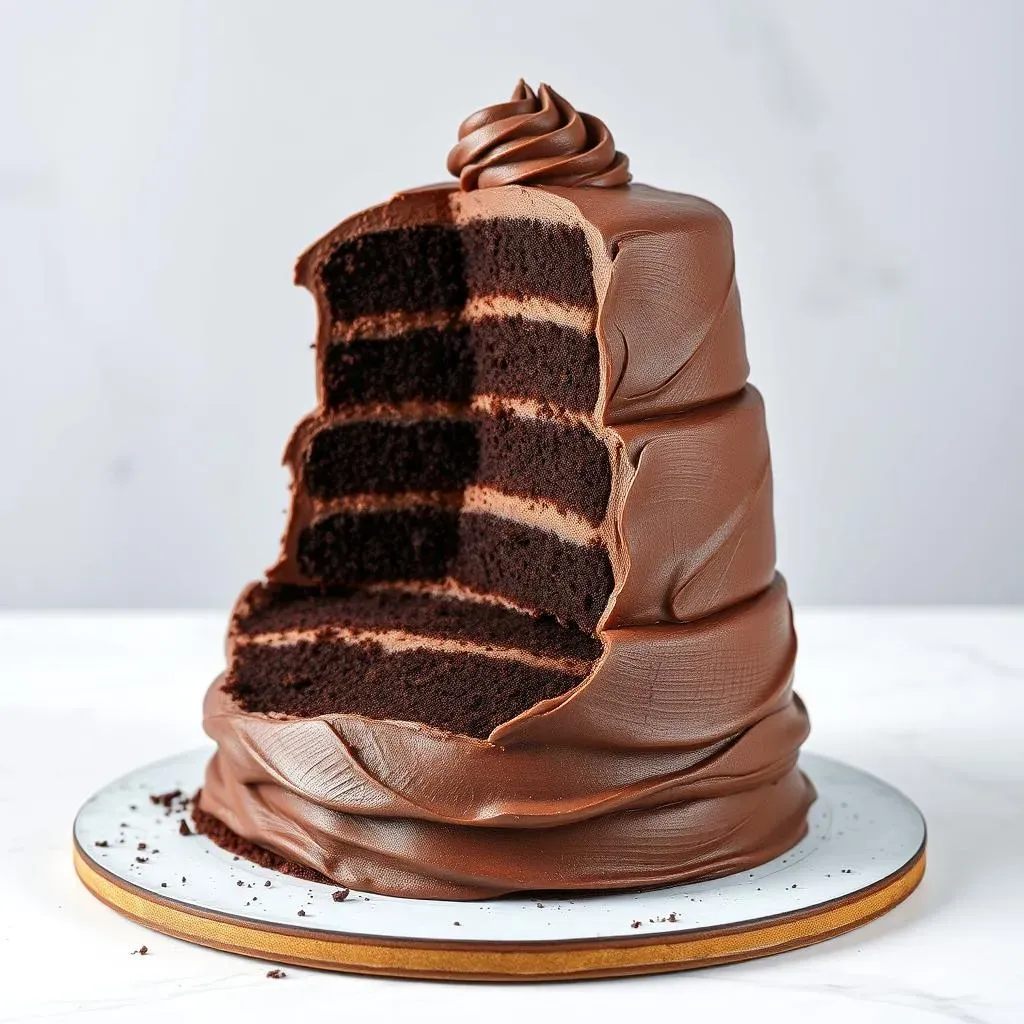
so what makes this chocolate cake recipe stand out from the hundreds out there? It's simple: it nails both structure and taste. You see, many recipes focus solely on flavor, leaving you with a cake that crumbles under the weight of frosting. Others prioritize sturdiness but end up tasting like cardboard. This recipe? It's the best of both worlds.
It's designed to give you a moist, flavorful chocolate cake that can actually hold its shape. We're talking about a cake that can be stacked into multiple tiers, carved into intricate designs, and still taste amazing. No more sacrificing flavor for stability!
The Science Behind the Sturdiness
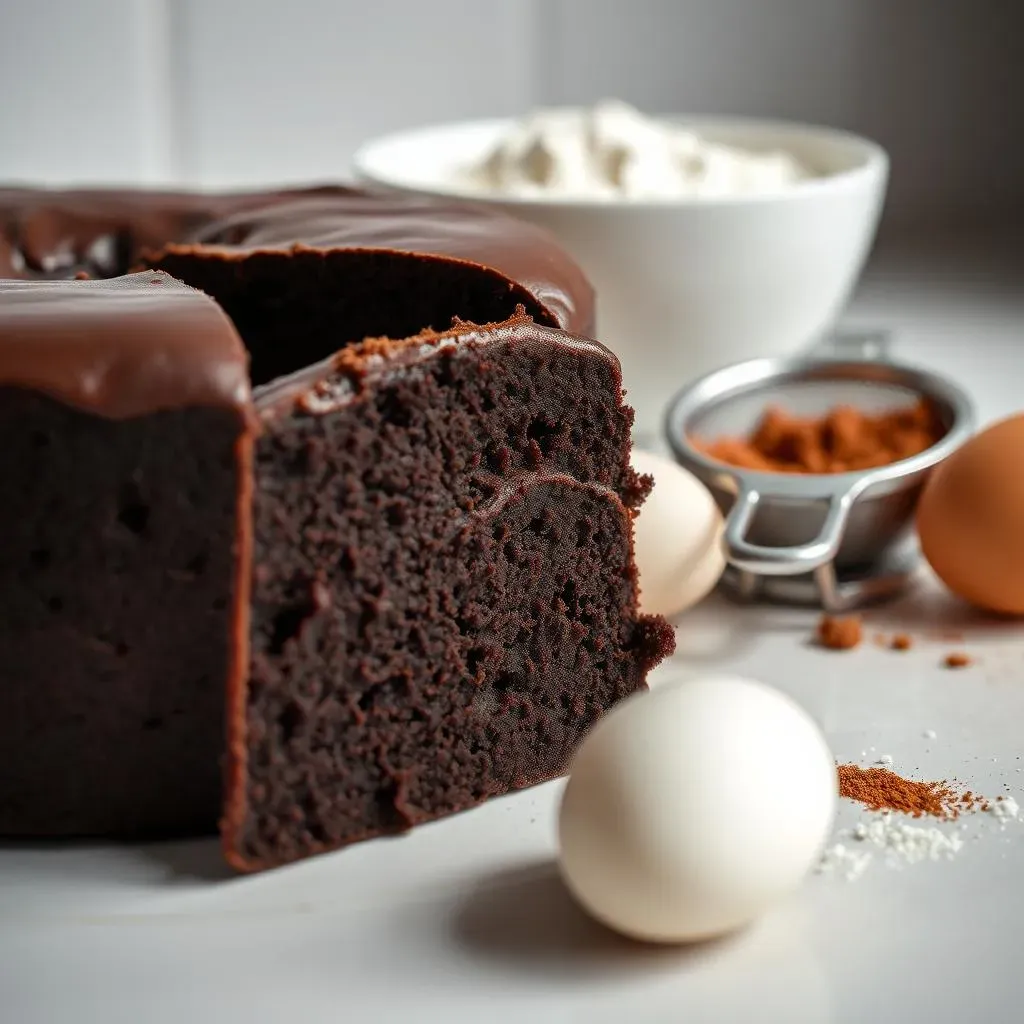
So, how does it achieve this magical balance? It's all in the ingredients and technique. The recipe uses a specific ratio of flour, fat, and liquids to create a cake with a tight crumb structure. This means fewer air pockets and a more dense, stable cake.
Plus, the addition of Dutch-processed cocoa not only deepens the chocolate flavor but also contributes to the cake's sturdiness. Dutch-processed cocoa is less acidic than natural cocoa, which helps to create a more stable batter. The result? A chocolate cake that's strong enough to handle any decorating challenge you throw at it.
Key Ingredients for a Sturdy Chocolate Cake
Key Ingredients for a Sturdy Chocolate Cake
Flour Power: The Foundation
Let's talk flour. It's not just about grabbing any bag off the shelf. For a sturdy cake, you want to pay attention to the protein content. Cake flour, with its lower protein, will give you a tender crumb, but all-purpose flour is what you need for structure.
But here's the thing: all-purpose flour can sometimes make a cake a little tough. The solution? Use a combination of all-purpose flour and cake flour, or all-purpose flour with a touch of cornstarch. The cornstarch helps to tenderize the gluten, giving you a cake that's both sturdy and soft.
Cocoa: Choosing the Right Chocolate Flavor
Cocoa powder isn't just cocoa powder, especially when you're aiming for the best chocolate cake recipe for stacking and carving. Dutch-processed cocoa is your best bet. It's less acidic than natural cocoa, which means it won't interfere with the cake's structure.
Dutch-processed cocoa also has a smoother, more mellow flavor, and a darker color, giving your cake a richer, more intense chocolate taste. It's a win-win! If you only have natural cocoa on hand, you can still use it, but you might need to adjust the amount of baking soda in the recipe to balance the acidity.
Ingredient | Why It Matters | Tips for Success |
|---|---|---|
All-Purpose Flour | Provides structure | Measure accurately! Spoon into the cup and level off. |
Dutch-Processed Cocoa | Adds flavor and sturdiness | Look for a high-quality brand for the best flavor. |
Eggs | Bind ingredients and add moisture | Use room temperature eggs for better emulsification. |
StepbyStep: Baking Your Perfect Stacking and Carving Chocolate Cake
StepbyStep: Baking Your Perfect Stacking and Carving Chocolate Cake
Get Your Prep On
Before you even think about touching the ingredients, preheat your oven to 325°F (160°C). This lower temperature helps the cake bake more evenly, preventing a dome from forming. Grease and flour your cake pans (or use baking spray with flour). I prefer using parchment paper rounds at the bottom, it guarantees the cake will release without sticking. Trust me, nothing's worse than a cake that tears apart when you're trying to get it out of the pan.
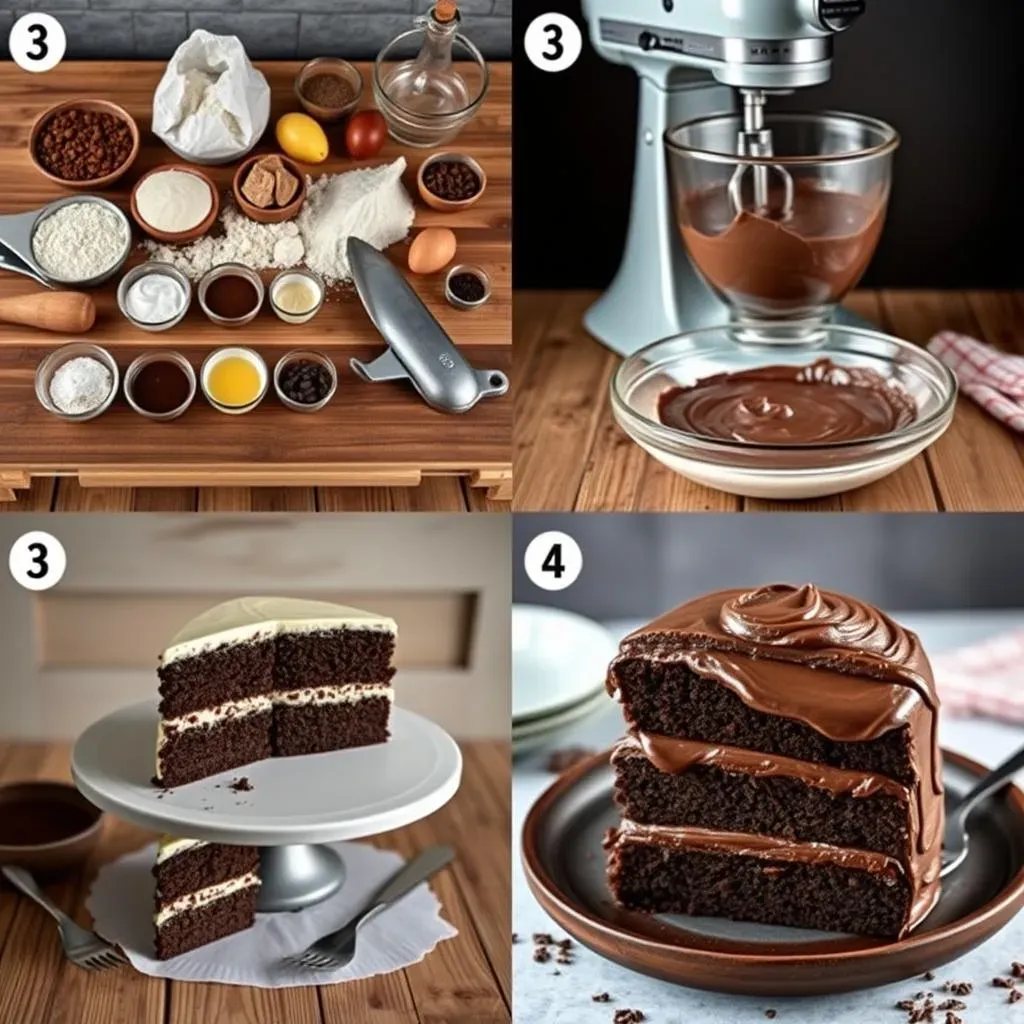
Next, gather all your ingredients and measure them out accurately. Baking is a science, and precision is key. Make sure your butter and eggs are at room temperature; they'll emulsify better, creating a smoother batter. And don't forget to brew your coffee! Hot coffee enhances the chocolate flavor and adds moisture to the cake.
Mixing the Magic
In a large bowl, cream together the butter and sugar until light and fluffy. This usually takes about 3-5 minutes with an electric mixer. The mixture should be pale and almost doubled in volume. Next, beat in the eggs one at a time, followed by the vanilla extract. Make sure each egg is fully incorporated before adding the next.
In a separate bowl, whisk together the all-purpose flour, Dutch-processed cocoa powder, baking powder, baking soda, and salt. Gradually add the dry ingredients to the wet ingredients, alternating with the hot coffee, beginning and ending with the dry ingredients. Mix until just combined. Be careful not to overmix; overmixing develops the gluten in the flour, resulting in a tough cake.
Finally, divide the batter evenly among your prepared cake pans. I highly recommend using a kitchen scale to ensure each pan has the same amount of batter. This will help your cakes bake evenly and stack perfectly.
"Baking is about science and art. The science assures us that the cake will rise; the art determines how high."
Bake to Perfection
Bake the cakes for 30-35 minutes, or until a wooden skewer inserted into the center comes out clean or with a few moist crumbs attached. Let the cakes cool in the pans for 10-15 minutes before inverting them onto a wire rack to cool completely.
Once the cakes are completely cool, wrap them tightly in plastic wrap and refrigerate for at least 2 hours, or preferably overnight. This chilling time allows the cake to firm up, making it easier to handle and carve. Plus, it helps to lock in the moisture, resulting in an even more delicious cake.
If you're not planning to decorate the cake right away, you can freeze the wrapped cake layers for up to 2-3 months. Just thaw them overnight in the refrigerator before using.
Tips and Tricks for Stacking and Carving Success
Tips and Tricks for Stacking and Carving Success
Level Up Your Layers
Alright, you've got your perfectly baked, sturdy chocolate cake layers. Now, before you even think about frosting, make sure those layers are level! A wobbly cake is a disaster waiting to happen. Use a serrated knife to trim off any domes or unevenness. A cake leveler can also be super helpful for this. Aim for flat, even surfaces that will stack seamlessly.
Once your layers are level, it's time to add a crumb coat. This is a thin layer of frosting that seals in any loose crumbs, preventing them from getting into your final frosting. Chill the crumb-coated cake for at least 30 minutes before applying the final layer of frosting. This will help the crumb coat set and create a smooth surface for decorating.
Frosting Fundamentals
Choosing the right frosting is crucial for stacking and carving. A stable frosting, like buttercream or ganache, is your best bet. Avoid whipped cream or mousse frostings, as they're too soft and won't provide enough support.
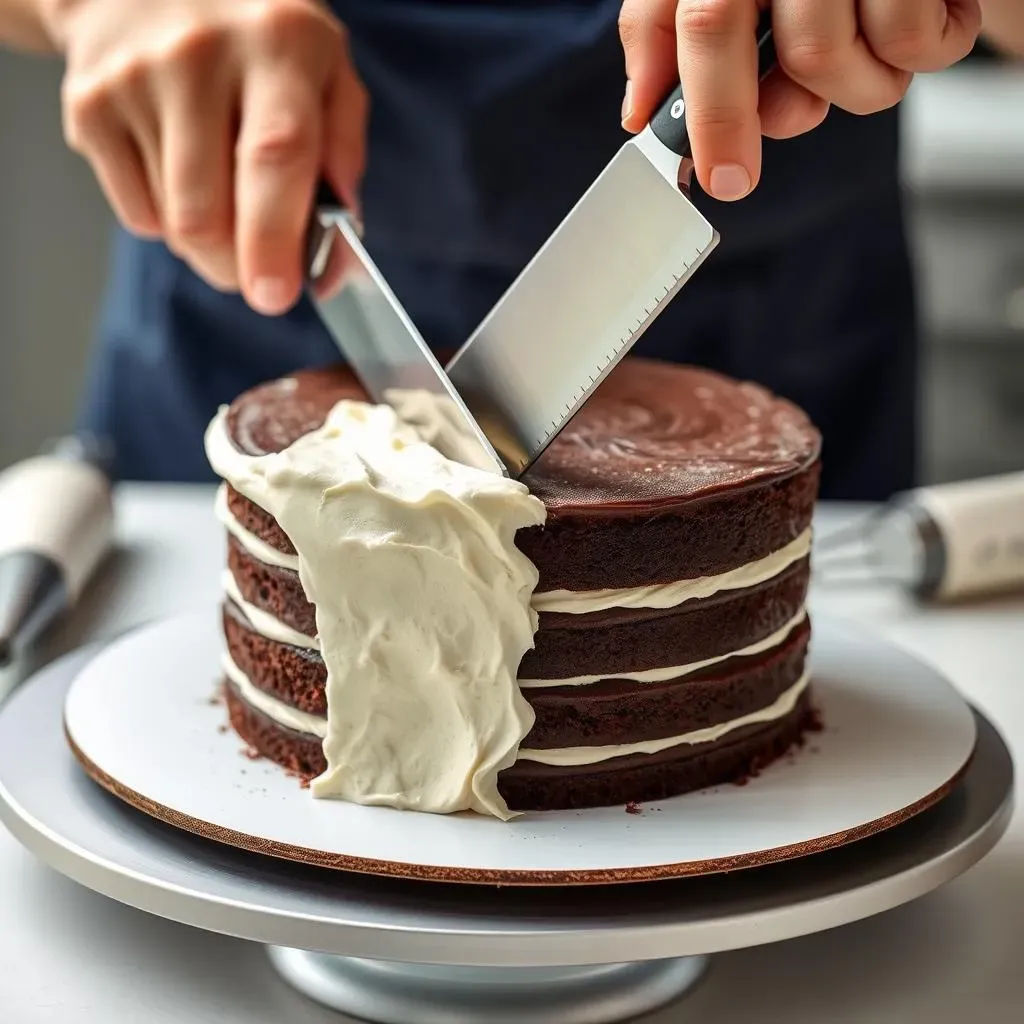
When frosting your cake, use a piping bag to apply even layers of frosting between each cake layer. This will ensure a consistent height and prevent any bulges or unevenness. Smooth the frosting with a spatula or cake smoother, working from the center outwards.
Tip | Why It's Important |
|---|---|
Use a turntable | Makes frosting and smoothing much easier. |
Chill your cake | Firms up the frosting and makes carving easier. |
Use sharp tools | Clean cuts are essential for a professional look. |
Carving Confidence
If you're planning to carve your cake, make sure it's thoroughly chilled. A cold cake is much easier to carve than a room-temperature one. Use a sharp, serrated knife or a carving knife to carefully shape the cake. Work slowly and in small sections, removing small pieces of cake at a time.
Don't be afraid to make mistakes! Cake is forgiving. If you accidentally remove too much cake, you can always patch it up with frosting or extra cake scraps. The key is to have fun and experiment. The best chocolate cake recipe for stacking and carving is just a tool, your imagination is what will make it a true work of art.
Conclusion: Your Journey to Cake Masterpiece Begins Now
With the best chocolate cake recipe for stacking and carving in your arsenal, you're now equipped to create cakes that are as structurally impressive as they are delicious. Remember, baking is a journey, and every cake is a learning opportunity. Don't be afraid to experiment with flavors, decorations, and techniques to truly make each creation your own. So, preheat your oven, gather your ingredients, and get ready to impress with your newfound cake-stacking and carving skills. The world of edible art awaits!