Table of Contents
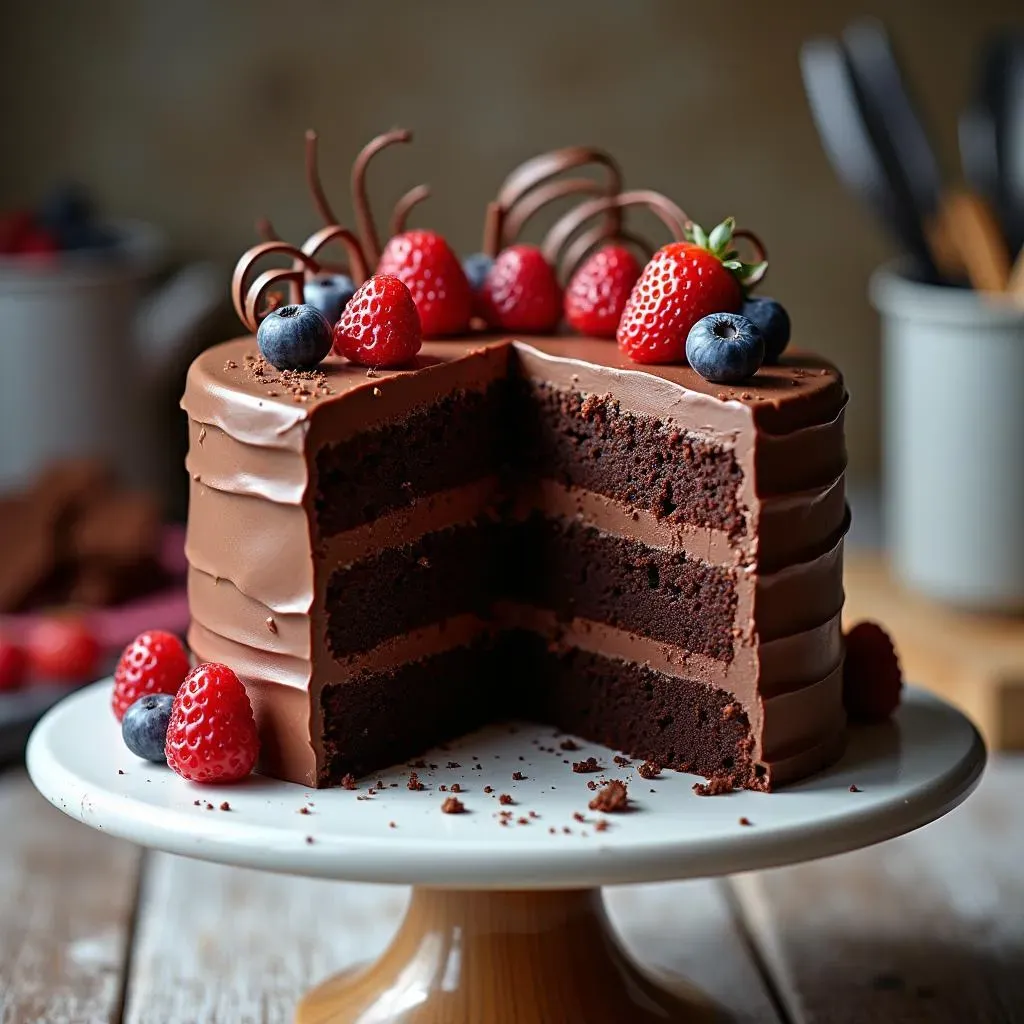
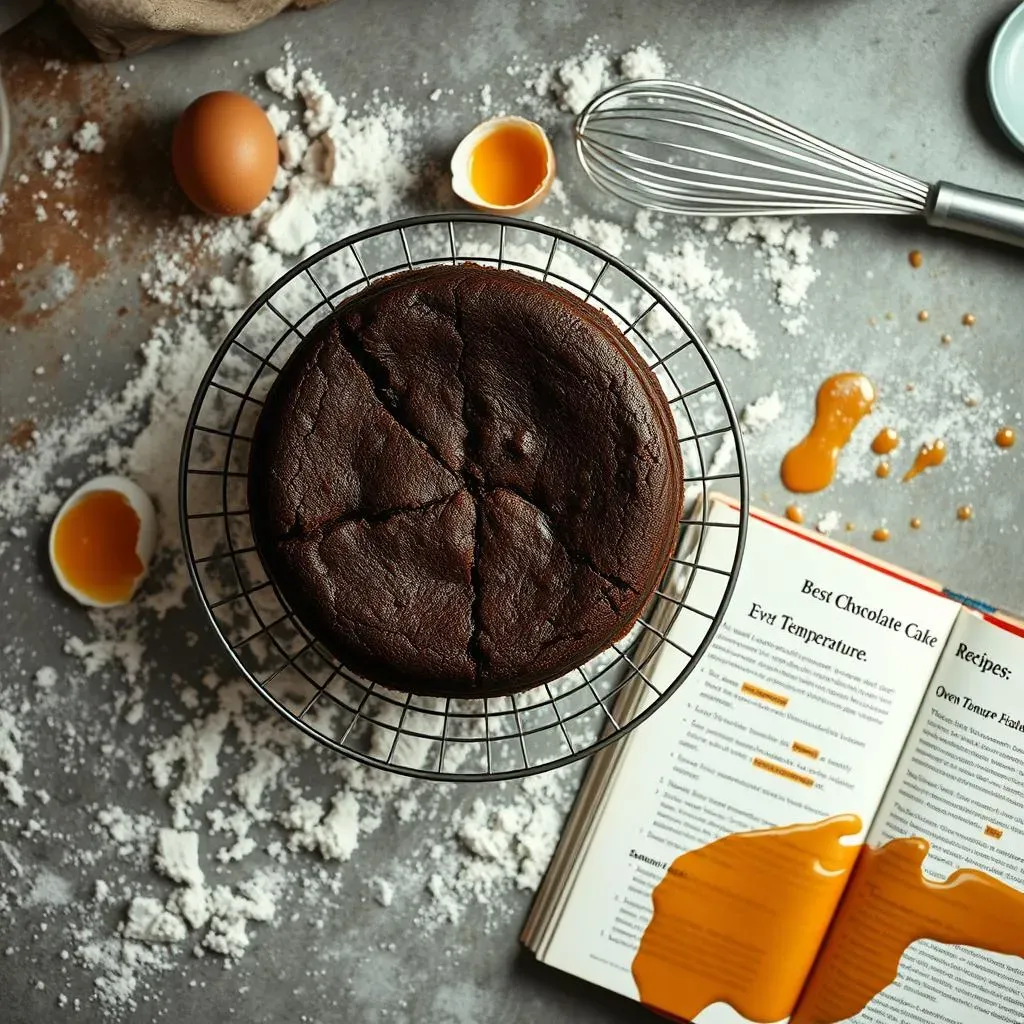
Ever dreamt of creating a show-stopping cake, the kind that makes everyone say "WOW"? It all starts with the foundation: the perfect chocolate cake. But not just any chocolate cake – you need one that's moist, flavorful, and sturdy enough to handle layers of frosting, fondant, and all your creative decorations. Forget dry, crumbly cakes that fall apart at the first touch of a spatula. We're diving deep into what makes the best chocolate cake recipe for cake decorating, a recipe that will become your go-to for birthdays, weddings, or any occasion that calls for a little (or a lot) of chocolatey goodness. This isn't just another cake recipe; it's your secret weapon for creating edible masterpieces. We'll break down the essential ingredients, guide you through the baking process step-by-step, and share insider tips to ensure your cake is not only beautiful but also tastes amazing. Plus, we'll tackle common problems and answer all your burning questions, so you can bake with confidence. So, grab your apron, preheat your oven, and let's get ready to create the ultimate canvas for your cake decorating dreams!
Why This is the Best Chocolate Cake Recipe for Cake Decorating
Why This is the Best Chocolate Cake Recipe for Cake Decorating
let's get real. There are a million chocolate cake recipes out there, so why am I so confident in calling this one the best for decorating? It's all about finding that sweet spot between flavor, texture, and structural integrity. You need a cake that tastes incredible on its own but won't crumble under the weight of frosting, fondant, or intricate decorations. This recipe nails it, I promise. It's been tweaked and tested to ensure it delivers a moist, rich chocolate flavor with a soft crumb that's still sturdy enough to carve, stack, and generally manhandle without falling apart. Think of it as the Goldilocks of chocolate cakes: not too dry, not too dense, just right for decorating.
So, what sets this recipe apart? It's a combination of things, really. We're talking about using the right kind of cocoa, the perfect balance of wet and dry ingredients, and a baking technique that guarantees a level top (or close enough!) for easy decorating. Plus, it's versatile. You can adapt it to different pan sizes, add fillings, and customize the frosting to your heart's content. This isn't just a recipe; it's a starting point for your cake decorating adventures. It's the reliable, dependable, and utterly delicious foundation you need to bring your cake visions to life.
Feature | Benefit for Decorating |
|---|---|
Moist Texture | Frosting adheres beautifully, prevents dry edges. |
Sturdy Crumb | Holds shape for carving and stacking layers. |
Rich Chocolate Flavor | Complements a variety of frostings and fillings. |
Level Baking | Easier to frost and decorate evenly. |
Key Ingredients for a Sturdy and Delicious Chocolate Cake
Key Ingredients for a Sturdy and Delicious Chocolate Cake
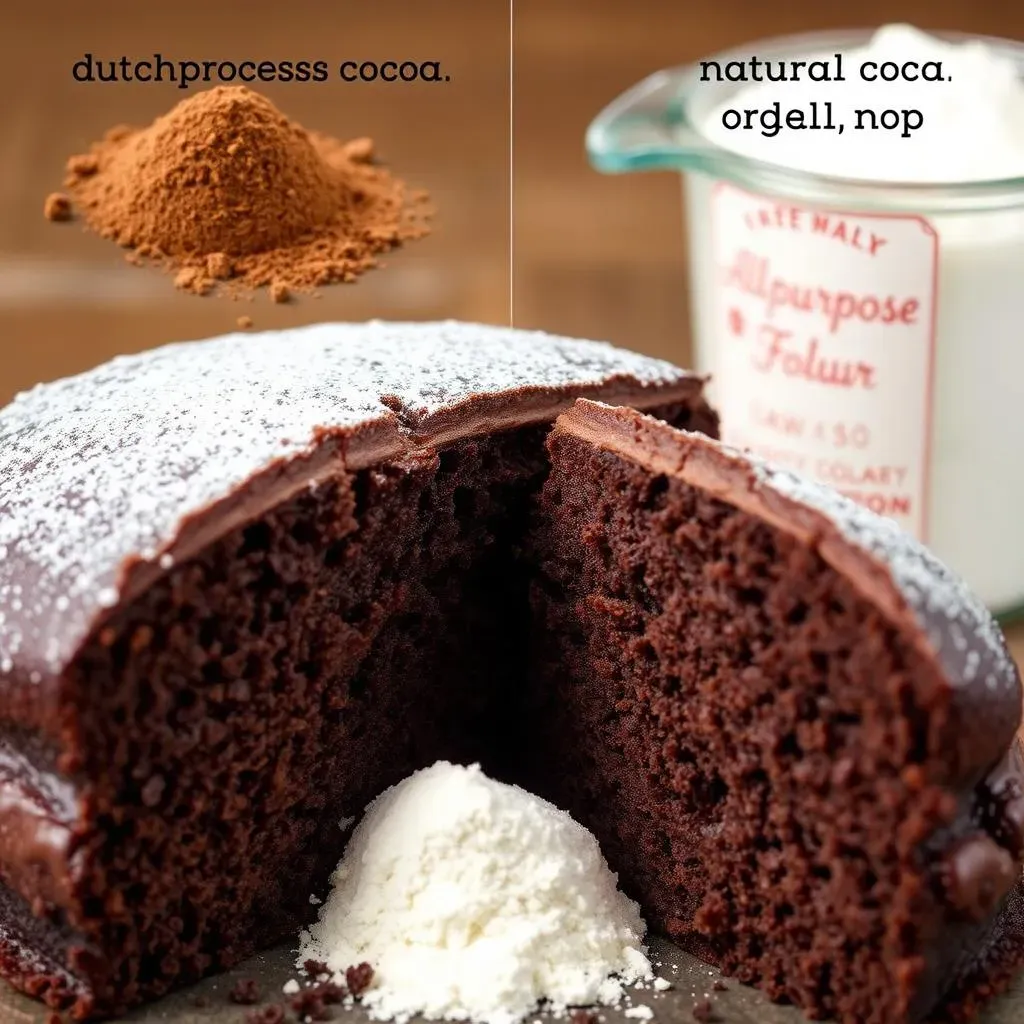
The Right Cocoa: Dutch-Processed vs. Natural
let's talk cocoa. This isn't just about grabbing any old container off the shelf. The type of cocoa you use makes a HUGE difference in both the flavor and the structure of your cake. For this recipe, I highly recommend Dutch-processed cocoa. Why? Because it's been treated to neutralize its acidity, which gives it a smoother, more mellow flavor and a darker color. Plus, it helps create a more stable cake structure, which is exactly what we need for decorating.
Now, if you only have natural cocoa on hand, don't panic! You can still use it, but be aware that it will result in a slightly tangier flavor and a lighter color. You might also need to adjust the amount of baking soda in the recipe, as natural cocoa is more acidic and reacts differently. I will say, though, if you're serious about your chocolate cake decorating game, investing in some Dutch-processed cocoa is a game-changer. Trust me on this one.
Flour Power: Balancing Structure and Tenderness
Next up: flour. All-purpose flour is generally your best bet here, but the way you measure it is crucial. Scooping flour directly from the bag compacts it, which means you'll end up with too much flour in your batter. This leads to a dry, dense cake – the opposite of what we want! Instead, use the "spoon and level" method: lightly spoon the flour into your measuring cup, then level it off with a straight edge (like the back of a knife). This ensures you're using the correct amount, which is key for a tender crumb.
Also, resist the urge to overmix the batter once you add the flour. Overmixing develops the gluten in the flour, resulting in a tough cake. Mix just until the ingredients are combined, and don't worry about a few small lumps. A little bit of gluten development is necessary for structure, but too much will ruin the texture. It's a delicate balance, but with a little practice, you'll get the hang of it.
Ingredient | Why It Matters |
|---|---|
Dutch-Processed Cocoa | Rich flavor, dark color, stable structure |
All-Purpose Flour | Provides structure, measure accurately! |
Sugar | Sweetness, moisture, tenderizes crumb |
Eggs | Bind ingredients, add richness and structure |
Oil or Butter | Moisture, flavor (butter adds richness) |
StepbyStep: Baking Your Perfect Chocolate Cake for Decorating
StepbyStep: Baking Your Perfect Chocolate Cake for Decorating
Get Your Game Face On: Prep and Preheat
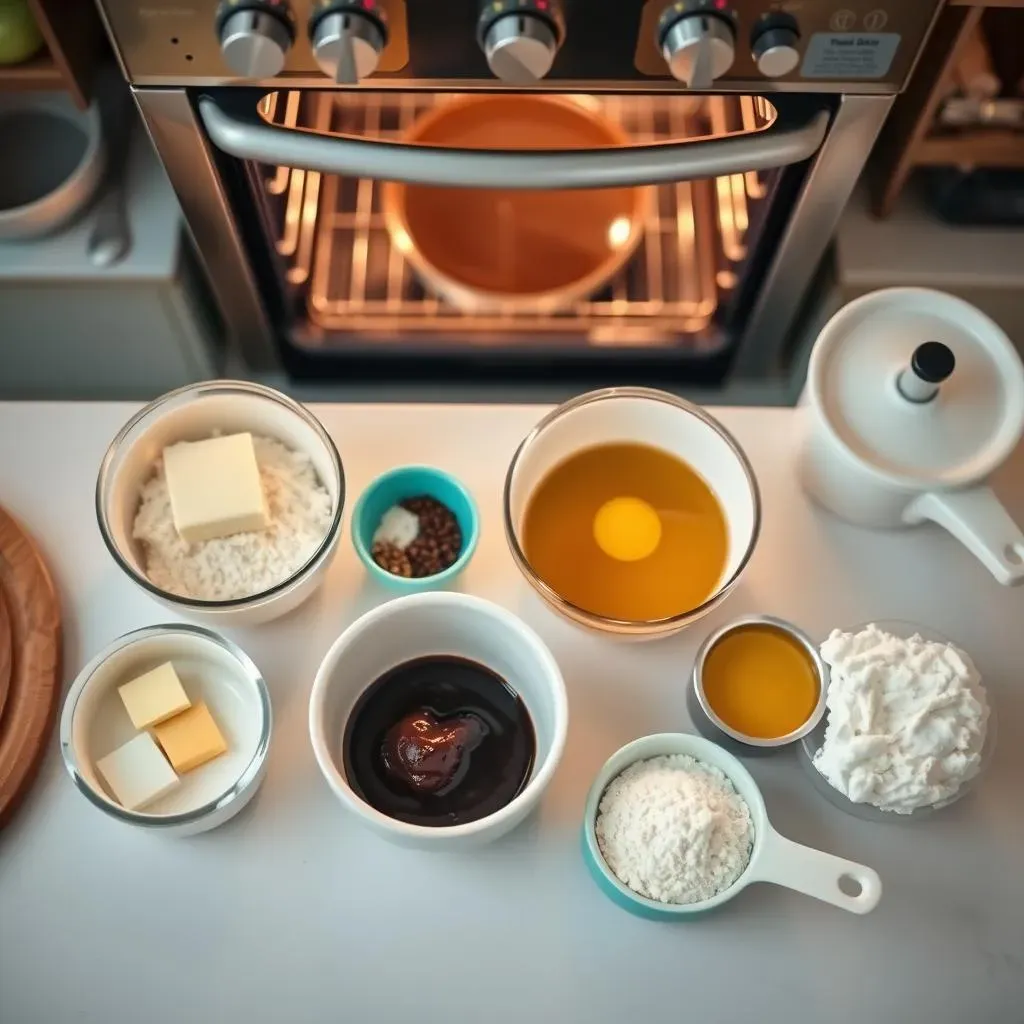
Alright, before we even think about mixing ingredients, let's get organized. Preheat your oven to 350°F (175°C). This is crucial! An evenly heated oven is key to a cake that rises properly and bakes evenly. While the oven is preheating, grease and flour your cake pan(s). I prefer using cake release spray for a foolproof release, but good old-fashioned butter and flour work just fine. Make sure you get into all the nooks and crannies to prevent sticking. Nobody wants a cake that's glued to the pan!
Next, gather all your ingredients and measure them out. This is called "mise en place" in the culinary world, and it's a lifesaver. Having everything prepped and ready to go prevents you from making mistakes or forgetting ingredients in the heat of the moment. Trust me, there's nothing worse than realizing you forgot the baking powder halfway through mixing the batter. So, take a deep breath, get organized, and let's get baking!
Mixing Magic: From Batter to Bliss
Now for the fun part: mixing the batter! In a large bowl, cream together the butter (or oil) and sugar until light and fluffy. This usually takes a few minutes with an electric mixer. The goal is to incorporate air into the mixture, which will help create a light and airy cake. Next, beat in the eggs one at a time, followed by the vanilla extract. Make sure each egg is fully incorporated before adding the next.
In a separate bowl, whisk together the dry ingredients: flour, cocoa powder, baking powder, baking soda, and salt. Gradually add the dry ingredients to the wet ingredients, alternating with the liquid (usually milk or buttermilk). Start and end with the dry ingredients to prevent the gluten from developing too much. Mix just until the ingredients are combined, being careful not to overmix. Remember, a few small lumps are okay! Pour the batter into your prepared cake pan(s) and spread it evenly. Now it's time to bake!
Level Up Your Cake Decorating Game: Tips and Tricks
Level Up Your Cake Decorating Game: Tips and Tricks
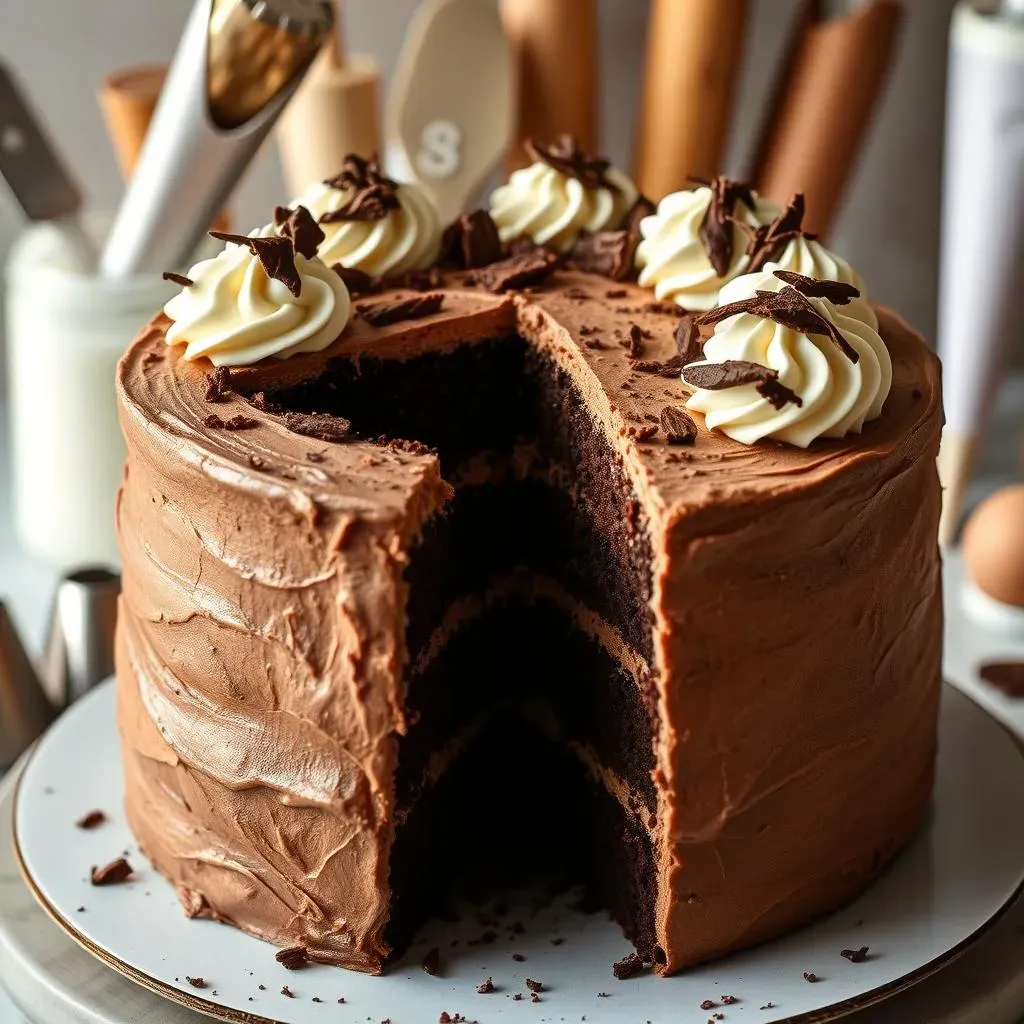
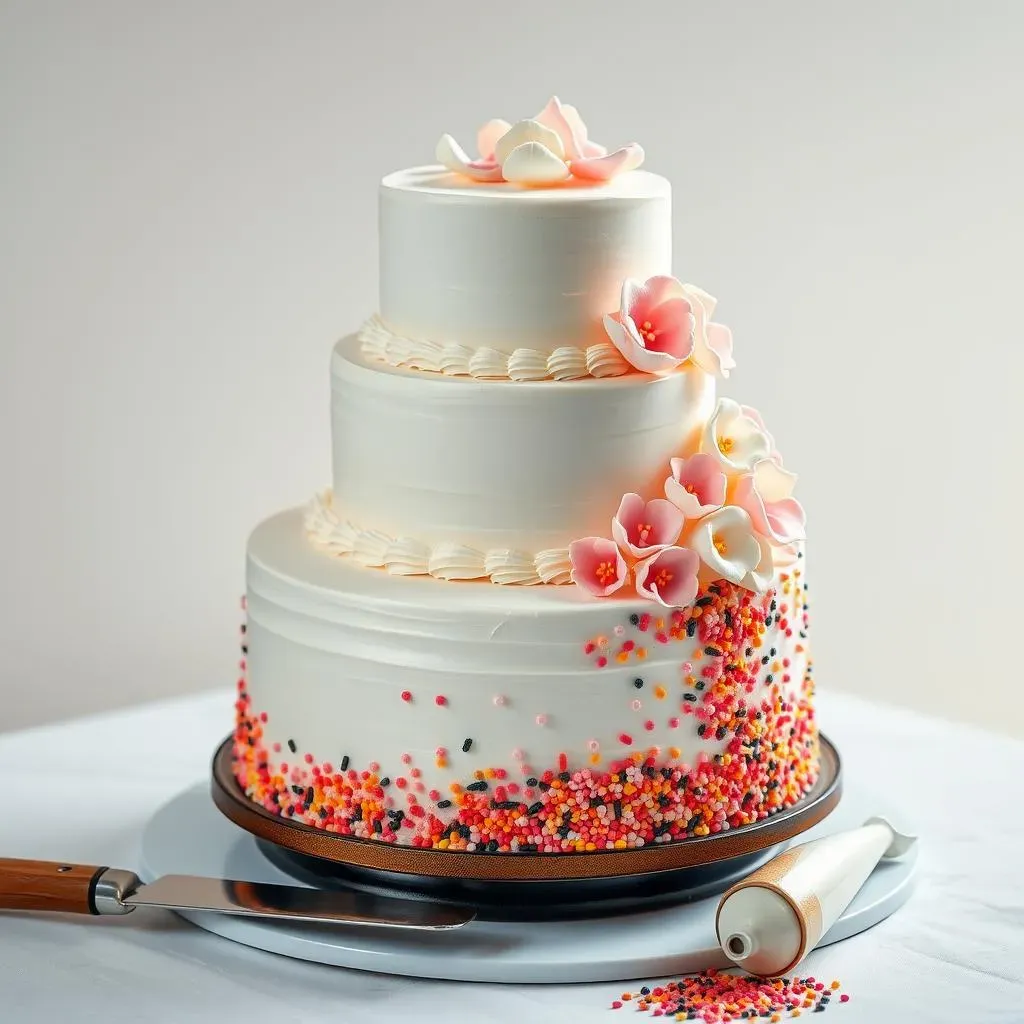
you've got your perfectly baked chocolate cake – now it's time to unleash your inner artist! Decorating can seem intimidating, but trust me, with a few simple tips and tricks, you can create stunning cakes that will impress everyone. It's all about practice, patience, and a willingness to experiment. Don't be afraid to make mistakes – that's how you learn! Start with the basics, like frosting techniques and simple borders, and then gradually work your way up to more complex designs. Remember, even a simple cake can look amazing with a little bit of love and attention.
One of the most important things is to have the right tools. A good set of decorating tips, piping bags, and an offset spatula are essential. You'll also want a turntable, which makes frosting and decorating so much easier. And don't forget the sprinkles! They're the perfect finishing touch for any cake. But beyond the tools, it's about the techniques. Mastering a smooth buttercream finish, piping consistent borders, and creating simple fondant decorations can elevate your cakes to the next level. So, let's dive into some specific tips and tricks that will help you level up your cake decorating game!
Tip | Description | Benefit |
|---|---|---|
Smooth Buttercream | Use warm water on spatula, practice even pressure. | Professional-looking finish |
Consistent Borders | Steady hand, practice piping on parchment paper. | Clean and polished design |
Simple Fondant | Use cookie cutters, edible markers for easy details. | Adds dimension and visual interest |
Sprinkles! | Generously apply for fun and festive touch. | Instant visual appeal |
Nailing the Basics: Frosting and Filling Like a Pro
Before you even think about elaborate decorations, you need to master the art of frosting and filling. This is where the foundation of your cake really comes together. Start by leveling your cake layers with a serrated knife. This ensures that your cake will be stable and won't wobble. Then, apply a thin layer of frosting, called a "crumb coat," all over the cake. This seals in any loose crumbs and creates a smooth surface for your final layer of frosting. Chill the cake for at least 30 minutes to allow the crumb coat to set.
Once the crumb coat is firm, apply your final layer of frosting. Use an offset spatula to create a smooth, even surface. If you're going for a textured look, you can use a decorating comb or spatula to create swirls, lines, or other patterns. When it comes to filling, don't be afraid to get creative! You can use buttercream, ganache, fruit fillings, or even a combination of different flavors. Just make sure that the filling is stable enough to support the weight of the cake layers. And remember, a little bit of filling goes a long way!
Easy Decoration Ideas for Stunning Results
Now for the fun part: adding the decorations! If you're just starting out, stick to simple designs that are easy to execute. One of my favorite techniques is using a piping bag and decorating tips to create borders, rosettes, or simple flowers. You can also use stencils to create intricate patterns on your cake. Another easy way to add visual interest is to use sprinkles, edible glitter, or chocolate shavings. These can be scattered over the top of the cake or arranged in a specific pattern.
If you're feeling a bit more adventurous, you can try working with fondant. Fondant can be rolled out and used to cover the entire cake, or it can be cut into shapes and used to create decorations. Cookie cutters are your best friend when it comes to fondant decorations! You can also use edible markers to add details and personalize your designs. Remember, the key is to have fun and experiment. Don't be afraid to try new things and see what works for you. With a little practice, you'll be creating stunning cakes in no time!
- Piping bag and tips for borders and flowers
- Stencils for intricate patterns
- Sprinkles, edible glitter, chocolate shavings
- Fondant and cookie cutters for shapes
- Edible markers for details
Troubleshooting and FAQs for the Best Chocolate Cake
Troubleshooting and FAQs for the Best Chocolate Cake
Help! My Cake Sank in the Middle!
Ah, the dreaded sunken cake! This is a common problem, but don't despair, it's usually fixable. The most likely culprit is an oven that's not hot enough. Make sure your oven is preheated to the correct temperature before you put the cake in. Another possibility is that you opened the oven door too early, causing the cake to lose heat and collapse. Resist the urge to peek until the cake is mostly baked. Overmixing the batter can also cause a sunken cake, as it incorporates too much air. And finally, make sure your baking powder and baking soda are fresh. If they're expired, they won't provide enough leavening, and your cake will sink. I know, it's a lot to think about, but with a little troubleshooting, you'll get it right!
Sometimes, it's not about what you did wrong, but about external factors. A sudden change in room temperature can affect the baking process, especially if your kitchen is drafty. Also, high altitude baking often requires adjustments to the recipe, such as reducing the amount of leavening or increasing the liquid. If you live at a high altitude, do some research on how to adapt cake recipes for your specific environment. And remember, practice makes perfect! The more you bake, the better you'll become at recognizing and correcting potential problems.
Problem | Possible Cause | Solution |
|---|---|---|
Sunken Cake | Oven not hot enough, opening oven door too early, overmixing, expired leavening | Preheat oven, avoid opening door, mix gently, use fresh ingredients |
Dry Cake | Too much flour, overbaking, not enough liquid | Measure flour accurately, bake for correct time, adjust liquid ratio |
Dense Cake | Overmixing, not enough leavening, too much liquid | Mix gently, use fresh leavening, adjust liquid ratio |
Cake Sticks to Pan | Not greasing and flouring properly | Grease and flour thoroughly, use cake release spray |
Why is My Cake Dry and Crumbly?
A dry, crumbly cake is no fun for anyone, especially when you are aiming for the best chocolate cake recipe for cake decorating. The most common cause is using too much flour. Remember that "spoon and level" method we talked about? It's crucial for preventing this. Overbaking can also dry out a cake, so make sure you're baking it for the correct amount of time. Use a cake tester or toothpick to check for doneness – it should come out clean or with a few moist crumbs attached. And finally, make sure you're not skimping on the liquid ingredients. The right balance of wet and dry ingredients is essential for a moist and tender cake.
Also, consider the type of fat you're using. Butter adds richness and flavor, but it can also dry out a cake if you use too much. Oil, on the other hand, tends to create a more moist cake. You can experiment with different ratios of butter and oil to find what works best for you. And don't forget about the importance of storing your cake properly. Wrap it tightly in plastic wrap or store it in an airtight container to prevent it from drying out. A little extra moisture can go a long way!
Frequently Asked Questions (FAQs)
- Can I substitute oil for butter in this recipe? Yes, you can! Oil will result in a slightly more moist cake, while butter adds richness and flavor. Experiment to see which you prefer.
- Can I use this recipe for cupcakes? Absolutely! Reduce the baking time and keep a close eye on them. They're usually done in about 18-22 minutes.
- How do I store leftover cake? Wrap it tightly in plastic wrap or store it in an airtight container at room temperature for up to 3 days, or in the refrigerator for up to a week.
- Can I freeze this cake? Yes! Wrap it tightly in plastic wrap and then in foil, or store it in a freezer-safe container. It will keep for up to 3 months. Thaw it overnight in the refrigerator before frosting and decorating.
- My frosting is too thin/thick. What do I do? If it's too thin, add more powdered sugar, a tablespoon at a time, until it reaches the desired consistency. If it's too thick, add a little milk or cream, a teaspoon at a time, until it thins out.
Conclusion: Your Journey to Chocolate Cake Decorating Mastery
You've now unlocked the secrets to baking the best chocolate cake recipe for cake decorating. From understanding the crucial ingredients to mastering the baking techniques and troubleshooting common issues, you're well-equipped to create stunning and delicious cakes. Remember, practice makes perfect, so don't be afraid to experiment with different decorations and techniques. With this recipe as your foundation, your cake decorating possibilities are endless. Now go forth, bake, and create some unforgettable edible art!