Table of Contents
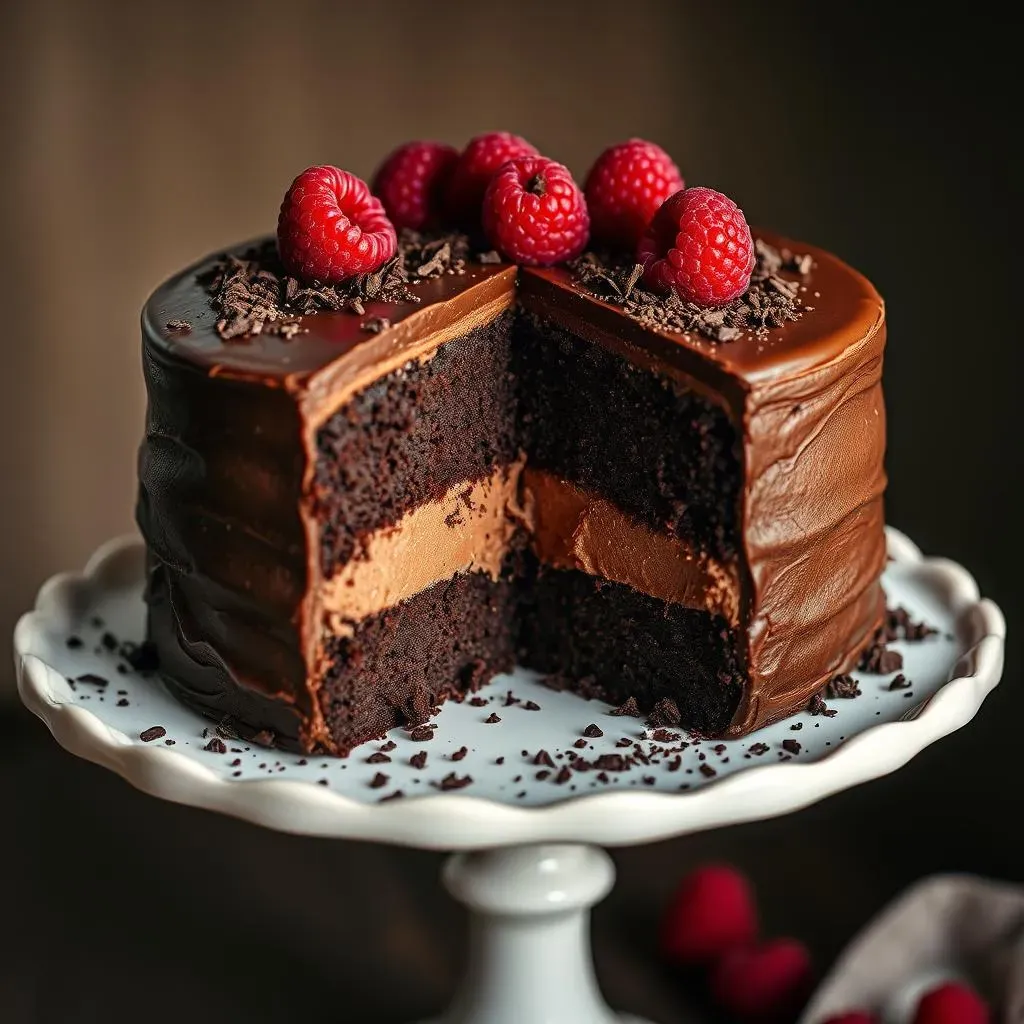
Let's face it, a cake is only as good as its filling. And when it comes to chocolate cake, you need a filling that's not just good, but exceptional. If you're on the hunt for the best chocolate cake filling recipe, look no further. We're diving headfirst into the world of dark chocolate mousse cake, a dessert so rich and decadent, it'll make your taste buds sing. This isn't just any cake; it's a masterpiece of chocolate flavor. We're talking moist, dark chocolate cake layers, a luscious chocolate mousse filling that's both airy and intense, and a smooth chocolate ganache to top it all off. Ready to embark on this baking adventure? This article will guide you through each step, from mixing the perfect batter to creating a mousse so divine, you'll want to eat it by the spoonful. We'll also share tips and tricks to ensure your cake is a showstopper, whether you're a seasoned baker or just starting out. Get ready to discover your new go-to recipe for the best chocolate cake experience imaginable!
Crafting the Ultimate Dark Chocolate Cake

Crafting the Ultimate Dark Chocolate Cake
Choosing Your Chocolate Arsenal
First things first, let's talk chocolate. This isn't the time to skimp! Reach for high-quality dark chocolate, the kind that makes you want to close your eyes and savor every bite. I'm talking about chocolate with a cocoa content of at least 70%. Why? Because that's where the real chocolate flavor lives. And when it comes to cocoa powder, don't settle for just any brand. Opt for both natural unsweetened and dark cocoa powder. The combination creates a depth of flavor that's seriously addictive. Trust me, your cake will thank you.
Think of it like this: natural cocoa powder brings a classic, slightly bitter chocolate note, while dark cocoa powder adds an intense richness and a deep, almost black color. Together, they're the dynamic duo of chocolate flavor. And remember, always sift your cocoa powder before adding it to the batter. Lumps are the enemy of a smooth, velvety cake.
Mixing Magic: The Batter Blueprint
Alright, now for the batter. The key to a moist, tender dark chocolate cake is all in the technique. Start by creaming together your butter and sugar until light and fluffy. This step is crucial because it incorporates air into the batter, which is what gives your cake its rise. Don't rush it! Spend a good 3-5 minutes creaming until the mixture is noticeably lighter in color and texture. Next, add your eggs one at a time, making sure each one is fully incorporated before adding the next. This prevents the batter from curdling.
And here's a pro tip: add a tablespoon of sour cream or Greek yogurt to the batter. It might sound strange, but it works wonders for adding moisture and tenderness. Finally, gently fold in your dry ingredients, being careful not to overmix. Overmixing develops the gluten in the flour, which can result in a tough cake. Stop mixing as soon as the dry ingredients are just combined. Now you're one step closer to chocolate cake heaven!
Ingredient | Why It Matters |
|---|---|
High-Quality Dark Chocolate | Provides intense chocolate flavor |
Natural & Dark Cocoa Powder | Creates depth and richness |
Sour Cream/Greek Yogurt | Adds moisture and tenderness |
Decadent Chocolate Mousse Filling: A StepbyStep Guide
Decadent Chocolate Mousse Filling: A StepbyStep Guide
Melting Moments: The Chocolate Base
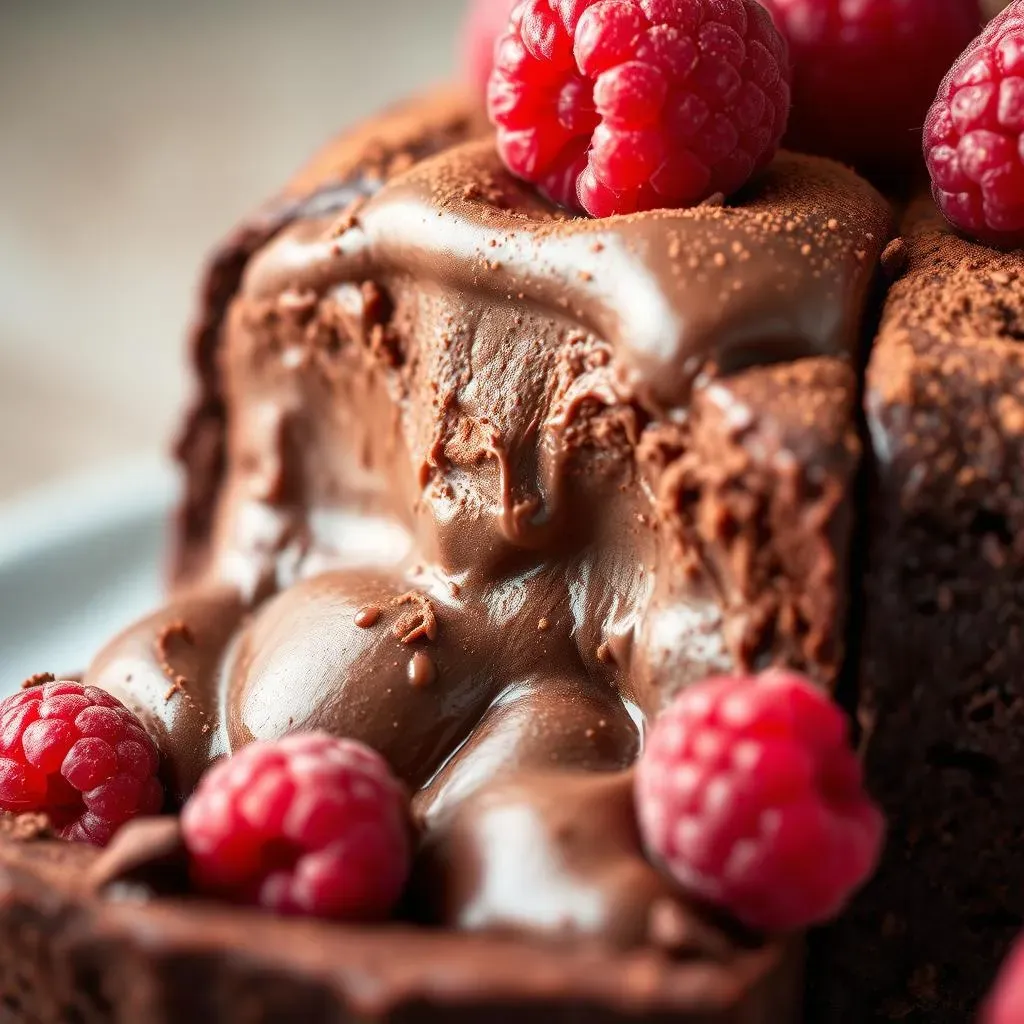
Alright, let's get to the star of the show: the chocolate mousse! The foundation of any great mousse is, of course, chocolate. But not just any chocolate will do. Similar to the cake, you want to use high-quality dark chocolate here. I usually aim for the same percentage as the cake, around 70% cocoa content. Chop it up into small, even pieces – this helps it melt smoothly and evenly. Now, here's the key: melt the chocolate gently. You can use a double boiler or a microwave, but whatever you do, don't overheat it! Burnt chocolate is a sad chocolate, and we want happy chocolate.
If you're using a microwave, melt the chocolate in 30-second intervals, stirring in between each interval until it's smooth and glossy. And if you're feeling fancy, add a pinch of sea salt to the melted chocolate. It enhances the flavor and adds a little something special. Trust me, your taste buds will thank you.
Whipping Up a Dream: The Mousse Magic
Now for the fun part: whipping up the mousse! This is where the magic happens. You'll need heavy cream, and it needs to be cold, like straight-from-the-fridge cold. This is crucial for getting those stiff peaks we're after. Pour the cold heavy cream into a chilled bowl (yes, chill the bowl too!) and start whipping with an electric mixer. At first, it'll look like nothing's happening, but be patient. Keep whipping until soft peaks form. Then, add a little powdered sugar for sweetness and continue whipping until stiff peaks form. Be careful not to overwhip, or you'll end up with butter!
Once your whipped cream is ready, gently fold it into the melted chocolate. Be gentle! You want to keep as much air in the mousse as possible. Fold until just combined, being careful not to overmix. And that's it! Your chocolate mousse is ready to chill. Cover it with plastic wrap and refrigerate for at least 2 hours, or even better, overnight. This allows the flavors to meld together and the mousse to set properly. Patience is a virtue, especially when it comes to chocolate mousse.
Ingredient | Why It Matters |
|---|---|
High-Quality Dark Chocolate | Provides rich, intense flavor |
Cold Heavy Cream | Essential for stable whipped cream |
Powdered Sugar | Sweetens without adding graininess |
Assembling Your Dream Chocolate Cake
Assembling Your Dream Chocolate Cake
Leveling the Playing Field: Preparing Your Cake Layers
Alright, you've got your incredible dark chocolate cake layers and your dreamy chocolate mousse filling. Now it's time to bring it all together! First things first, you need to make sure your cake layers are level. Nobody wants a wobbly cake! If your cakes have a dome on top, use a serrated knife to carefully trim them so they're nice and flat. This will not only make your cake look better, but it will also make it easier to stack and frost.
And here's a little secret: wrap your cake layers in plastic wrap and freeze them for about an hour before assembling. This makes them easier to handle and prevents them from crumbling. Trust me, it's a game-changer. Plus, a slightly chilled cake layer is the perfect canvas for a generous slathering of chocolate mousse.
Stacking High: The Mousse Layering Technique
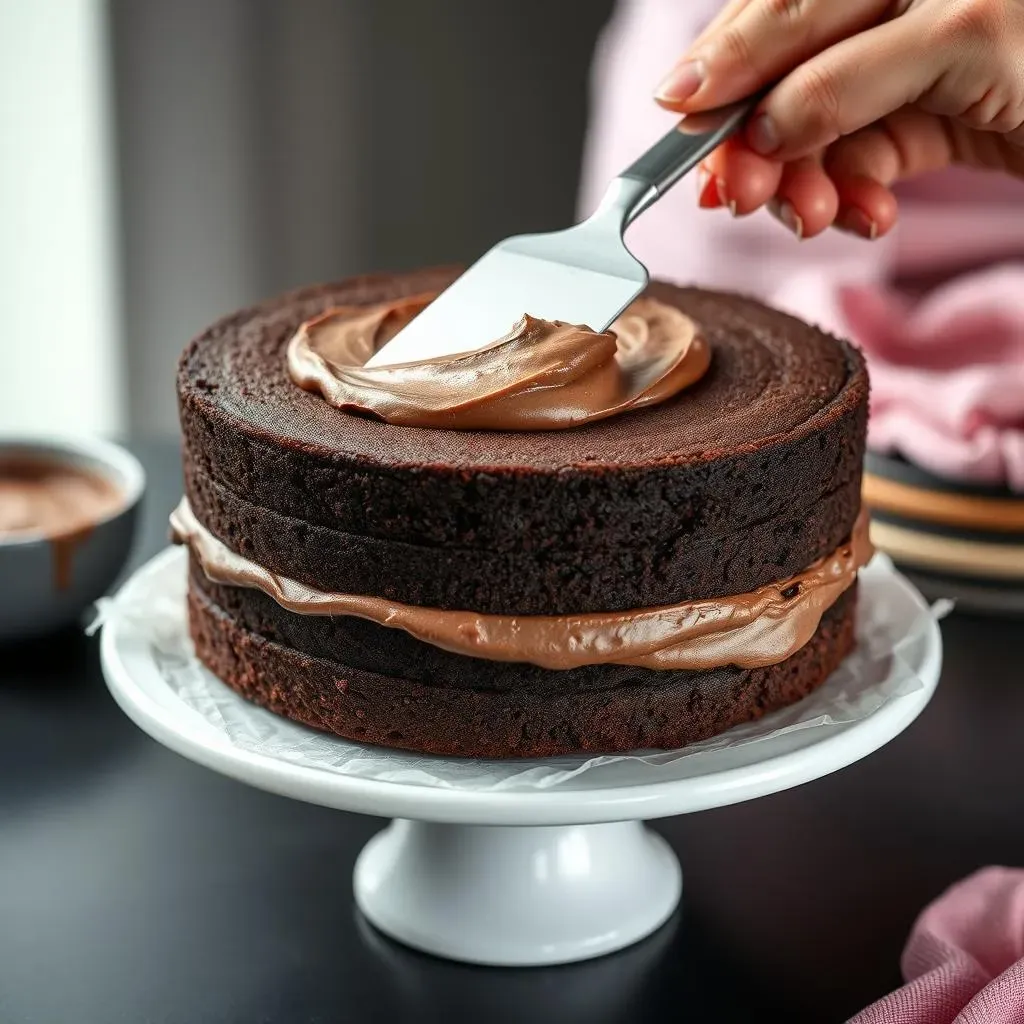
Now for the fun part: layering! Place one cake layer on a serving plate or cake stand. If you want to get fancy, you can place strips of parchment paper around the edges of the plate to keep it clean while frosting. Next, spread a generous layer of chocolate mousse over the cake. Don't be shy! This is where the magic happens. Use an offset spatula to smooth the mousse evenly over the cake layer.
Then, carefully place the second cake layer on top of the mousse. Repeat the process with the remaining cake layers and mousse, making sure each layer is even and level. Once you've stacked all the layers, gently press down on the top layer to help everything settle. And that's it! Your cake is assembled and ready for frosting. But before you start frosting, chill the cake in the refrigerator for at least 30 minutes. This will help the layers adhere together and make frosting a breeze.
Step | Description |
|---|---|
Leveling | Trim cake layers for even stacking |
Freezing | Chill layers for easier handling |
Layering | Generously spread mousse between layers |
Chilling | Set cake before frosting |
Tips and Variations for the Best Chocolate Cake Filling Recipe
Tips and Variations for the Best Chocolate Cake Filling Recipe
Flavor Boosters: Elevating Your Mousse
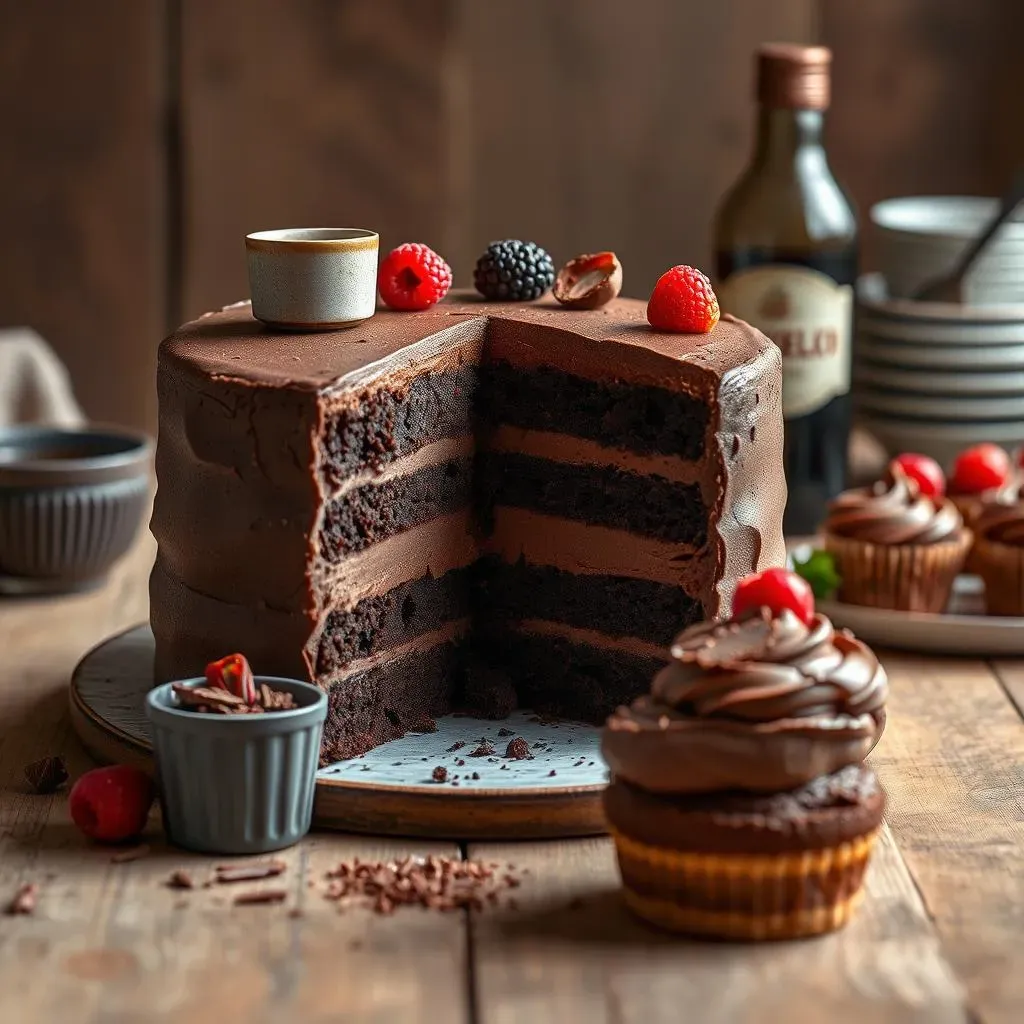
so you've nailed the basic chocolate mousse. But what if you want to take it to the next level? That's where flavor boosters come in! One of my favorite additions is a shot of espresso. Coffee and chocolate are a match made in heaven, and the espresso adds a subtle bitterness that balances the sweetness of the mousse. Another great option is a splash of liqueur. Frangelico (hazelnut liqueur) or Kahlua (coffee liqueur) are both fantastic choices. Just be careful not to add too much liquid, or your mousse might not set properly.
And if you're feeling adventurous, try adding a pinch of chili powder or cayenne pepper to the melted chocolate. It might sound crazy, but the heat really enhances the chocolate flavor. Just start with a small amount and taste as you go. You can also incorporate extracts like vanilla, peppermint, or orange for a unique twist. The possibilities are endless! Don't be afraid to experiment and find your perfect flavor combination.
Flavor Addition | Pairs Well With | Notes |
|---|---|---|
Espresso Powder | Dark Chocolate | Adds depth and bitterness |
Frangelico | Hazelnut, Chocolate | Nutty and sweet |
Chili Powder | Dark Chocolate | Subtle heat |
Cake Transformations: Beyond the Layers
Who says this decadent mousse is only for layered cakes? Get creative! This filling works wonders in cupcakes. Simply bake your favorite chocolate cupcake recipe, let them cool completely, and then core out the center with a cupcake corer or a small knife. Fill the cupcakes with the chocolate mousse, and then top with a swirl of whipped cream or chocolate ganache. Instant gourmet cupcakes!
Or how about a chocolate mousse tart? Press a graham cracker crust into a tart pan, bake it until golden brown, and then fill it with the chocolate mousse. Chill until set, and then top with fresh berries or chocolate shavings. It's an elegant and impressive dessert that's surprisingly easy to make. You could even use it as a dip for fruit or cookies! The mousse is so versatile, you can use it in countless ways. Let your imagination run wild!
Dietary Swaps: Making it Work for You
Got dietary restrictions? No problem! This recipe can be easily adapted to suit your needs. For a gluten-free version, simply use a gluten-free chocolate cake recipe. There are tons of great options available online. And for a dairy-free mousse, you can substitute the heavy cream with coconut cream. Just make sure to use the thick, solid part of the coconut cream, and whip it until light and fluffy. You can also use dairy-free chocolate.
If you're watching your sugar intake, you can use a sugar substitute like stevia or erythritol in both the cake and the mousse. Just be sure to adjust the amount to taste. And for a vegan version, you can use a combination of gluten-free cake, dairy-free coconut cream, and vegan chocolate. With a few simple swaps, everyone can enjoy this decadent chocolate cake!
Indulge in Chocolate Bliss: Your Best Chocolate Cake Awaits
So, there you have it – your guide to creating the best chocolate cake filling recipe, nestled within a decadent dark chocolate mousse cake. From the rich, dark chocolate layers to the airy mousse and the glossy ganache, every element works in harmony to deliver an unforgettable dessert experience. Whether you stick to the classic recipe or experiment with variations, remember that the key is quality ingredients and a touch of love. Now, go forth and bake a cake that will impress your friends, delight your family, or simply satisfy your own chocolate cravings. After all, life is too short for mediocre cake!