Table of Contents
Let's be real, sometimes you just need cake, and you need it fast. But does speed mean sacrificing taste? Absolutely not! Forget those dry, crumbly disappointments. We're about to transform a simple box of cake mix into a decadent, moist, and utterly irresistible treat. This isn't just any cake; it's the best chocolate cake box mix recipe you’ll ever make. We'll walk you through the essential ingredients – beyond what's in the box – and the simple techniques that elevate your baking game. From mixing to baking and frosting, we'll cover every step to ensure your cake turns out perfect every single time. Get ready to impress your friends and family (and maybe yourself) with this easy-to-follow guide. Get your aprons on, and let’s bake the best chocolate cake box mix recipe together!
The Secret to the Best Chocolate Cake Box Mix
The Secret to the Best Chocolate Cake Box Mix
so you're thinking about a chocolate cake, right? Not just any cake, but the *best* chocolate cake. The kind that makes people say "Wow!" and ask for seconds. Here's the thing: the real secret isn't some fancy chef technique or secret ingredient that costs a fortune. It all starts with a box, yes, a humble box of cake mix. But we're not stopping there. We're going to turn that box into something truly special. The key is knowing what to add and how to do it. It's like giving a regular car a supercharged engine. We're keeping the convenience, but adding a whole lot of flavor and moisture. It's all about the little tweaks that make a huge difference. So, are you ready to unlock the secret?
Elevating Your Box Mix: Key Ingredients and Techniques
Elevating Your Box Mix: Key Ingredients and Techniques
The Power of Pudding
so you've got your box of Devil's Food cake mix. Good start! Now, let's talk about the secret weapon: instant chocolate pudding mix. I know it sounds weird, but trust me on this. That little packet is a game-changer. It adds moisture and a richness that the box mix alone can't deliver. It's like adding a secret layer of chocolatey goodness. Think of it as the velvet lining to your cake's already awesome interior. Don’t skip it!
It's not about making the cake more complicated, but about making it more delicious. We're not trying to reinvent the wheel here, just making it roll a whole lot smoother and taste a whole lot better.
Sour Cream and Oil: The Dynamic Duo
Next up, let’s talk about the dynamic duo: sour cream and oil. Now, you might be thinking, "Sour cream in a cake?". Yes! It adds a tanginess that balances the sweetness perfectly, and it also makes the cake incredibly moist. We’re not talking about a subtle hint here; it’s a noticeable difference that will blow your mind. The oil, that's for keeping everything nice and tender. Don't go swapping it out for butter here, the oil is key for that perfect texture.
These aren't just random additions; they're carefully chosen to create a cake that’s both flavorful and has a great mouthfeel. It’s all about creating the best possible outcome with minimal effort.
Ingredient | Why It Matters |
|---|---|
Instant Chocolate Pudding Mix | Adds moisture and intense chocolate flavor |
Sour Cream | Creates a tangy flavor and adds moisture |
Canola Oil | Keeps the cake tender and moist |
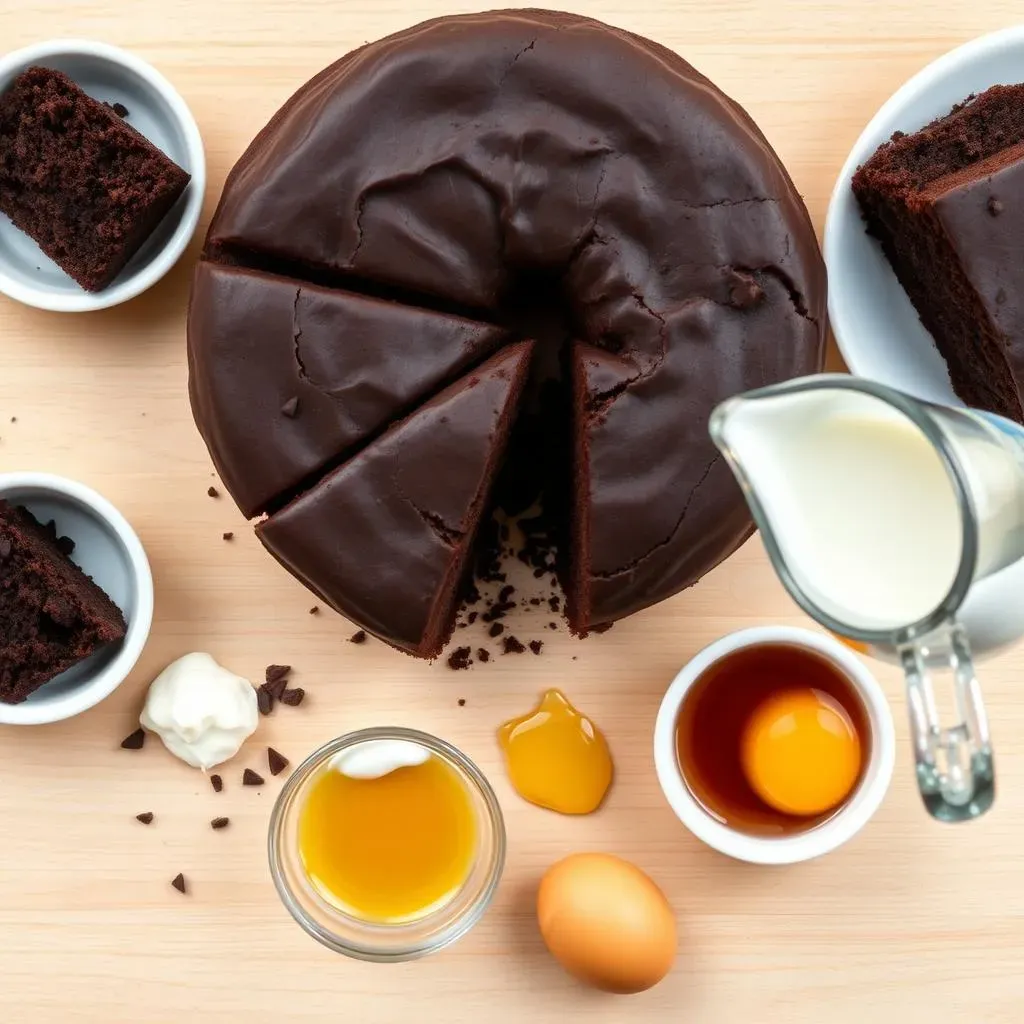
Eggs, Milk, and a Splash of Vanilla
Lastly, don't forget the usual suspects: eggs, milk, and a splash of vanilla extract. But here's a little pro tip: use an extra egg. It makes the cake richer and gives it a better structure. It's like adding an extra layer of support to a building, ensuring everything holds up perfectly. And for the milk, don't be shy. It helps create a smooth and pourable batter, which means a cake that will bake evenly. Finally, the vanilla is that tiny extra touch that elevates the overall taste. It’s the final brushstroke of paint to complete your masterpiece.
Remember, these changes may seem small, but together they make a big difference in your final result. It’s all about making your cake the best it can be, with easy tweaks.
Baking to Perfection: Time, Temperature, and Tips
Baking to Perfection: Time, Temperature, and Tips
Oven Temperature and Time: The Golden Rules
so you've got your batter all mixed up, smelling amazing, and you're ready to bake. The most important thing here is the temperature. Don't just crank your oven up to the max and hope for the best! We're going for a steady 350°F (175°C). This is like the sweet spot for baking a cake that's cooked through without burning the edges. And for baking time, we're not just following the box instructions blindly. We’re going to use that as a starting point, but add about 10 minutes extra. It sounds like a minor thing, but this ensures the cake is baked fully. It’s like giving the cake that extra bit of time to develop its full deliciousness.
Remember, every oven is a little different. So, while the timer is your friend, the toothpick is your best friend. A toothpick inserted into the center of the cake should come out clean, or with just a few moist crumbs attached. If it's still wet with batter, give it a few more minutes. It’s all about that perfect balance of baked and moist, and that’s how you get it.
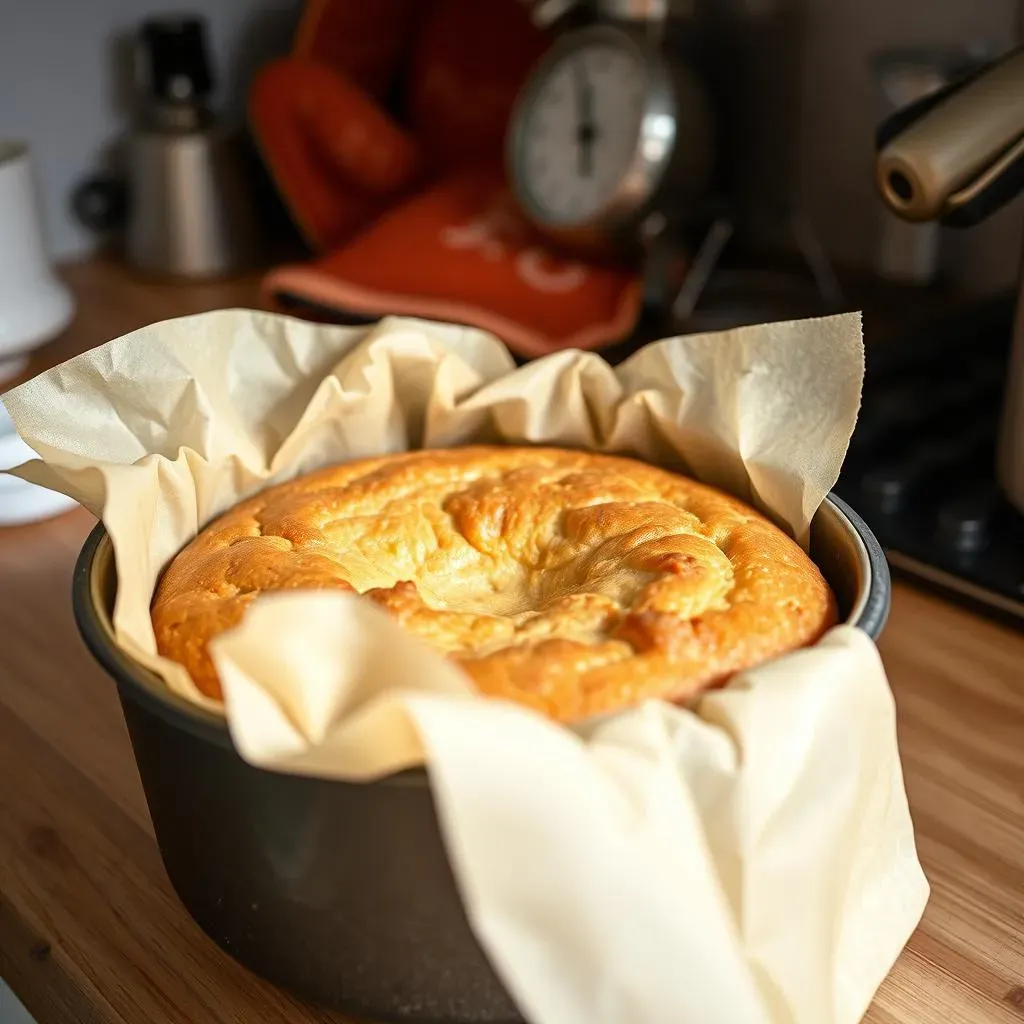
Pan Prep and Cooling: The Unsung Heroes
Now let’s talk about the unsung heroes of baking: pan prep and cooling. Before you even think about pouring in your batter, make sure your cake pans are prepped correctly. I like to grease them well with butter or cooking spray and then add a layer of parchment paper at the bottom. It’s like giving your cake a non-stick slide. This is a game-changer for getting the cake out of the pan without any bits stuck behind. And, once the cake is out of the oven, let it cool in the pans for about 10-15 minutes before flipping it out onto a wire rack. It’s like letting the cake settle down and get ready for its big reveal. Don’t rush this step; it’s key to avoiding a crumbly mess.
The cooling process is just as important as the baking. Let the cake cool completely before you add any frosting. If you frost a warm cake, the frosting will melt and slide right off, and that's not the look we're going for. It’s like putting on a coat on a hot day: it just doesn't work. A completely cooled cake will hold its frosting beautifully and will taste even better. Patience here is key, and it pays off big time.
Step | Why It Matters |
|---|---|
Bake at 350°F (175°C) | Ensures even cooking without burning |
Add 10 minutes to box time | Guarantees the cake is fully baked |
Toothpick test | Checks for doneness; toothpick should come out clean |
Grease and parchment paper | Makes cake removal easier |
Cool in pan for 10-15 mins | Allows cake to set before removing |
Cool completely before frosting | Prevents frosting from melting |
Frosting and Finishing: The Icing on the Best Chocolate Cake Box Mix
Frosting and Finishing: The Icing on the Best Chocolate Cake Box Mix
The Classic Buttercream Dream
so your cake is baked, cooled, and ready for its final transformation. Let's talk frosting, and I mean the real deal – a classic buttercream. It's not just about slapping some frosting on; it’s about creating a smooth, creamy, and utterly delicious topping that perfectly complements your chocolate cake. The base is simple: butter, powdered sugar, a pinch of salt, and vanilla extract. But the magic is in the details. Make sure your butter is softened, not melted. It’s like the goldilocks of butter, not too hard, not too soft, just right. And when you mix it with the powdered sugar, start slow, or you’ll end up with a powdered sugar cloud in your kitchen. Trust me, I've been there.
The key to a great buttercream is beating it until it’s light and fluffy. It’s like whipping air into it, making it smooth and easy to spread. And for that perfect consistency, add a splash of heavy cream, one tablespoon at a time, until it’s just right. It's all about finding that sweet spot where the frosting is neither too stiff nor too runny. It's like creating a masterpiece, one ingredient at a time.
Leveling Up with Chocolate Chips
Now, you could stop there with your classic buttercream, but why would you? Let's add some extra chocolatey goodness. I like to stir in some semi-sweet chocolate chips, they add a bit of texture and an extra punch of chocolate. It's like a surprise party in every bite. You don't have to go crazy here, just a handful or two will do. It's like adding sprinkles to a sundae; it takes it from good to great.
And for spreading the frosting, don’t just slop it on. Take your time and use an offset spatula, it’s like a magic wand for frosting. It helps create a smooth and even layer, and you can get those fancy swirls if you're feeling adventurous. The goal is to make it look as good as it tastes. It’s like putting the final touches on a painting, making sure everything is just right.
Frosting Component | Purpose |
|---|---|
Softened Butter | Forms the base of the frosting |
Powdered Sugar | Adds sweetness and structure |
Pinch of Salt | Balances the sweetness |
Vanilla Extract | Adds flavor |
Heavy Cream | Adjusts consistency |
Semi-Sweet Chocolate Chips | Adds texture and chocolate flavor |
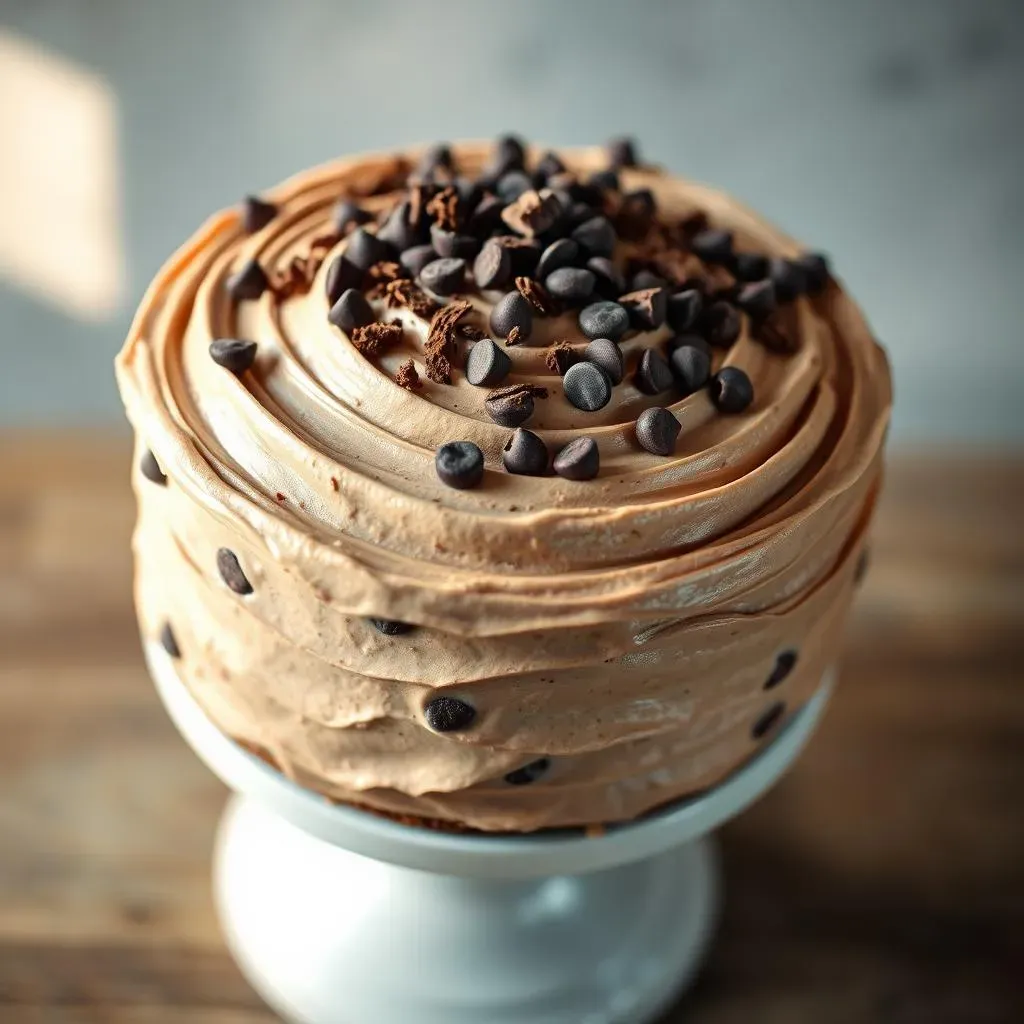
Finishing Touches and Serving
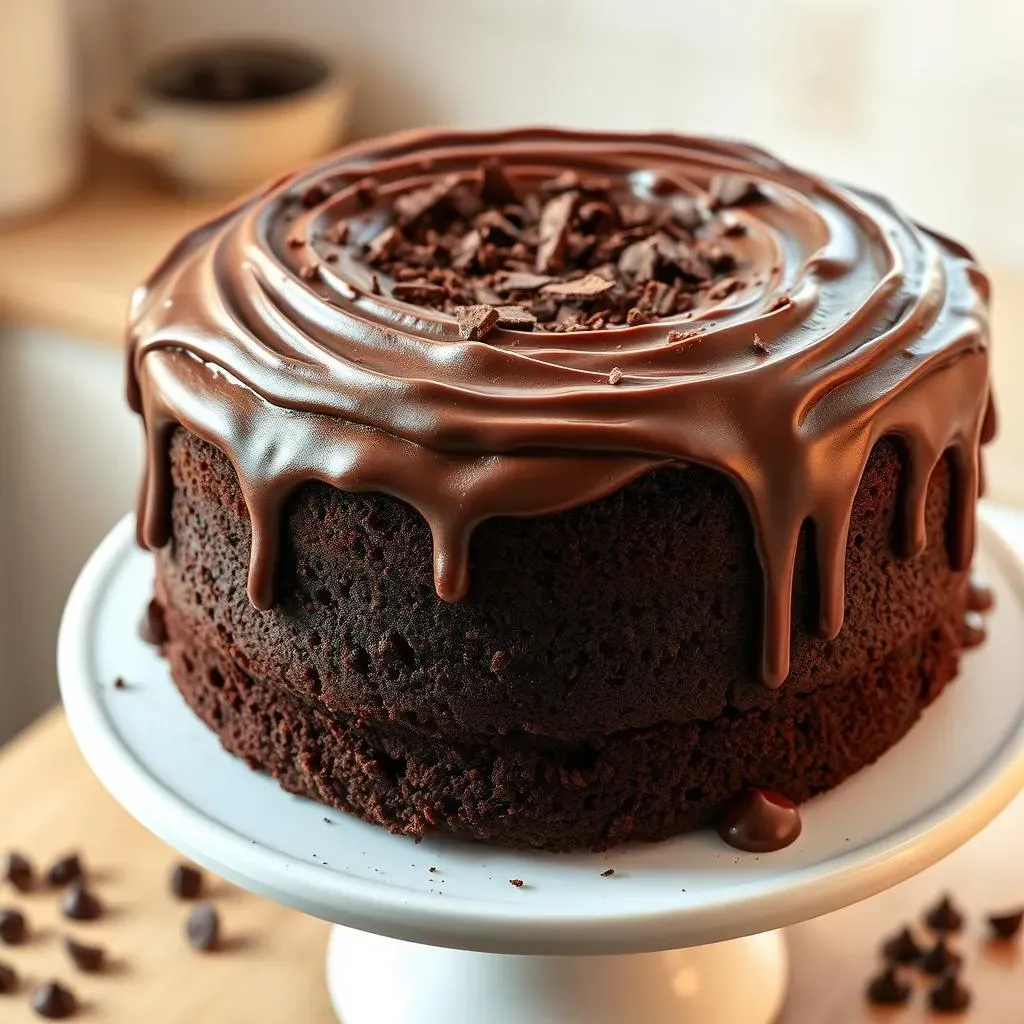
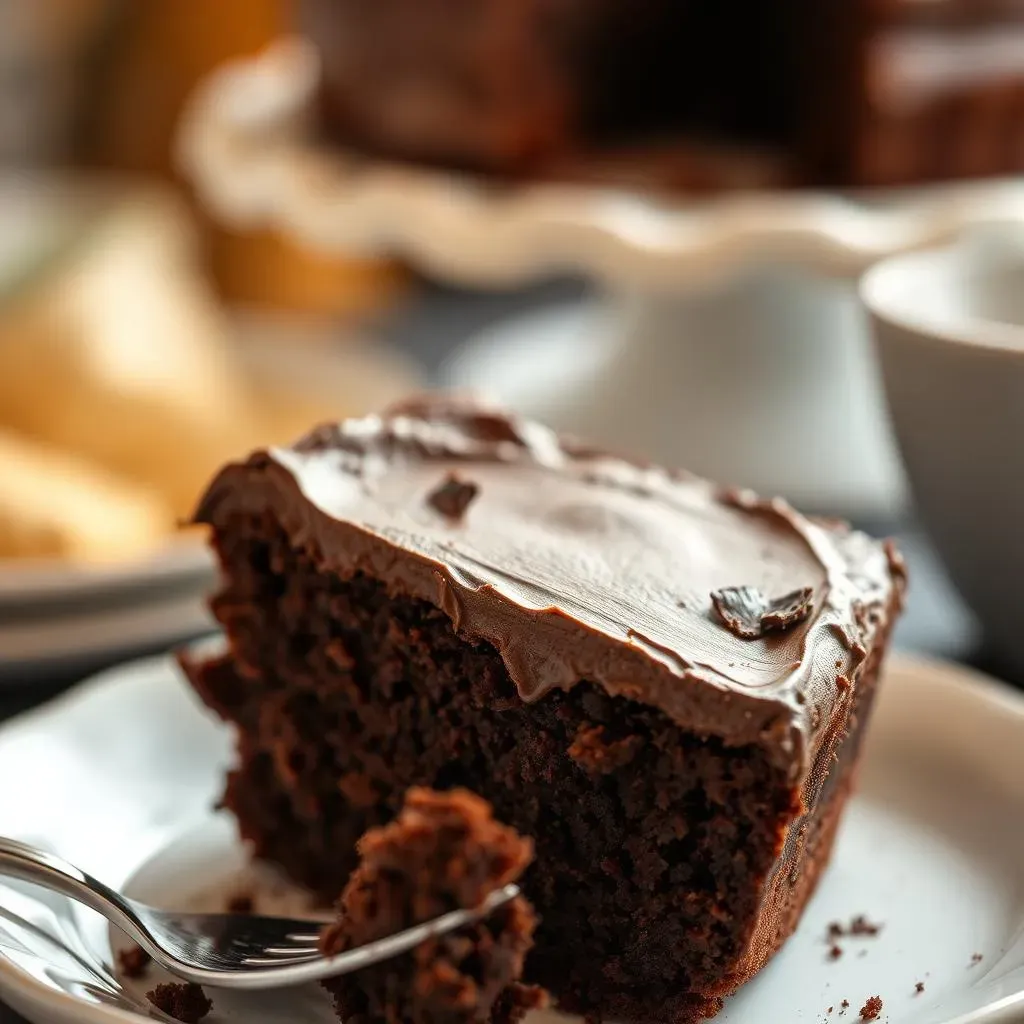
And there you have it, your perfectly frosted, super moist chocolate cake! It's time for the final touches. I like to add a few extra chocolate chips on top, or maybe some chocolate shavings, it's like the cherry on top of a sundae. But honestly, you can keep it simple and let the cake speak for itself. It’s like adding the finishing touches to a masterpiece, making it ready for its grand reveal.
When it comes to serving, don't forget to slice it up with a sharp knife. It's like cutting a diamond, you want to make sure you're doing it right. And if you want to take it to the next level, serve it with a scoop of vanilla ice cream or a glass of cold milk. It’s like a perfect pairing of flavors and textures. But the most important thing is to share it with someone you love. It’s not just a cake, it’s an experience, and it’s best enjoyed with good company.
The Sweet Finale: Your Best Chocolate Cake Box Mix Masterpiece
So, there you have it – the secret to transforming a humble box of chocolate cake mix into something truly extraordinary. We've shown you how a few simple additions and techniques can make all the difference, resulting in a cake that's moist, rich, and utterly delicious. Now, it's your turn to bake, experiment, and most importantly, enjoy. Whether it’s for a birthday, a Tuesday night, or just because, this recipe is sure to impress. Share your creations, tag us in your photos, and let us know how your baking adventure turns out. Happy baking!