Table of Contents
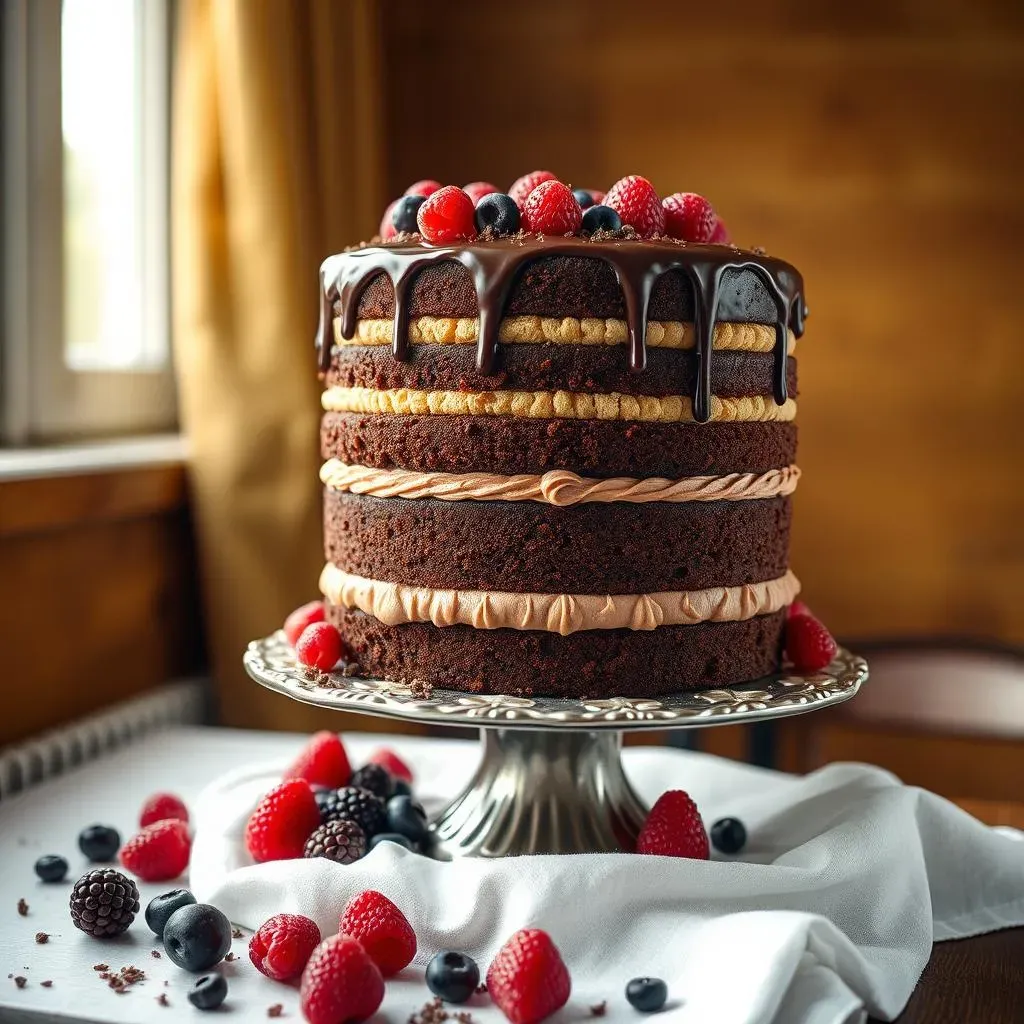
Ever dreamt of a chocolate cake that's not just good, but truly unforgettable? A cake that's so moist, so rich, and so deeply chocolatey that it makes you close your eyes with every bite? Well, you're in for a treat because this isn't just any cake recipe, it's the best 3 layer chocolate cake recipe you'll ever find. This guide will walk you through each step, from mixing the batter to frosting like a pro, ensuring your cake is a showstopper. We'll start with creating those perfect, tender cake layers, then move on to assembling and frosting with a velvety smooth chocolate buttercream. Finally, we'll discuss how to store your masterpiece and even share some fun variations to make it your own. So, whether you're a seasoned baker or just starting out, get ready to create a cake that will have everyone asking for seconds – and the recipe!
The Ultimate Best 3 Layer Chocolate Cake Recipe: A StepbyStep Guide
The Ultimate Best 3 Layer Chocolate Cake Recipe: A StepbyStep Guide
Getting Started: The Dry Ingredients
Alright, let's kick things off with the dry stuff. It's super important to get these measurements right, so grab your measuring cups and spoons. We're talking flour, sugar, cocoa powder (the good stuff, not the instant hot chocolate mix!), baking powder, baking soda, and a pinch of salt. I like to whisk them all together in a big bowl. It's like a little pre-game dance for the ingredients, making sure everything's evenly distributed. This step is crucial because you don't want a clump of baking soda in one spot – that's a recipe for disaster. Think of it like this: a smooth start leads to a smooth cake.
Now, you might be thinking, "Do I *really* need to whisk them?". Yes, you do! It's not just for show. Whisking the dry ingredients helps aerate the mixture, which will result in a lighter, fluffier cake. Plus, it ensures that the baking powder and baking soda are evenly distributed, so your cake rises nice and even. Trust me, this little step makes a huge difference. It's like giving your cake a head start in the race to deliciousness. If you skip this, your cake might be a bit of a dense brick, and we're aiming for cloud-like perfection.
The Wet Ingredients and Combining
Next up, let's tackle the wet ingredients. In a separate bowl, you’ll need to mix together the eggs, milk, oil, and vanilla extract. It’s like creating a little potion that will bring our dry ingredients to life. Don’t be shy with the vanilla; a good splash of it can make a world of difference in flavor. I like to use a fork or a whisk for this step, just to make sure everything is well combined. Now, here's the fun part: pour the wet ingredients into the bowl with the dry ingredients. Don't dump it all in at once! Do it slowly, while mixing with a whisk or a spatula.
The key here is to mix until *just* combined. Overmixing is the enemy of a tender cake. It develops the gluten in the flour, making your cake tough. So, mix until you no longer see any streaks of flour, and then stop. It's like a delicate dance – you want to bring the ingredients together, but you don't want to overdo it. Remember, a little bit of patience goes a long way in baking. Now, we have our batter ready to go. It should be thick, smooth, and smell absolutely heavenly.
Ingredient Type | Purpose | Why It Matters |
|---|---|---|
Dry Ingredients (flour, sugar, cocoa, etc.) | Provide structure and flavor | Even distribution is key for texture and rise |
Wet Ingredients (eggs, milk, oil, etc.) | Bind ingredients and add moisture | Proper emulsification creates a tender crumb |
Mixing Technique | Combines dry and wet ingredients | Avoid overmixing to prevent a tough cake |
Baking the Best Chocolate Cake Layers: Tips and Techniques
Baking the Best Chocolate Cake Layers: Tips and Techniques
Prepping the Pans: The Foundation for Success
so you've got your batter all mixed, smelling like a dream. Now, it's time to get those pans ready. This step is just as important as the mixing, I promise. First, grab your cake pans – we're using three for this recipe, so make sure you have enough. I always like to give them a good coating of non-stick spray. But that's not all, oh no. We're going to line the bottoms with parchment paper cut to fit the pan. This is like a safety net for your cake, ensuring it comes out of the pan in one piece. No one wants a cake that's stuck to the bottom, right? It's like trying to separate two magnets that are stuck together, not fun at all.
Think of it this way: the non-stick spray is like a slippery slide, and the parchment paper is like a soft landing pad. This double protection guarantees your cake won't stick. Now, divide the batter evenly among the three pans. I like to use a scale to make sure they're all the same, but you can eyeball it too. Just try to get them as even as possible, so they bake uniformly. This is not a race, so take your time. A little precision here will pay off big time later. We're aiming for those perfect, flat layers, ready for stacking. If one is thicker than the other, you'll have a leaning tower of cake instead of an even masterpiece.
Oven Temperature and Baking Time: The Sweet Spot
Alright, let's talk about the oven. This is where the magic happens, but it's also where things can go wrong if you're not careful. Preheat your oven to 350°F (175°C). It's like setting the stage for your cake, making sure it's nice and warm when the cake pans go in. I always use an oven thermometer to make sure my oven is actually at the right temperature. Ovens can be sneaky, and sometimes they lie about their temperature. Once your oven is ready, carefully place the cake pans on the middle rack. Now comes the hard part: waiting. It's like waiting for Christmas morning; the anticipation is killer.
Bake for about 25-30 minutes, or until a toothpick inserted into the center comes out clean. Do not open the oven too often! Opening it lets the heat escape, and the cake might not bake properly. It's like peeking at a surprise before it's ready – it ruins the magic. The baking time can vary based on your oven, so keep a close eye on it. When the toothpick comes out clean, you know your cake layers are ready. It's like the final test, the moment of truth. Once they're done, take them out of the oven and let them cool in the pans for about 10 minutes before removing them and placing them on a wire rack to cool completely. Patience is a virtue when baking, so let them cool properly.
Step | Technique | Why It's Important |
|---|---|---|
Pan Prep | Non-stick spray and parchment paper | Ensures easy cake removal |
Batter Distribution | Evenly divide batter | For uniform cake layers |
Oven Temperature | Preheat to 350°F (175°C) | Proper baking temperature |
Baking Time | 25-30 minutes (toothpick test) | Ensures cake is fully cooked |
Cooling and Leveling: Achieving Perfect Layers
So, your cake layers are out of the oven and smelling divine, but they're not quite ready for frosting just yet. Cooling is a crucial step, and you've got to be patient. Let the cakes cool in the pans for about ten minutes. This allows them to firm up a bit, making them easier to handle. Then, gently invert them onto a wire rack to cool completely. I know it's tempting to rush, but if you try to frost a warm cake, you'll end up with a melty, messy situation. It's like trying to paint a wall that's still wet; it just won't work.
Once your cake layers are cool, it's time for the final touch before frosting, leveling. Sometimes, cakes can bake with a bit of a dome on top, which can make stacking tricky. I use a long serrated knife to gently slice off the tops, creating a flat surface. It's like sculpting a masterpiece, making sure each layer is perfectly even. If you don't have a long knife, you can use a cake leveler. This is not a race, so take your time. Now, you have three perfectly level cake layers, ready to be transformed into the best 3 layer chocolate cake you've ever seen. These flat, even layers will make the cake easier to assemble and give you a professional look.
Assembling and Frosting Your Delicious 3 Layer Chocolate Cake
Assembling and Frosting Your Delicious 3 Layer Chocolate Cake
Making the Buttercream: The Creamy Dream
now for the buttercream – the glue that holds our cake together, and arguably the best part! Start with softened butter, and I mean *softened*, not melted. It should be like playdough, easy to work with. Beat that butter until it's light and fluffy, like you're whipping up a cloud. Then, gradually add in your powdered sugar, a little at a time, mixing on low speed to avoid a powdered sugar explosion. Trust me, you don’t want to be covered in a white cloud. It's like a snowstorm in your kitchen, and not the fun kind. Then, add in your cocoa powder, vanilla extract, and a pinch of salt. The salt is a secret weapon, it enhances the chocolate flavor. Finally, add in a few tablespoons of milk or cream, just enough to get the frosting to a smooth, spreadable consistency. It's like finding the perfect balance, not too thick, not too thin, just right.
Whip it all up until it’s light and fluffy, like a soft, chocolatey dream. If it's too thick, add a tiny bit more milk; if it's too thin, add a touch more powdered sugar. It's all about adjusting to get that perfect texture. The key is to beat it long enough to get it super light and airy. It's like giving your frosting a spa day, making it feel its best. Once you've made your buttercream, you're ready to assemble the cake. It’s like the final piece of the puzzle, everything is coming together now. It's time to turn those layers into a beautiful, frosted masterpiece.
Ingredient | Purpose | Tips for Success |
|---|---|---|
Softened Butter | Base of the frosting | Must be softened, not melted |
Powdered Sugar | Sweetness and structure | Add gradually to avoid mess |
Cocoa Powder | Chocolate flavor | Use good quality for best taste |
Milk or Cream | Adjusts consistency | Add a little at a time to reach the perfect texture |
Assembling the Cake: The Layering Process
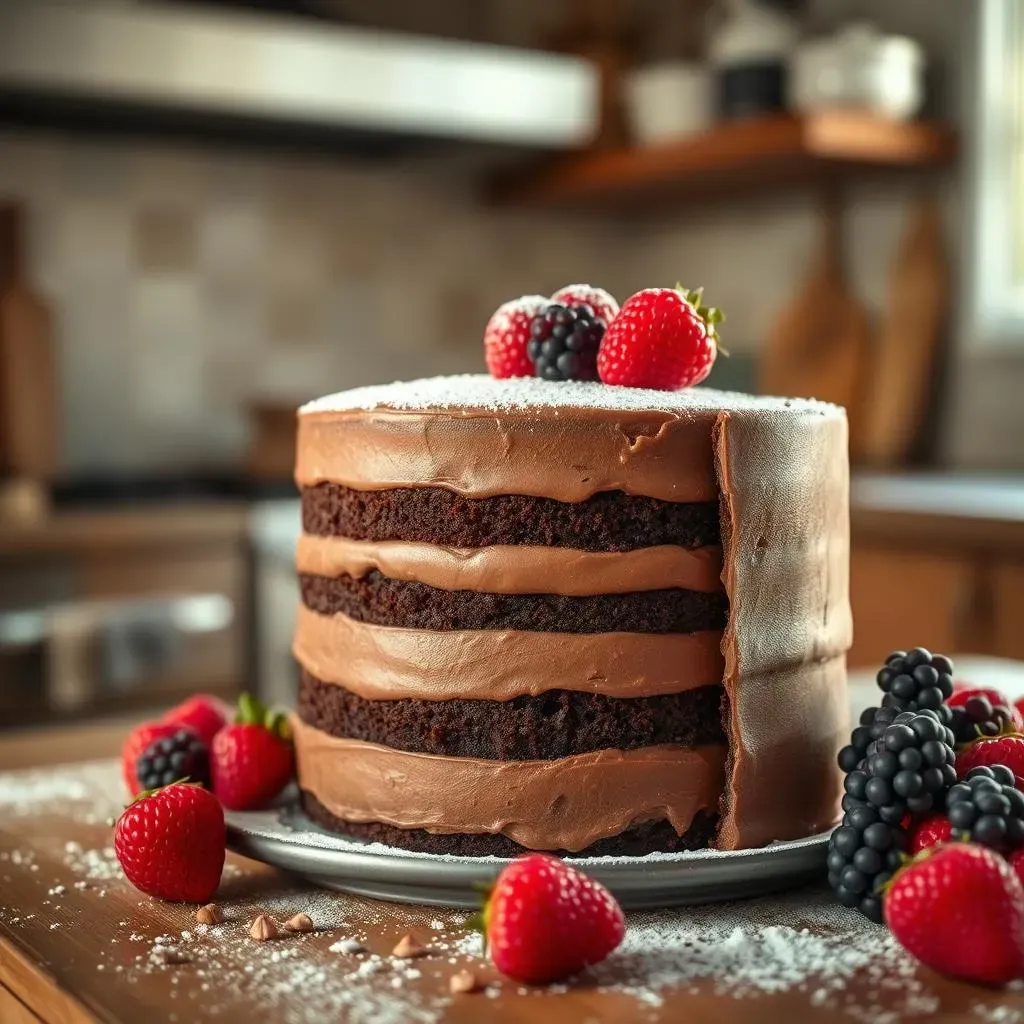
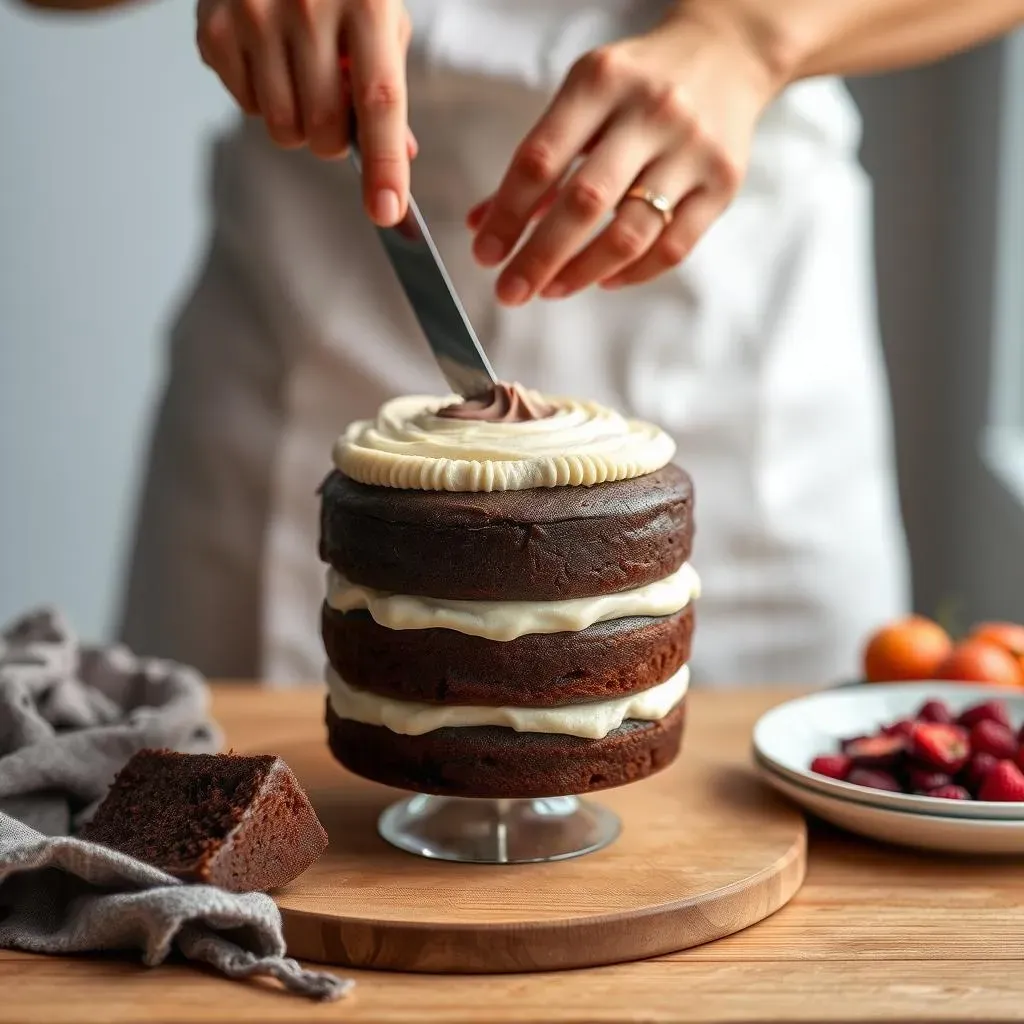
Alright, assembly time! Place one cake layer on your serving plate or cake stand. It's like setting the foundation for a building, you want it to be sturdy and level. Then, spread a generous layer of that delicious buttercream on top, making sure to go all the way to the edges. It's like adding a layer of creamy goodness, making sure no part of the cake is left out. Now, carefully place the second cake layer on top, pressing down gently. This is like stacking building blocks, you want them to be even and secure. Repeat with another layer of frosting, and then top with the final cake layer. It’s starting to look like a real cake now, right?
Now, do a crumb coat. This is a thin layer of frosting that seals in all the crumbs, preventing them from getting into the final layer of frosting. It's like a primer for your cake, making sure the final frosting looks smooth and perfect. Once you've applied the crumb coat, put the cake in the fridge for about 15-20 minutes to let it set. This will make the final frosting easier to apply. It’s like taking a little break, giving the cake time to chill and be ready for the final touches. It's like giving your cake a little rest before the big reveal, making sure it’s perfect and ready for its close-up.
The Final Frosting: Making It Look Pretty
Now for the final frosting layer! Take your chilled cake out of the fridge and apply the rest of your buttercream. You can use an offset spatula or a butter knife. It’s like painting a masterpiece, smoothing the frosting all over the cake. You can go for a smooth, even finish, or you can create some swirls and texture. It's all about your personal preference, so get creative with it. There are no rules here, it's your cake, your masterpiece. If you're new to frosting, don't worry about making it perfect. Practice makes perfect, and even a slightly imperfect cake will taste delicious.
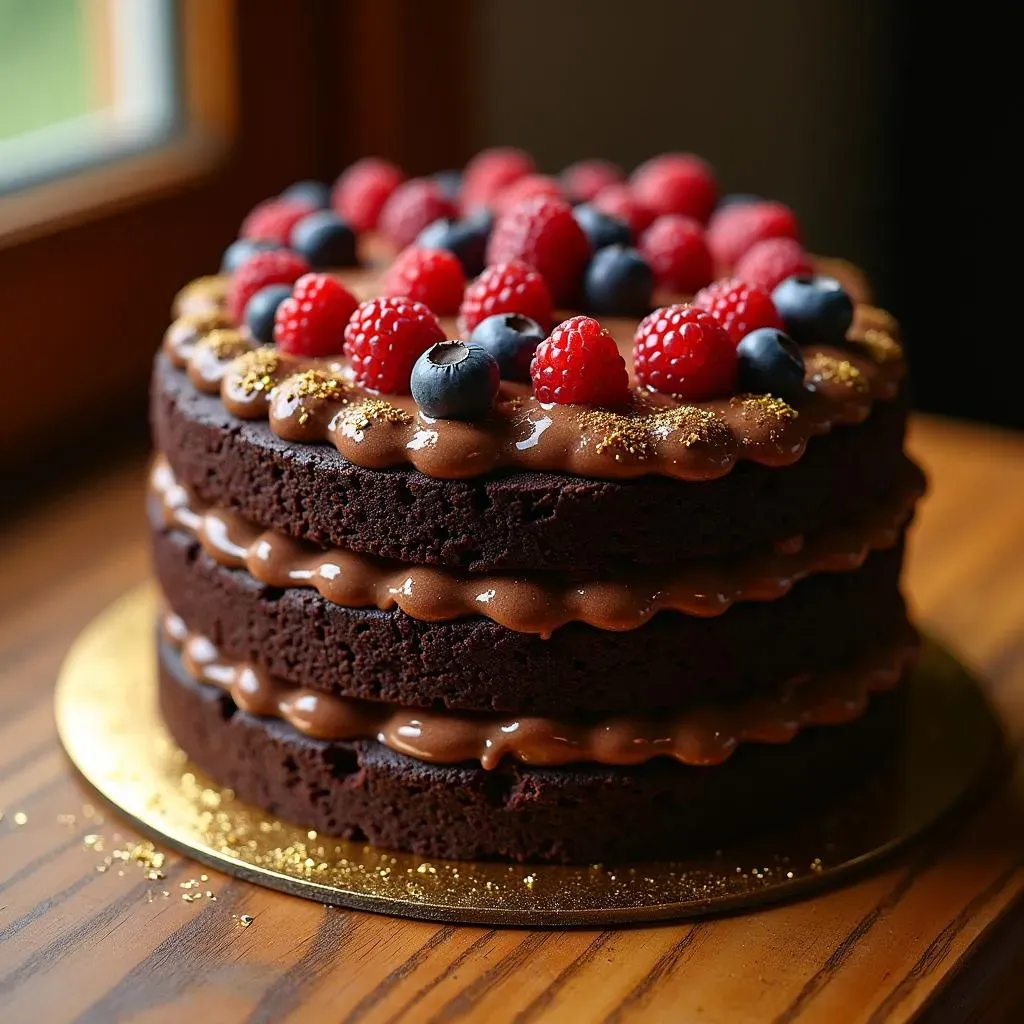
Once you've finished frosting, you can add some decorations, like chocolate shavings, sprinkles, or fresh berries. It's like adding the finishing touches to a work of art, making it even more beautiful and delicious. I like to use a piping bag to make some decorative swirls or borders, but you can keep it simple too. It's like adding your own signature, making it unique and special. Now, your cake is ready to be admired and, most importantly, eaten. It's the moment of truth, the reward for all your hard work. Enjoy every bite of that homemade goodness!
“Baking is a science, but frosting is an art.” - Anonymous
Storing, Serving, and Variations: Making the Best Chocolate Cake Your Own
Storing, Serving, and Variations: Making the Best Chocolate Cake Your Own
Storing Your Chocolate Masterpiece: Keeping it Fresh
Alright, so you've baked this amazing best 3 layer chocolate cake, and maybe, just maybe, you have some leftovers (or you want to make it ahead of time, which is totally cool). Knowing how to store it is key to keeping it delicious. If you're planning to eat it within a day or two, you can store it at room temperature in an airtight container. But if you need it to last longer, the fridge is your best friend. Just make sure to wrap it well in plastic wrap or put it in an airtight container to prevent it from drying out. It's like giving your cake a little cozy blanket, keeping it safe and moist. If you have frosted cake, place it in the fridge for about 15-20 minutes before wrapping it, this will help the frosting to harden slightly and prevent it from sticking to the wrap. No one wants a smudged frosting, right?
For longer storage, you can also freeze the cake. I like to wrap each layer individually in plastic wrap, then wrap them again in foil, or put them in freezer bags. This prevents freezer burn and keeps the cake tasting fresh. When you're ready to eat it, let it thaw in the fridge overnight. It's like putting your cake in a time capsule, preserving its deliciousness for later. You can also freeze frosted cake, but keep in mind that the frosting might change texture a bit after thawing. But don't worry it will still taste amazing. A little planning ahead will make sure your cake is ready whenever you are.
Storage Method | Timeframe | Tips |
|---|---|---|
Room Temperature | 1-2 days | Airtight container |
Refrigerator | Up to 5 days | Wrapped well in plastic wrap or airtight container |
Freezer | Up to 2 months | Wrap layers individually, then foil or freezer bag |
Serving Suggestions: The Presentation Matters
so the cake is baked, frosted, and stored perfectly, now how do you serve it? Well, presentation is key! I love to slice a piece of the cake and place it on a nice plate. You can add a dollop of whipped cream, a scoop of ice cream, or some fresh berries. It's like adding the final touches to a beautiful painting, making it even more appealing. A little garnish can go a long way. You can also drizzle some chocolate sauce over the top, or sprinkle some chocolate shavings. It's all about making it look as good as it tastes. Don't be afraid to get creative with it. Serving a slice of cake is not just about the taste but also about the experience.
If you're serving the cake at a party or gathering, you can also make it look extra fancy by using a cake stand. It elevates the cake, literally, and makes it the centerpiece of the dessert table. You can also add some candles, if it's a birthday, or some edible flowers for a special occasion. It's like turning an ordinary cake into a showstopper. The way you serve the cake can make all the difference. So, take a few extra minutes to make it look as beautiful as it tastes. It's all about making the moment memorable and enjoyable for everyone.
Variations: Making It Your Own
Now, let's talk about making this best 3 layer chocolate cake recipe truly your own. There are so many ways to change it up! If you want a richer, more intense chocolate flavor, you can use Dutch-processed cocoa powder instead of regular cocoa powder. It's like adding an extra layer of depth to the flavor, making it even more decadent. You can also add a shot of espresso or strong coffee to the batter for a mocha twist. It's like giving your cake a little caffeine boost, making it even more exciting. I like to add chocolate chips to the batter, because why not? The more chocolate the better!
You can also experiment with different types of frosting. Instead of chocolate buttercream, you could use a cream cheese frosting, or a peanut butter frosting. It's like exploring different flavors, finding what you love most. You can also add different extracts to the frosting, like peppermint, orange, or almond. It's like adding a little magic, transforming the flavor of the frosting. Finally, you can add some toppings, like nuts, candies, or sprinkles. It's like the final layer of customization, making it unique and special. The possibilities are endless, so get creative and have fun with it! Remember, baking is all about experimenting and finding what you love most.
“Life is what you bake it.” - Unknown
Wrapping Up Your Best 3 Layer Chocolate Cake Adventure
So, there you have it—the best 3 layer chocolate cake recipe, ready to steal the show at any gathering. From the initial whisk of the batter to the final swirl of frosting, you've navigated each step with flair. Remember, baking is as much about the process as it is about the result. Don't be afraid to experiment with the variations, make it your own, and most importantly, enjoy the deliciousness you've created. Whether it's a birthday, a holiday, or just a craving for something sweet, this cake is guaranteed to bring smiles. Happy baking, and even happier eating!