
Table of Contents
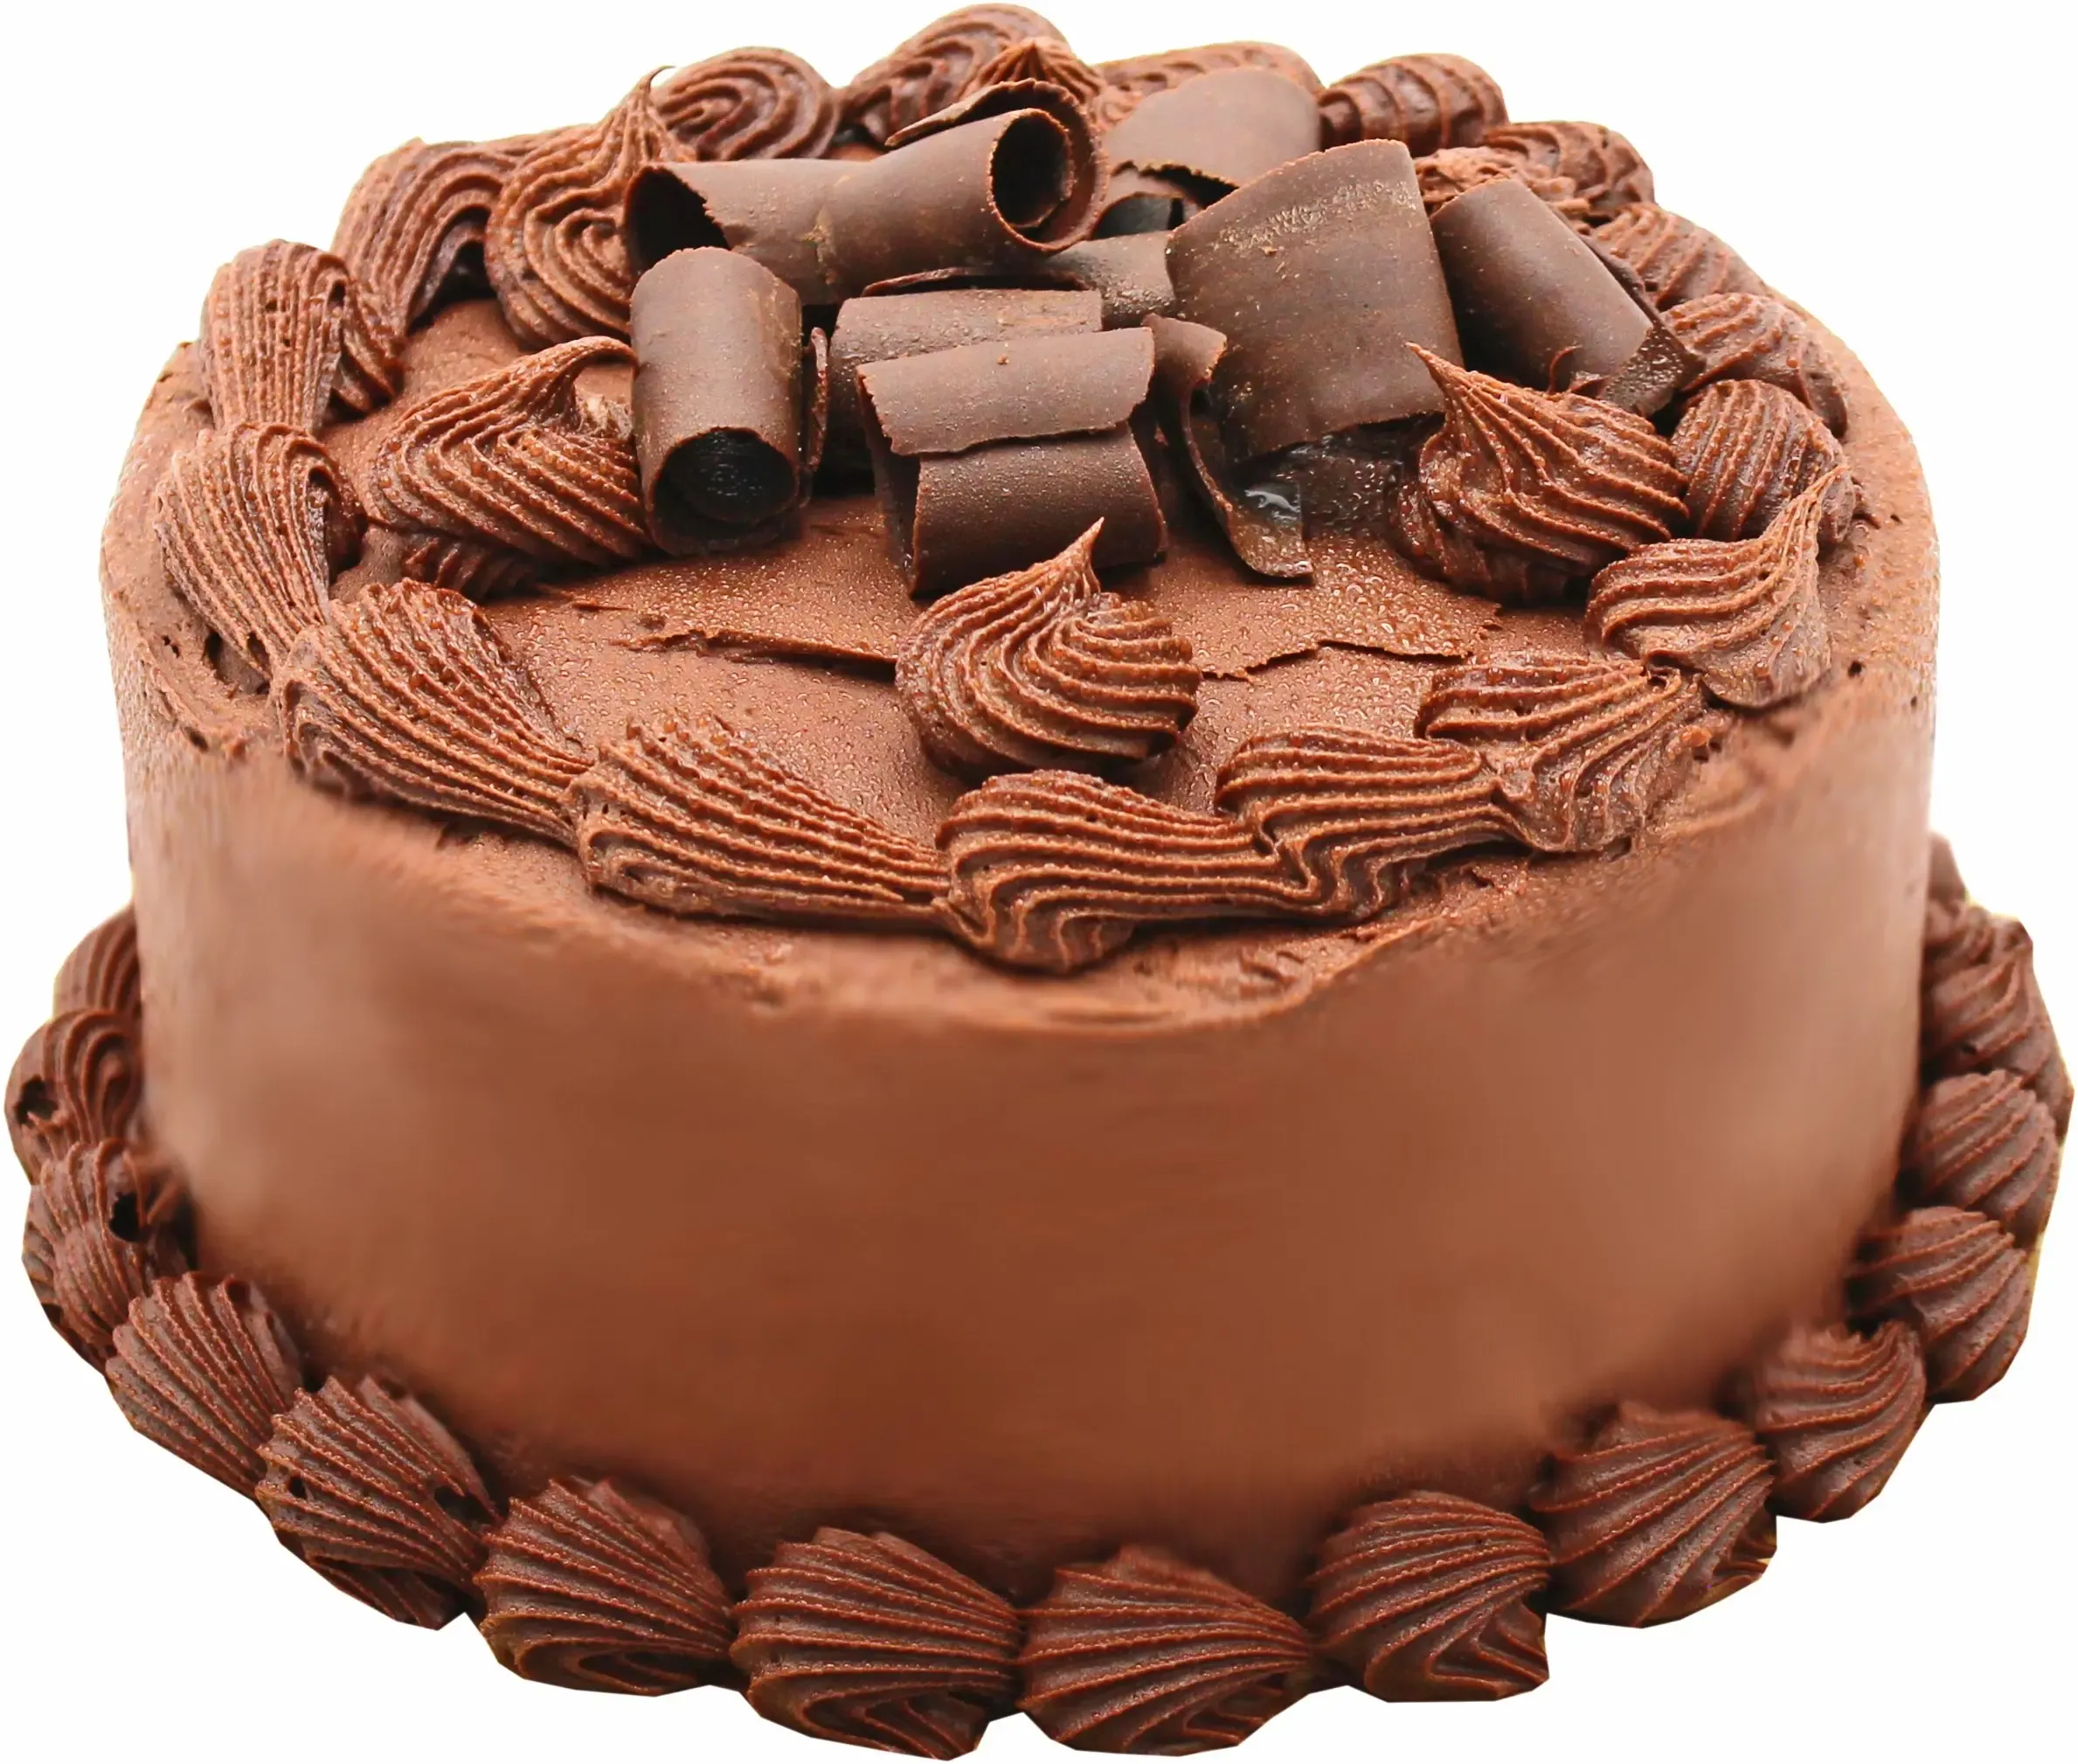
Alright, let's talk chocolate cake. Not just any chocolate cake, but the kind that makes you close your eyes and hum a little tune.
Why Try Anthony's Chocolate Mousse Cake Recipe?
So, you're wondering why bother with the whole process of tackling Anthony's chocolate mousse cake recipe? Look, let's be honest, there are easier ways to get your chocolate fix. You could grab a candy bar, sure. But this isn't about convenience; it's about achieving something truly spectacular. This isn't just cake; it's an experience. The depth of the chocolate flavor, the perfect counterpoint of the light, airy mousse against dense, moist cake layers – it's a level of decadence that store-bought versions rarely touch. It’s the kind of dessert that silences a room when the first bite hits, followed by murmurs of approval. If you're looking for a project that delivers maximum chocolate impact and serious bragging rights, that's precisely Why Try Anthony's Chocolate Mousse Cake Recipe?
Ingredients You'll Need for Anthony's Chocolate Mousse Cake Recipe
Ingredients You'll Need for Anthony's Chocolate Mousse Cake Recipe
Alright, let's get down to brass tacks for the Ingredients You'll Need for Anthony's Chocolate Mousse Cake Recipe. This isn't the time to skimp at the grocery store. Think of it like building something solid; you need quality materials. You'll need good cocoa powder, none of that watery stuff – Dutch-processed is usually the move here for that deep color and flavor. Real chocolate, too, not chocolate-flavored chips. Get some decent bittersweet or semi-sweet bars you'd actually eat plain. Eggs, sugar, flour, butter, and of course, heavy cream, and plenty of it. Don't substitute for lower fat options; the mousse needs that richness to set up properly and feel truly luxurious. Having everything measured and ready before you start saves you from frantic pantry dives mid-recipe.
Baking the Decadent Cake Layers for Anthony's Chocolate Mousse Cake
Baking the Decadent Cake Layers for Anthony's Chocolate Mousse Cake
So, you've got your ingredients lined up for Anthony's chocolate mousse cake recipe. Now comes the foundation: those decadent cake layers. Don't mess this up; the mousse is great, sure, but a dry, crumbly cake is a culinary tragedy. Getting these layers right is key to Baking the Decadent Cake Layers for Anthony's Chocolate Mousse Cake. Pay attention to the recipe's specifics – things like sifting dry ingredients aren't just suggestions; they prevent sad lumps. Creaming butter and sugar properly incorporates air, giving the cake lift. Don't overmix the batter once the wet and dry ingredients meet; you'll develop the gluten too much and end up with a tough cake instead of a tender one. And for the love of all that is chocolate, let the cakes cool *completely* in the pans before attempting to unmold them. Trying to rush that step usually results in a broken layer and your dreams of a perfect cake crumbling faster than, well, an improperly cooled cake.
Crafting the Silky Mousse for Anthony's Chocolate Mousse Cake Recipe
Crafting the Silky Mousse for Anthony's Chocolate Mousse Cake Recipe
Melting the Chocolate Base Just Right
Alright, the cake layers are cooling (or *should* be cooling). Now we pivot to the star of the show for Anthony's chocolate mousse cake recipe: the mousse. This isn't some wimpy, airy stuff that collapses if you look at it funny. We're aiming for silky, rich, and stable. The first move in Crafting the Silky Mousse for Anthony's Chocolate Mousse Cake Recipe is handling the chocolate base. You'll typically melt chocolate with some butter or perhaps a little cream or liquid. Do this gently. A double boiler is your friend here, or a microwave on low power, stirring frequently. Burnt chocolate is a crime against humanity and will ruin everything. Get it smooth, get it glossy, and then let it cool slightly. You don't want to add hot chocolate to anything that comes next; you'll just melt it.
Folding in the Whipped Cream Like a Pro
Once your chocolate base has cooled down but is still liquid, it's time to bring in the air – specifically, whipped heavy cream. This is where the "mousse" part really happens. You need to whip your cream to medium peaks. Not stiff peaks that look like snowy mountains, and definitely not soft peaks that just slump over. Medium peaks hold their shape but still have some give. Now, the crucial step: folding. Don't just dump the whipped cream into the chocolate and whisk like you're trying to start a lawnmower. Take about a third of the whipped cream and stir it into the chocolate base to lighten it up. Then, gently fold in the remaining whipped cream in two additions using a spatula. Cut down through the mixture, across the bottom, and up the side, turning the bowl. You're trying to incorporate the cream without deflating all that lovely air you just whipped in. This gentle technique is vital for that perfect, airy-yet-rich texture.
- Use cold heavy cream for best whipping results.
- Don't over-whip the cream; grainy mousse is nobody's friend.
- Ensure your chocolate base is cool enough to not melt the whipped cream instantly.
- Fold gently to maintain airiness.
- Chill the mousse properly before assembly.
Chilling for Structure and Flavor
You've done the delicate folding dance. The mixture looks like liquid velvet. Resist the urge to just spoon it directly into your mouth (though a small taste test is, arguably, required). The mousse needs time to set and develop its full flavor and structure. This means chilling. Cover the bowl and pop it in the fridge for at least a couple of hours, maybe more, depending on the recipe. As it chills, the fat in the chocolate and cream firms up, giving you that stable, sliceable mousse that's essential for a layered cake. Trying to assemble the cake with unset mousse is like trying to build a house on quicksand – it’s going to end in a gooey, sliding mess. Patience here pays off big time in the final presentation and texture of your Crafting the Silky Mousse for Anthony's Chocolate Mousse Cake Recipe.
Assembling and Finishing Your Anthony's Chocolate Mousse Cake
Assembling and Finishing Your Anthony's Chocolate Mousse Cake
Getting Ready to Stack Layers
the cakes are cool, the mousse is chilled and set. You've done the hard work on the individual components of your anthony's chocolate mousse cake recipe. Now comes the moment of truth: putting it all together. Assembling and Finishing Your Anthony's Chocolate Mousse Cake requires a steady hand and a bit of planning. Grab your serving plate or cake stand. If you're smart, you'll put a few strips of parchment paper under where the cake will sit; this lets you remove them later for a clean plate without smudging the frosting. Place your first cake layer dead center. Make sure it's flat. If it's got a slight dome, you might need to gently level it with a serrated knife. A stable base is crucial unless you enjoy leaning towers of dessert.
Layering the Mousse and Cake
With the first cake layer in place, it's time for the star filling. Spoon about half of your glorious, chilled chocolate mousse onto the first cake layer. Use an offset spatula to spread it out evenly, right to the edges. Don't be shy, but don't glob it all in the middle either; you want a consistent layer. Gently place the second cake layer on top. Line it up as best you can. Now, add the remaining mousse and spread it out just like the first layer. Finally, carefully place the third cake layer on top. Press down *very* gently just to make sure everything is making contact. You don't want to squeeze the mousse out the sides... well, not yet anyway.
- Use an offset spatula for smooth mousse spreading.
- Align cake layers carefully to prevent a lopsided cake.
- Apply gentle pressure when stacking layers.
- Ensure mousse is sufficiently chilled for clean layers.
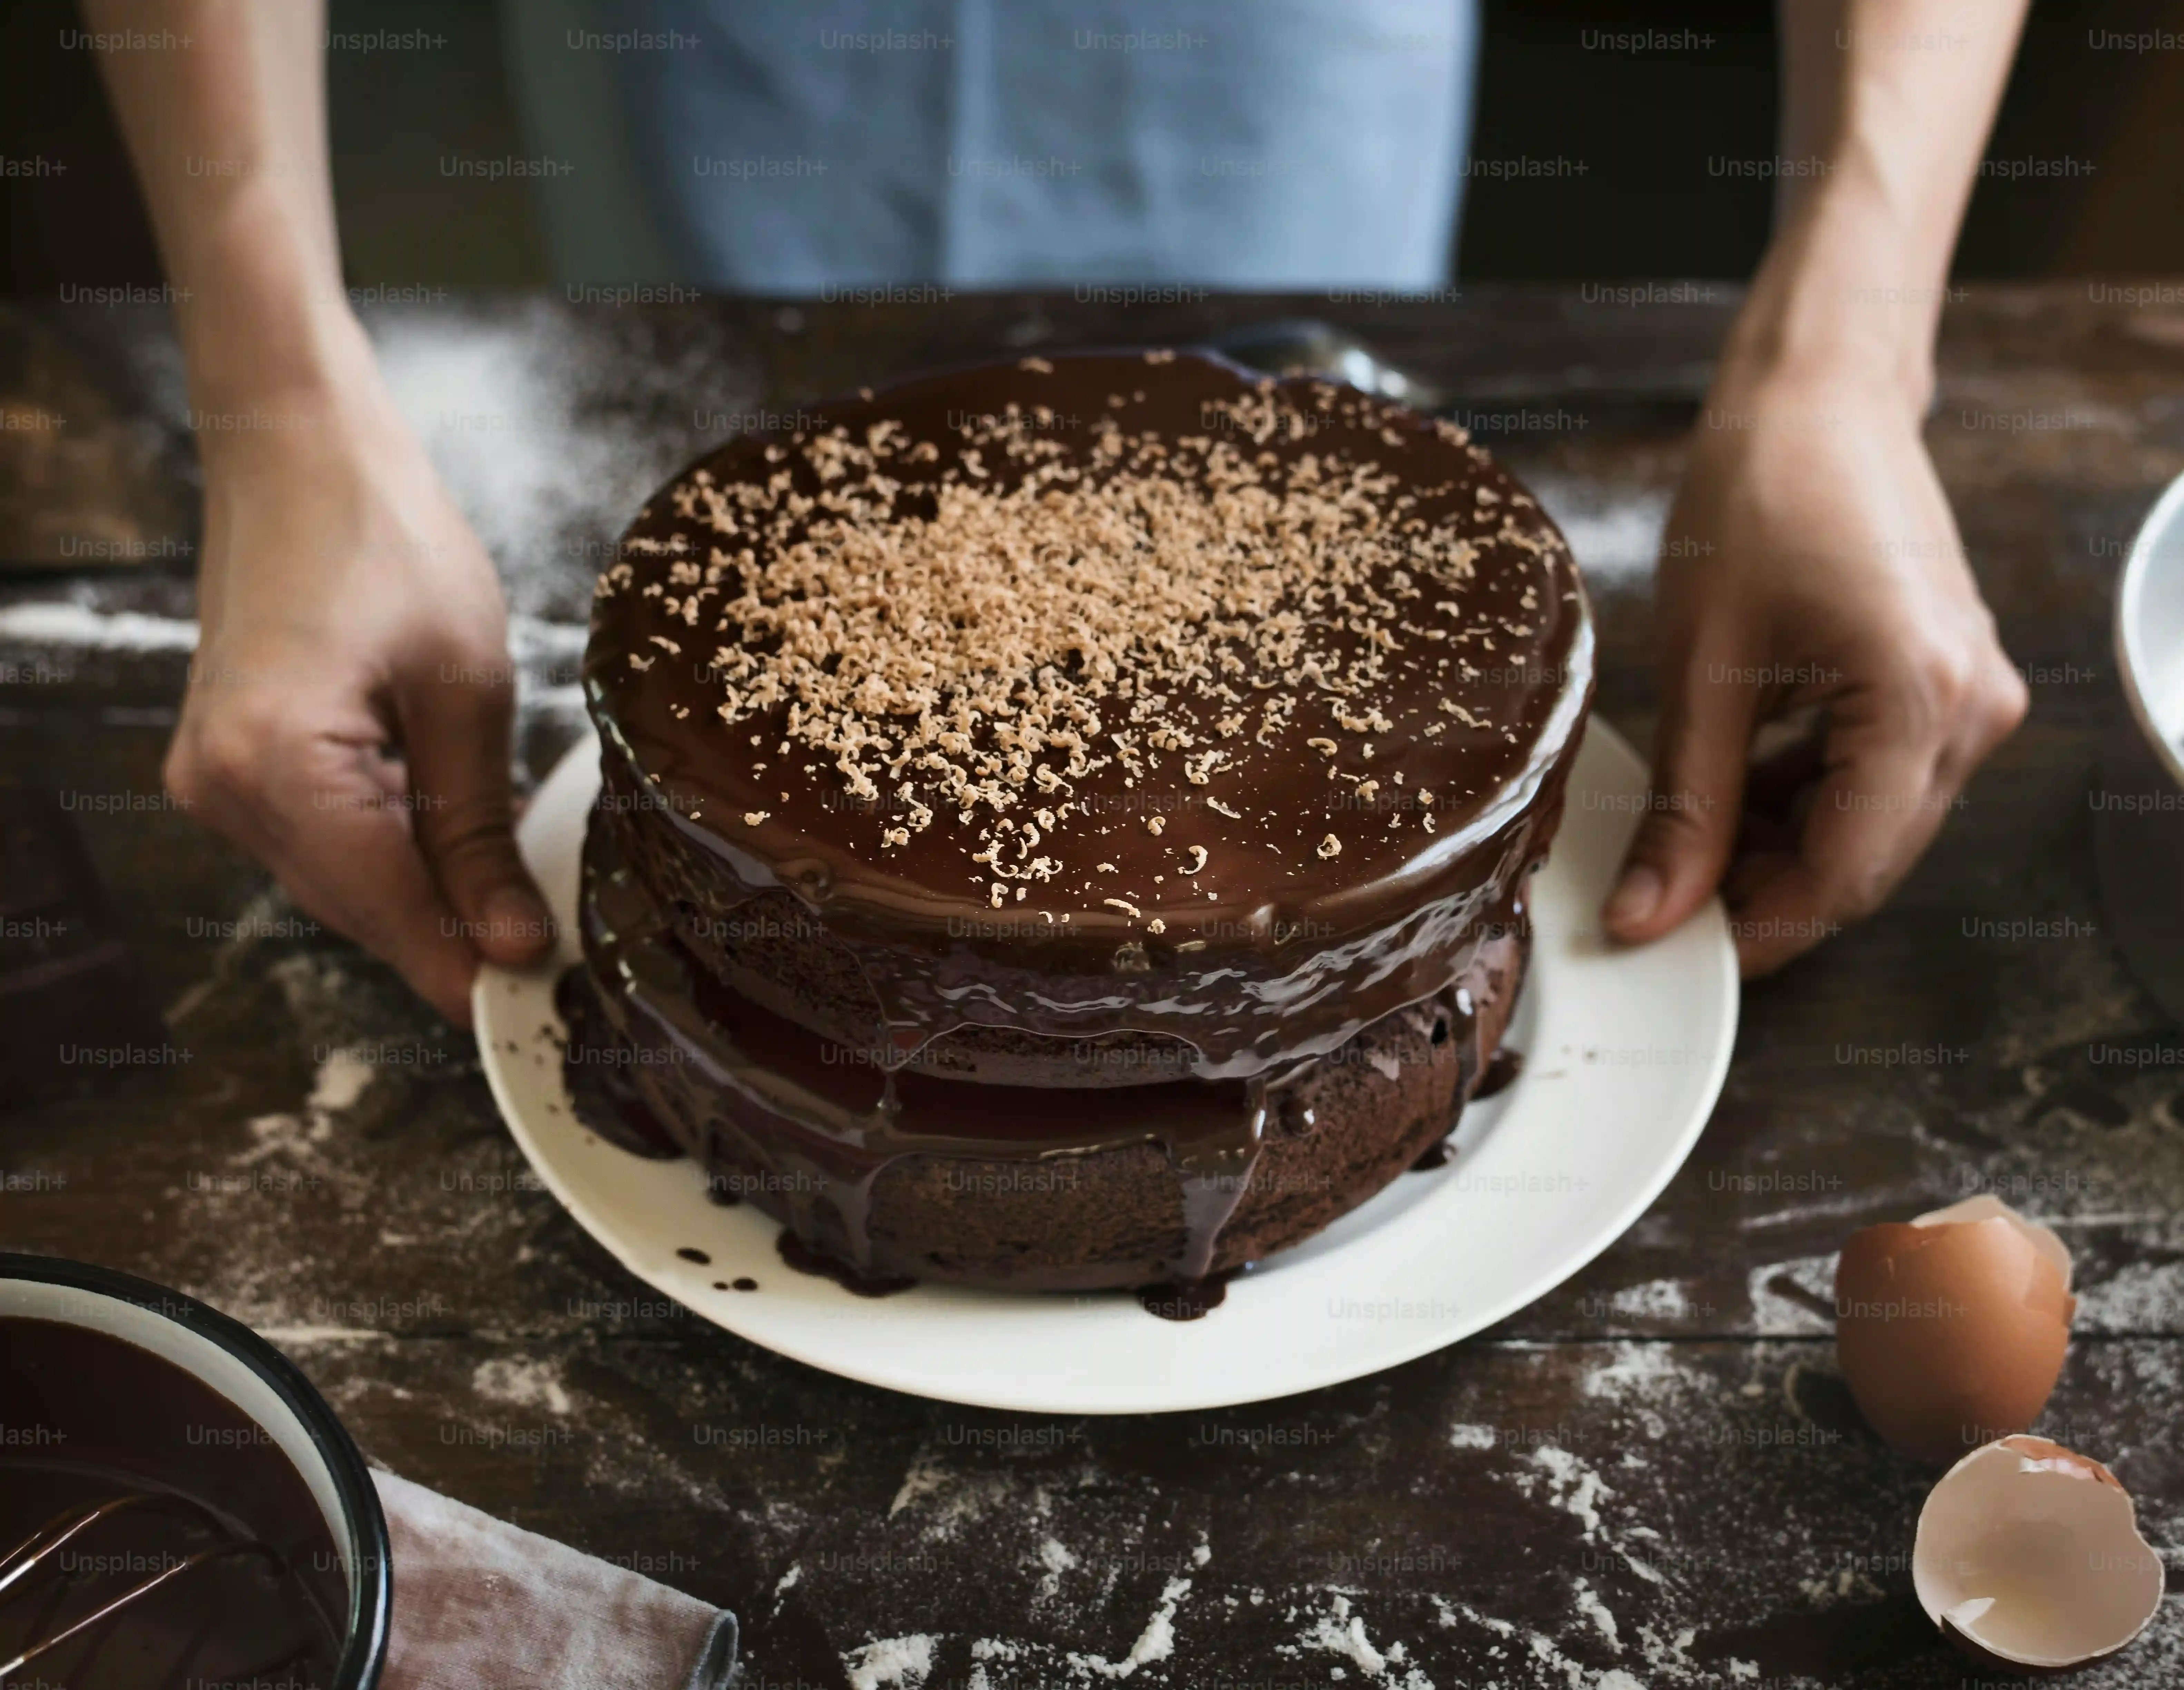
The Final Chocolate Flourish
You've got a stacked cake sandwich with mousse in the middle. Now for the outside, the part everyone sees. Depending on the specific anthony's chocolate mousse cake recipe you're following, this could be more mousse, a ganache, or buttercream. Whatever it is, apply it with purpose. Start with a crumb coat if you're using frosting or ganache – a thin layer to trap any loose crumbs. Chill it briefly, then apply the final, thicker layer. Smooth it out with your spatula or give it a rustic swirl. This is your chance to make it look good. Maybe shave some chocolate over the top, or pipe some extra mousse dollops. Remember those parchment strips? Carefully pull them out from under the cake now. You've just completed Assembling and Finishing Your Anthony's Chocolate Mousse Cake. Now, and this is perhaps the hardest part: chill the *entire* cake again for several hours, preferably overnight, to let everything set properly. Slicing into a warm, wobbly mousse cake is deeply unsatisfying.
Enjoying Your Chocolate Mousse Creation
So, you've done it. You wrestled with the layers, coaxed the mousse into submission, and now it sits there – your very own anthony's chocolate mousse cake.
It wasn't a five-minute job, and your kitchen probably looks like a chocolate bomb went off.
But take a moment.
This isn't just cake; it's a project completed, a challenge met, and a seriously impressive dessert.
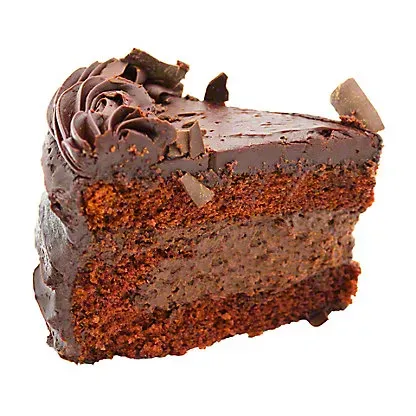
Slice into it.
Notice the distinct layers, the contrast between the dense cake and the airy mousse.
Taste the deep, unapologetic chocolate flavor.
This is the payoff for your effort.
Whether you share it or hoard it (no judgment here), you've earned this.
Consider this recipe officially conquered.