Table of Contents
Introduction
Ever eyed those impossibly glossy, perfectly layered chocolate mousse cakes in bakery windows and thought, "Yeah, right, like I could ever make that"? You're not alone. Crafting a truly stunning, patisserie-worthy dessert at home feels like scaling Everest for many of us. Most chocolate mousse cakes either end up too dense, too runny, or just look... sad. But what if you had a guide from someone who actually knows their way around a whisk and a double boiler? That’s where the **anna olson chocolate mousse cake recipe** comes into play. This isn't your average, whip-it-together-in-five-minutes kind of cake. Anna Olson's take is a project, a multi-step endeavor involving a tender cake layer, a silky-smooth chocolate mousse, and a mirror-like glaze. It demands patience – seriously, you’ll need at least a day for assembly and chilling – but the payoff? A rich, decadent torte that looks and tastes like it cost a fortune. Forget those sad, boxed mixes and questionable shortcuts. We're diving deep into making this impressive dessert, covering everything from gathering the right gear and ingredients to navigating each crucial step. Ready to silence your inner baking skeptic and tackle this delicious challenge head-on? Let's get started.
Why Bake the Anna Olson Chocolate Mousse Cake Recipe?
Why Bake the Anna Olson Chocolate Mousse Cake Recipe?
Moving Beyond Basic Brownies
Let's be honest. Anyone can whip up a batch of brownies or a simple sheet cake. They're fine. They serve a purpose. But when you want to truly impress, when you want to put something on the table that makes people stop and stare a little, you need to elevate your game. That's precisely why you'd tackle the **anna olson chocolate mousse cake recipe**. This isn't just cake; it's a multi-layered operation involving distinct textures and flavors – a tender crumb, a cloud-like mousse, and a mirror glaze so shiny you can check your reflection in it. It's a commitment, sure, demanding time and a bit of technical precision, but the result is a dessert that screams "I know what I'm doing in the kitchen" without you having to say a word.
The Impressive Payoff
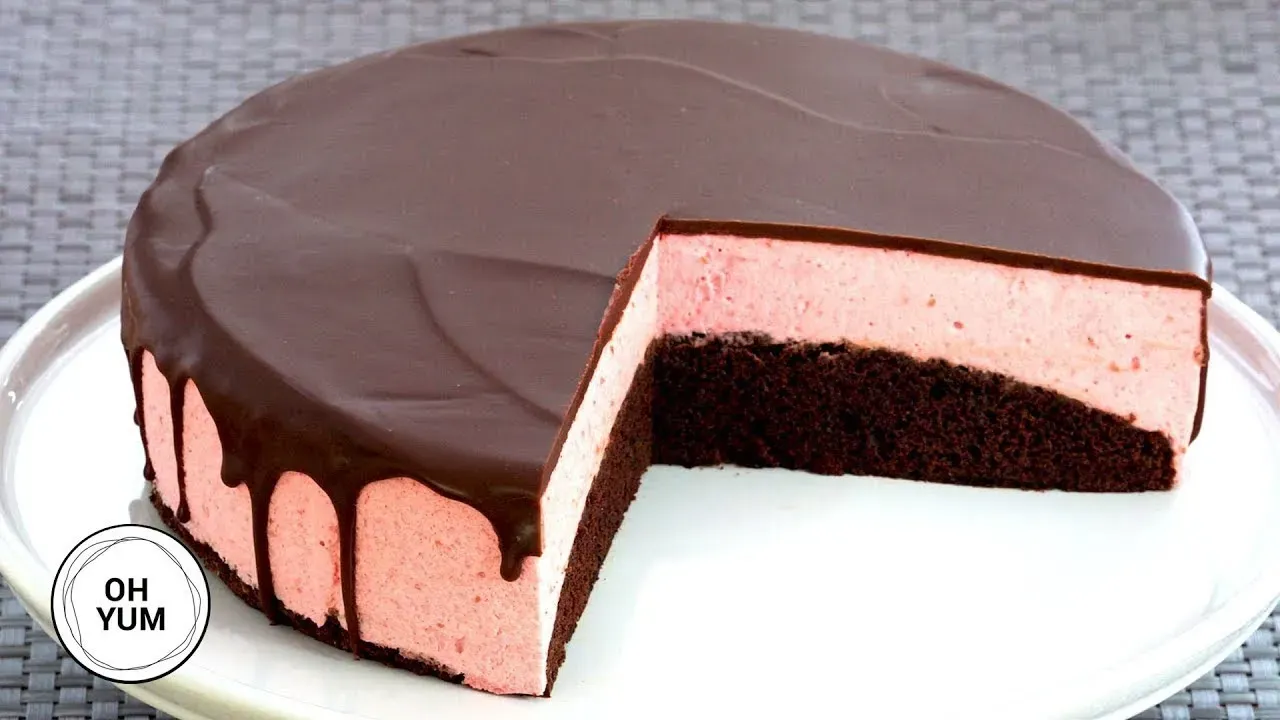
Think about the last time you had a truly memorable chocolate dessert. Was it a dry, crumbly affair, or was it something silken, rich, and intensely chocolatey? Anna Olson's recipe delivers the latter. It's designed to be a showstopper, a centerpiece for a celebration or just a Tuesday when you feel like treating yourself (and whoever else is lucky enough to be around). The layers work together – the slight firmness of the cake base anchoring the ethereal mousse, all sealed under that flawless glaze. It’s the kind of cake people ask about, wanting to know *how* you made it look and taste so professional. It’s the culinary equivalent of landing a complicated jump; challenging, yes, but the feeling when you nail it is unmatched. What makes this recipe stand out?
- It’s a true patisserie-style dessert, not a shortcut version.
- The combination of textures is sophisticated: cake, mousse, glaze.
- It uses quality ingredients for a deep, rich chocolate flavor.
- The final presentation is stunningly professional.
Ingredients and Equipment You'll Need
Ingredients and Equipment You'll Need
Gathering Your Chocolate Arsenal
Alright, before you even think about preheating anything, let's talk chocolate. This isn't the time for those bargain-bin mystery chips. The quality of your chocolate dictates the soul of this cake. Anna Olson's recipe calls for good quality dark chocolate, typically around 60-70% cocoa solids. Think bittersweet, not unsweetened, and definitely not milk chocolate unless you want a sugar bomb. You'll need a fair amount for both the cake layer and the mousse, plus potentially more for the glaze. Don't skimp here; your taste buds will thank you, and honestly, bad chocolate makes a sad mousse. You'll also need basic pantry staples like all-purpose flour, granulated sugar, and baking powder/soda.
Dairy, Eggs, and That Crucial Coffee Kick
Beyond the chocolate, you're going to need some heavy hitters from the dairy aisle and the egg carton. Heavy cream is non-negotiable for that light, airy mousse texture – don't even think about substituting half-and-half or light cream unless you enjoy disappointment. You'll also need butter, of course, for the cake layer. Eggs play a few roles: yolks for richness and structure in the mousse, and whole eggs for the cake. Make sure they're fresh. And here's a secret weapon in many chocolate cakes: hot coffee. It doesn't make the cake taste like coffee; it deepens and intensifies the chocolate flavor beautifully. Use freshly brewed hot coffee, not instant granules mixed with lukewarm water. Here's a quick ingredient checklist:
- Good quality dark chocolate (60-70% cocoa solids)
- Unsalted butter
- Granulated sugar
- All-purpose flour
- Baking powder and baking soda
- Salt
- Large eggs
- Heavy cream (at least 35% milk fat)
- Hot brewed coffee
- Vanilla extract
Equipping Your Mousse Mission Control
Now, let's talk gear. You don't need a professional pastry kitchen, but a few specific items make this much smoother. A stand mixer or a good hand mixer is essential for whipping cream and eggs to the correct consistency – trying to do this by hand will give you an arm workout and likely subpar results. You absolutely need a springform pan, likely an 8 or 9-inch one, because you're building layers that need to be released cleanly. Parchment paper is your best friend for lining the bottom of that pan. A kitchen scale is highly recommended for accuracy, especially with flour and chocolate. And while not strictly mandatory, an instant-read thermometer is super helpful for the glaze to ensure it's at the right temperature for pouring – too hot and it melts the mousse, too cold and it won't pour smoothly.
Crafting Your Anna Olson Chocolate Mousse Cake: StepbyStep
Crafting Your Anna Olson Chocolate Mousse Cake: StepbyStep
Building the Foundation: The Cake Layer
Alright, let's get our hands dirty, or rather, our whisk and bowls ready. The first step in tackling the **anna olson chocolate mousse cake recipe** is laying down the groundwork: the cake layer. This isn't a thick, fluffy sponge; think of it more as a sturdy, moist base to support the glorious mousse to come. You'll start by whisking together hot liquid – usually boiling water with melted chocolate and butter – which does magical things to cocoa, deepening the flavor instantly. Then, you carefully fold in your dry ingredients and the rest of the wet stuff, including that crucial hot coffee we talked about. The batter will look thin, almost alarmingly so, but trust the process. Pour it into your prepared springform pan, smoothed out, and bake it until a toothpick comes out with just a few moist crumbs. Don't overbake it; a dry base is a culinary sin here.
Whipping Up the Dream: The Chocolate Mousse
Once the cake layer is baked and cooling (make sure it's *fully* cool before proceeding, unless you want melted sadness), it's time for the star: the chocolate mousse. This isn't just whipping cream and folding in cocoa powder. Anna's method involves a few more sophisticated steps for that truly silken texture. You'll melt more good quality dark chocolate, letting it cool slightly so it doesn't seize up or melt your other ingredients. Separately, you'll whip egg yolks with sugar over a gentle heat – this creates a rich, stable base, kind of like a custard without the milk. Then, you whip heavy cream to soft peaks – not too stiff, or the mousse gets heavy. The magic happens when you carefully fold the cooled melted chocolate into the egg yolk mixture, then gently fold in the whipped cream. Some recipes call for whipped egg whites too for extra airiness, folding those in last. The key is gentle folding; you want to keep the air you whipped in. Here are the critical stages for the mousse:
- Melt and cool the chocolate.
- Cook egg yolks and sugar over a double boiler until thickened.
- Whip heavy cream to soft peaks.
- Gently fold chocolate into egg mixture.
- Gently fold whipped cream (and potentially egg whites) into the chocolate mixture.
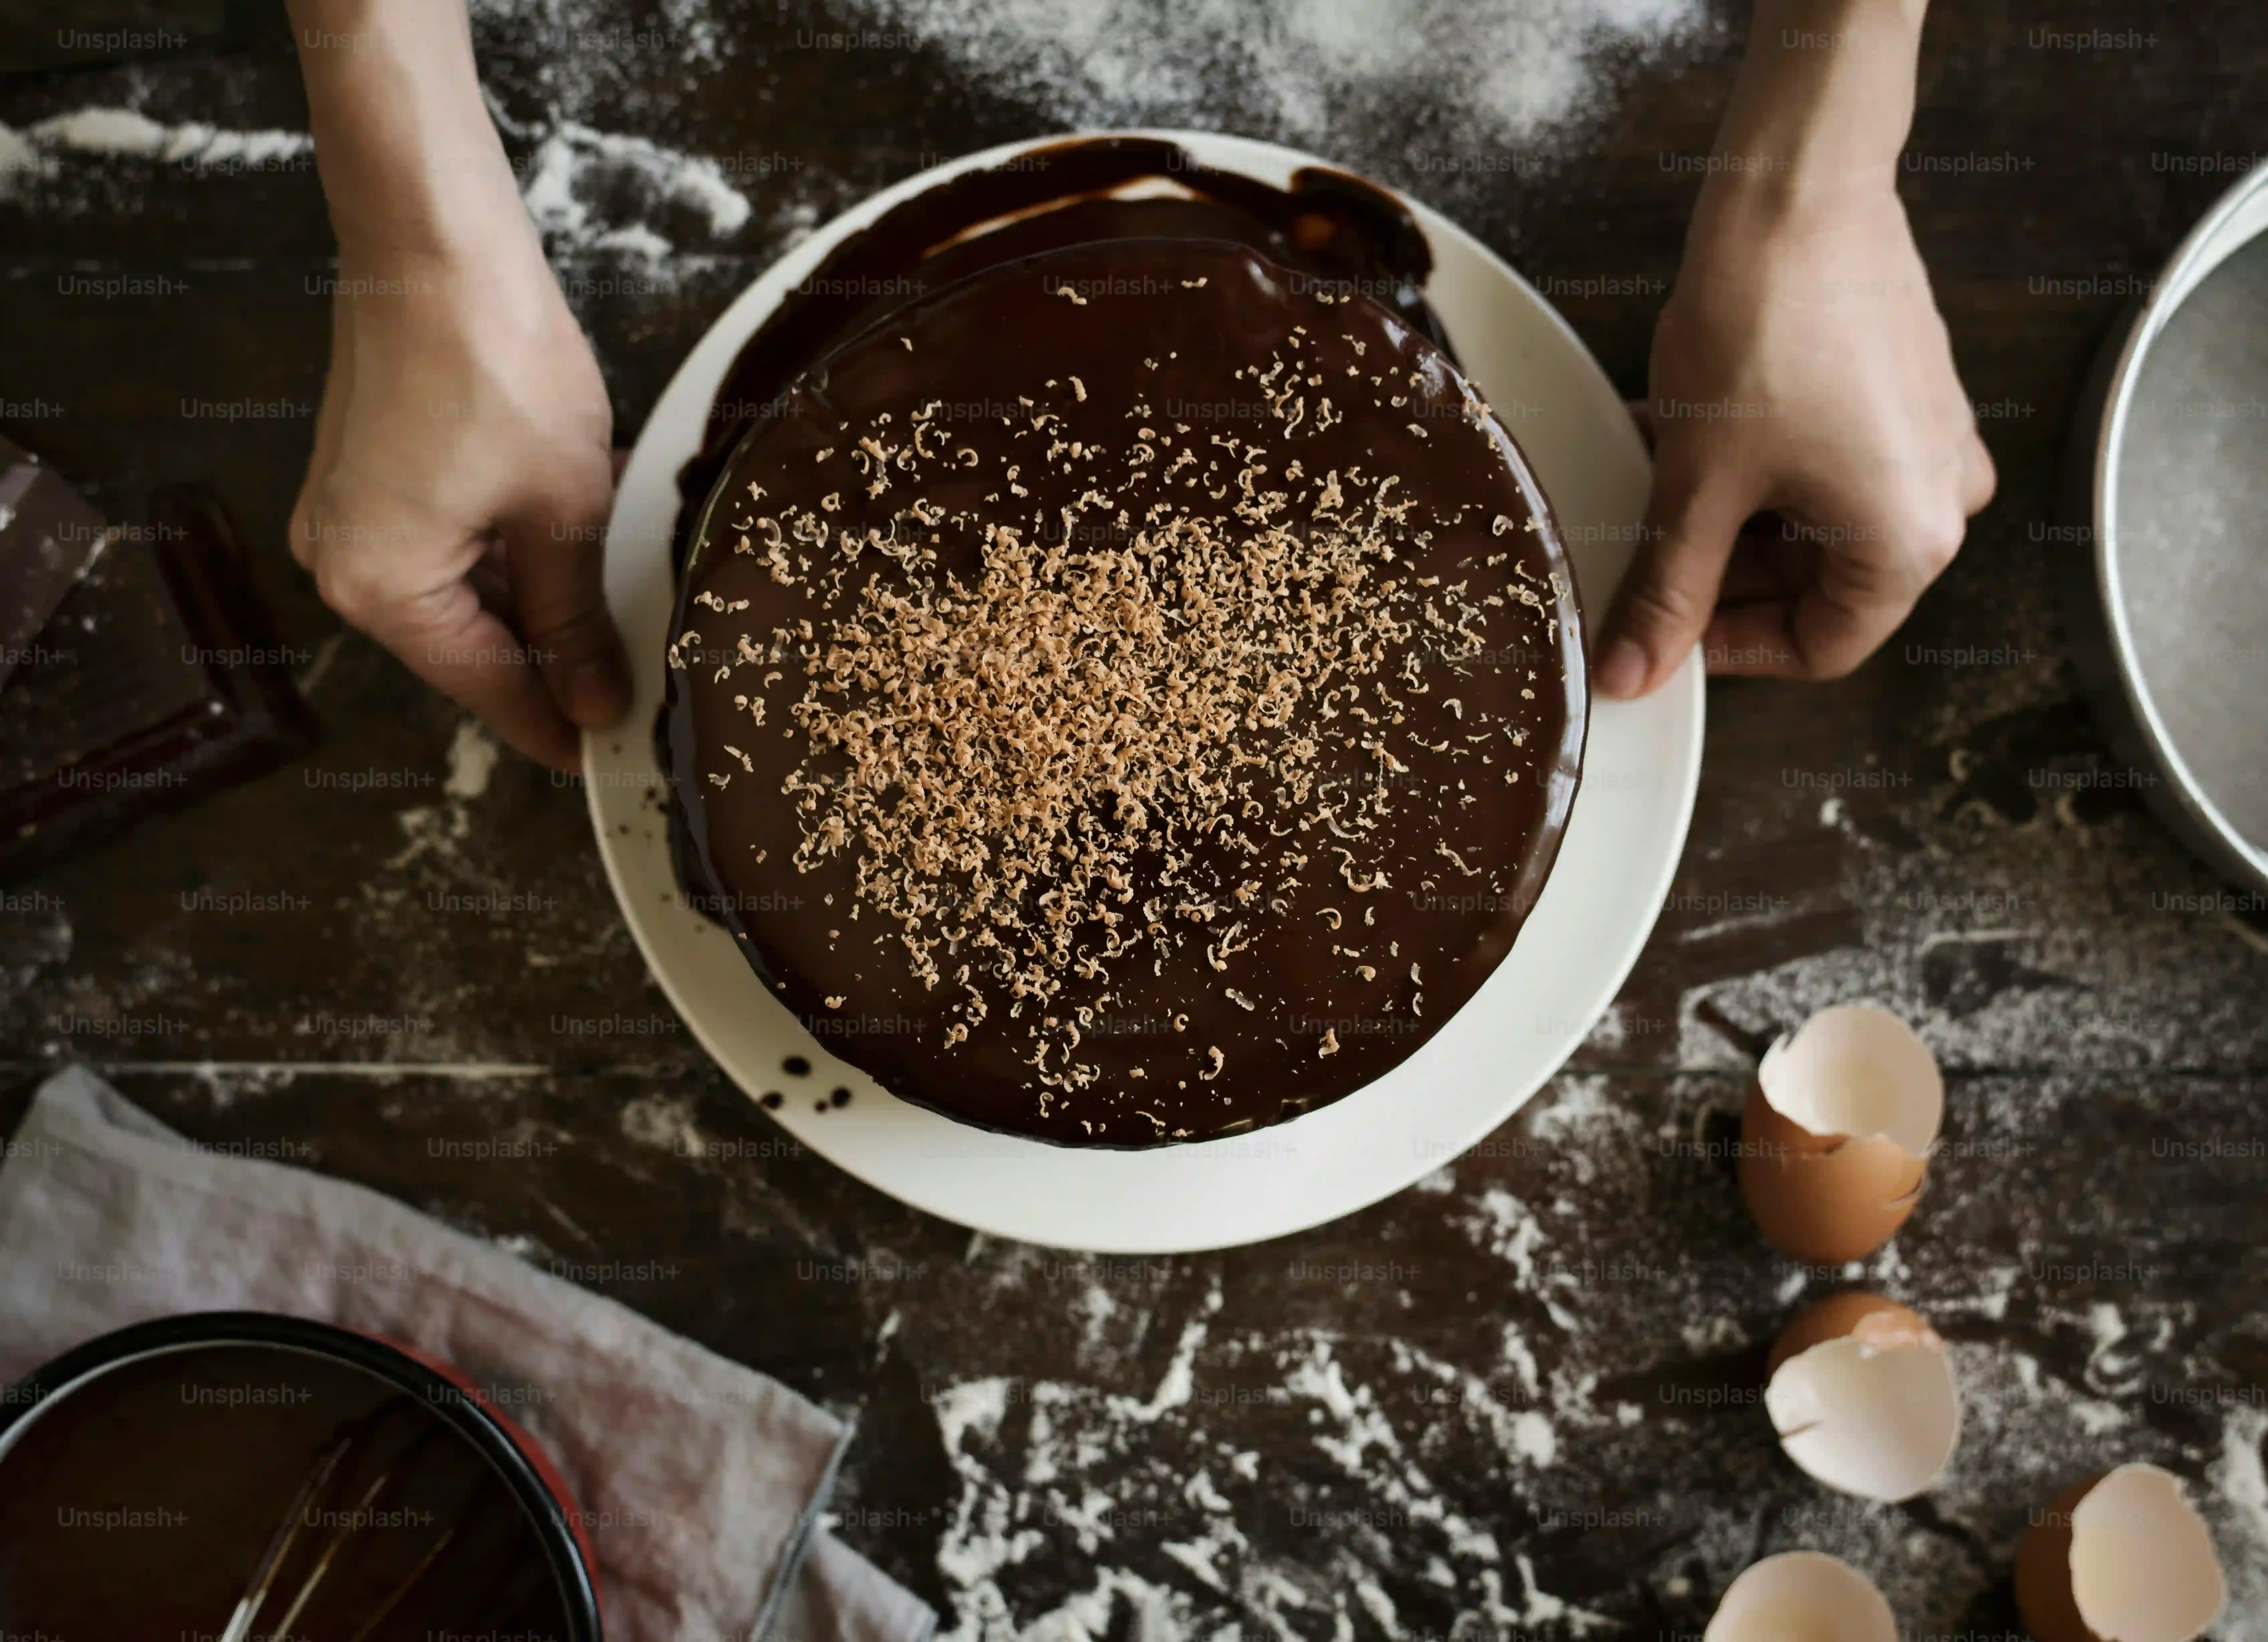
Assembling and Waiting (The Hardest Part)
With your cool cake layer sitting patiently in the springform pan (still lined, please!), and your bowl of luxurious chocolate mousse ready, it's assembly time. Pour the mousse directly over the cake layer in the pan. Use an offset spatula to smooth the top – aim for level, but don't fuss too much; the glaze hides imperfections. Now, here's where the true test of patience begins. The cake *must* chill to set properly. We're not talking an hour in the fridge. This needs serious time, ideally frozen for at least four hours, or even better, overnight. Trying to glaze or slice a soft mousse cake is like trying to herd cats – messy and frustrating. While it chills, you can prepare the chocolate glaze, which is usually a simple mix of chocolate, cream, and sometimes corn syrup for that extra shine. Let the glaze cool significantly before pouring it over the *frozen* cake. This temperature difference helps create that smooth, even coating. Peel off the springform ring carefully once everything is set.
Troubleshooting and Tweaking Your Chocolate Mousse Cake
Troubleshooting and Tweaking Your Chocolate Mousse Cake
Handling the Hiccups
So, you've followed the steps for the **anna olson chocolate mousse cake recipe**, pulled it from the freezer, and... oh no. The mousse is a little soft around the edges? The glaze looks like a topographical map instead of a mirror? Welcome to baking reality; it rarely goes off without a single hitch the first time, or even the fifth. The most common culprit for a soft mousse is not chilling it long enough – seriously, trust Anna when she says *at least* four hours frozen, preferably overnight. Don't rush the set time unless you enjoy a puddle on your plate. If your glaze is patchy or dull, it was likely either too hot (melting the mousse below) or too cold (not pouring smoothly). Getting that glaze temperature just right (often around 90-95°F or 32-35°C) is key, and pouring it over a *very* cold, frozen cake helps it set quickly and evenly. If your cake layer turned out a bit dry, perhaps your oven runs hot, or you overbaked it – next time, check for doneness a few minutes earlier. Don't sweat the small stuff too much though; even a slightly imperfect homemade cake beats a store-bought one any day, and frankly, most people are just impressed you made something this ambitious.
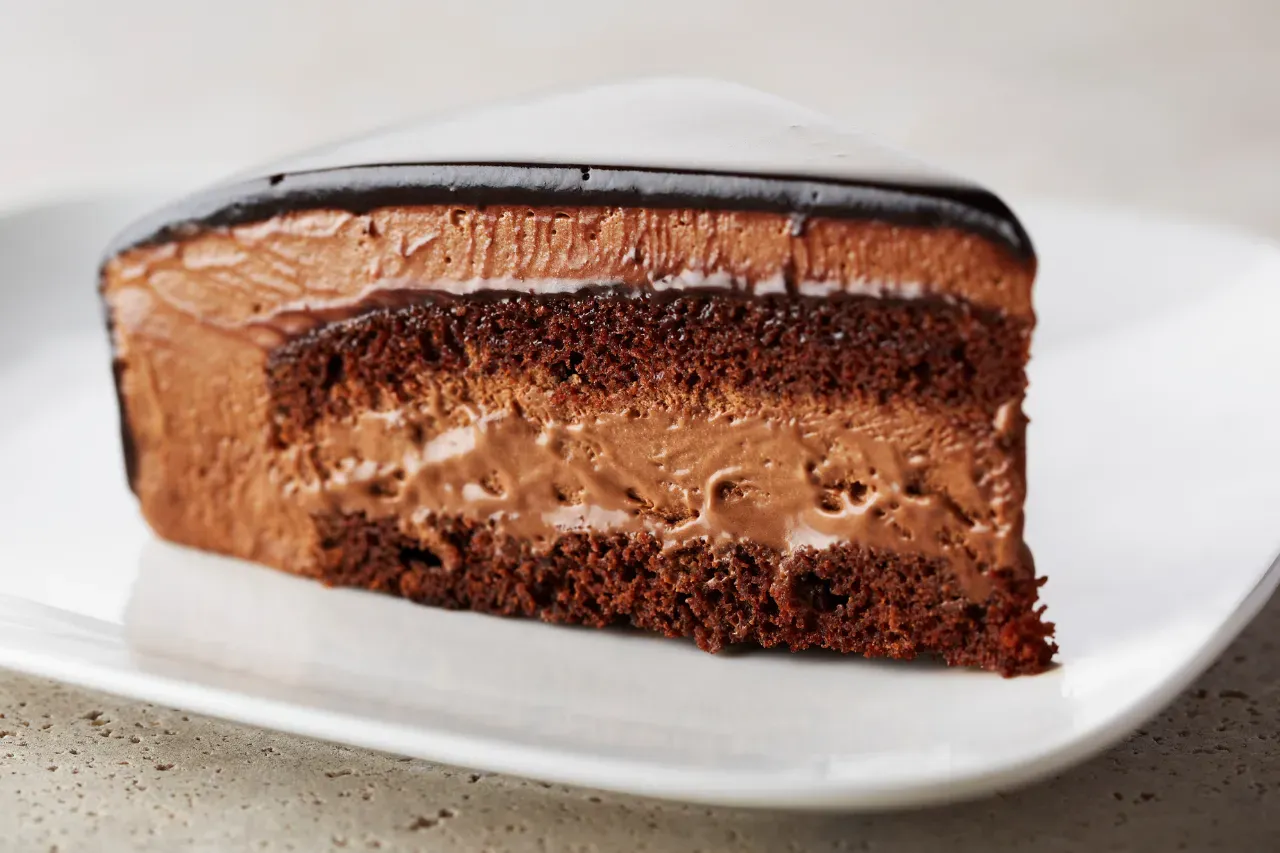
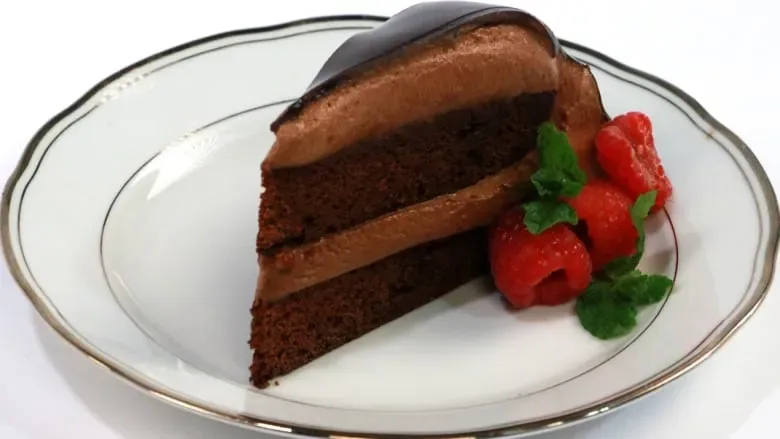
Enjoying Your Chocolate Mousse Triumph
So, you’ve done it. You navigated the melting chocolate, the whipping cream, the chilling times, and emerged victorious with an **anna olson chocolate mousse cake recipe** creation. It wasn't a five-minute sprint; it was a baking marathon requiring patience and precision. You faced the potential pitfalls – mousse not setting, glaze looking less like a mirror and more like a murky pond – and you persevered. Now, the real reward: slicing into that decadent layers, the smooth mousse yielding under the knife, the glossy glaze catching the light. It's proof that sometimes, the most impressive results come from putting in the work. Serve it proudly; you earned every single rich, chocolatey bite.