Table of Contents
Ever dream of a chocolate cake so rich, so moist, it practically melts in your mouth? Well, you're in for a treat! This isn't just any cake recipe; we're talking about the ultimate 9 inch chocolate cake recipe, the kind that makes everyone ask for seconds. Forget those dry, crumbly disappointments; we're diving deep into a world of cocoa goodness, where every bite is a little slice of heaven. We'll start by gathering the best ingredients, the secret to a truly amazing cake. Then, I'll walk you through each step of the baking process, making it as easy as pie (or should I say, cake!). We'll tackle frosting like pros, and I'll even share some decorating tips to make your cake look as good as it tastes. And because things don't always go as planned in the kitchen, we’ll cover some common pitfalls and how to avoid them. Ready to become a cake-baking champion? Let's get started!
Gathering Your Ingredients for the Best 9 Inch Chocolate Cake Recipe
Gathering Your Ingredients for the Best 9 Inch Chocolate Cake Recipe
The Chocolate Core: Cocoa and Its Companions
let's talk chocolate, the heart of our 9 inch chocolate cake recipe. First, you'll need a good quality natural cocoa powder. Don't grab that Dutch-processed stuff; natural cocoa is what gives our cake that lovely reddish hue and a more intense chocolate flavor, thanks to its reaction with baking soda. We're aiming for a deep, dark, chocolatey experience here, not some pale imitation. And while we're at it, let's not forget the unsung hero: espresso powder. A little dash of this stuff doesn't make the cake taste like coffee; it just enhances the chocolate to the max. Trust me, it's a game-changer.
The Wet Wonders: Buttermilk and Oil
Now for the moist stuff, and no, I don't mean tears of joy (though that might happen after you taste this cake). Buttermilk is the key ingredient for a tender crumb, adding a subtle tang that cuts through the richness. If you don't have any on hand, you can easily make a substitute with regular milk and a bit of vinegar or lemon juice. Just let it sit for a few minutes to curdle. And for the fat, we're using oil instead of butter. Oil keeps the cake incredibly moist for days, unlike butter, which can dry out quickly. It's a simple swap that makes a huge difference.
Ingredient | Why It's Important |
|---|---|
Natural Cocoa Powder | Gives a deep color and intense chocolate flavor |
Espresso Powder | Enhances the chocolate flavor |
Buttermilk | Creates a tender, moist crumb with a slight tang |
Oil | Keeps the cake moist for longer |
The Dry Squad: Flour, Sugar and Leavening
Alright, let’s not forget about our dry ingredients. These are the bones of our 9 inch chocolate cake recipe. We’re going for all-purpose flour, the workhorse of the baking world. Make sure to measure it correctly; too much flour and your cake will be dense and dry (a baking crime!). Sugar, of course, because what’s cake without sweetness? Granulated sugar is the way to go here. And finally, the leavening agents: baking soda and baking powder. They’re what makes our cake rise to the occasion and creates that light, airy texture we all crave. Make sure they're fresh, or your cake might end up flat and sad.
StepbyStep Guide to Baking a Moist 9 Inch Chocolate Cake

StepbyStep Guide to Baking a Moist 9 Inch Chocolate Cake
Alright, now that we've got our ingredients all lined up, it's time to get baking! This part of our 9 inch chocolate cake recipe is where the magic happens. First things first, preheat your oven to 350°F (175°C). While that's heating up, grease and flour your 9-inch cake pans. This is crucial; you don't want your beautiful cake sticking to the pan. I like to use a little bit of parchment paper at the bottom for extra insurance. It's like giving your cake a little safety net, in case it gets stage fright.
Next, it's time to mix the dry ingredients. In a large bowl, whisk together your flour, sugar, cocoa powder, baking soda, baking powder, and salt. Make sure they're all nicely combined. Now, for the wet ingredients. In a separate bowl, mix together your buttermilk, oil, eggs, and vanilla extract. Give that a good whisk until everything's smooth. Now, the fun part: slowly pour the wet ingredients into the dry ingredients, mixing on low speed until just combined. Don't overmix! Overmixing will develop the gluten in the flour, which will make your cake tough. We want a tender, fluffy cake, not a hockey puck.
Once the batter is just combined, add your hot coffee (or hot water if you prefer). This will help to bloom the cocoa powder and really bring out the chocolate flavor. The batter will be a little thin, but don't worry, that's how it's supposed to be. Now, quickly pour the batter evenly into your prepared cake pans. Pop them into the preheated oven and bake for about 30-35 minutes, or until a toothpick inserted into the center comes out clean. Keep an eye on it; oven times can vary. Once they are done let the cakes cool in the pans for about 10 minutes before inverting them onto a wire rack to cool completely. And there you have it, the foundation of our moist 9 inch chocolate cake recipe is set!
Step | Action |
|---|---|
1 | Preheat oven to 350°F (175°C). Grease and flour cake pans. |
2 | Whisk dry ingredients together in a large bowl. |
3 | Mix wet ingredients in a separate bowl. |
4 | Combine wet and dry ingredients, mixing until just combined. |
5 | Add hot coffee or water. |
6 | Pour batter into prepared pans and bake for 30-35 minutes. |
Frosting and Decorating Your 9 Inch Chocolate Cake Masterpiece
Frosting and Decorating Your 9 Inch Chocolate Cake Masterpiece
Alright, you've got your beautifully baked 9 inch chocolate cake, now comes the fun part: frosting and decorating! This is where you can really let your creativity shine, and turn your cake into a true masterpiece. We're going for a classic chocolate buttercream frosting here, because, well, who doesn't love chocolate on chocolate? It's rich, it's smooth, and it's the perfect complement to our moist cake. But don't worry, I'll walk you through each step, so even if you're a frosting newbie, you'll be a pro in no time.
First, make sure your cakes are completely cool. Seriously, this is crucial. If your cakes are even slightly warm, the frosting will melt right off and you'll have a gooey mess on your hands. While the cakes are cooling, it's time to make the frosting. In a large bowl, beat softened butter until it's light and fluffy. Then, gradually add powdered sugar, mixing on low speed. Once the powdered sugar is incorporated, add cocoa powder, vanilla extract, and a pinch of salt. Mix until everything is smooth and creamy. If the frosting is too thick, add a little bit of milk or cream until you reach your desired consistency.
Frosting Step | Action |
|---|---|
1 | Ensure cakes are completely cool. |
2 | Beat softened butter until light and fluffy. |
3 | Gradually add powdered sugar, mixing on low speed. |
4 | Add cocoa powder, vanilla extract, and salt. Mix until smooth. |
5 | Adjust consistency with milk or cream if needed. |
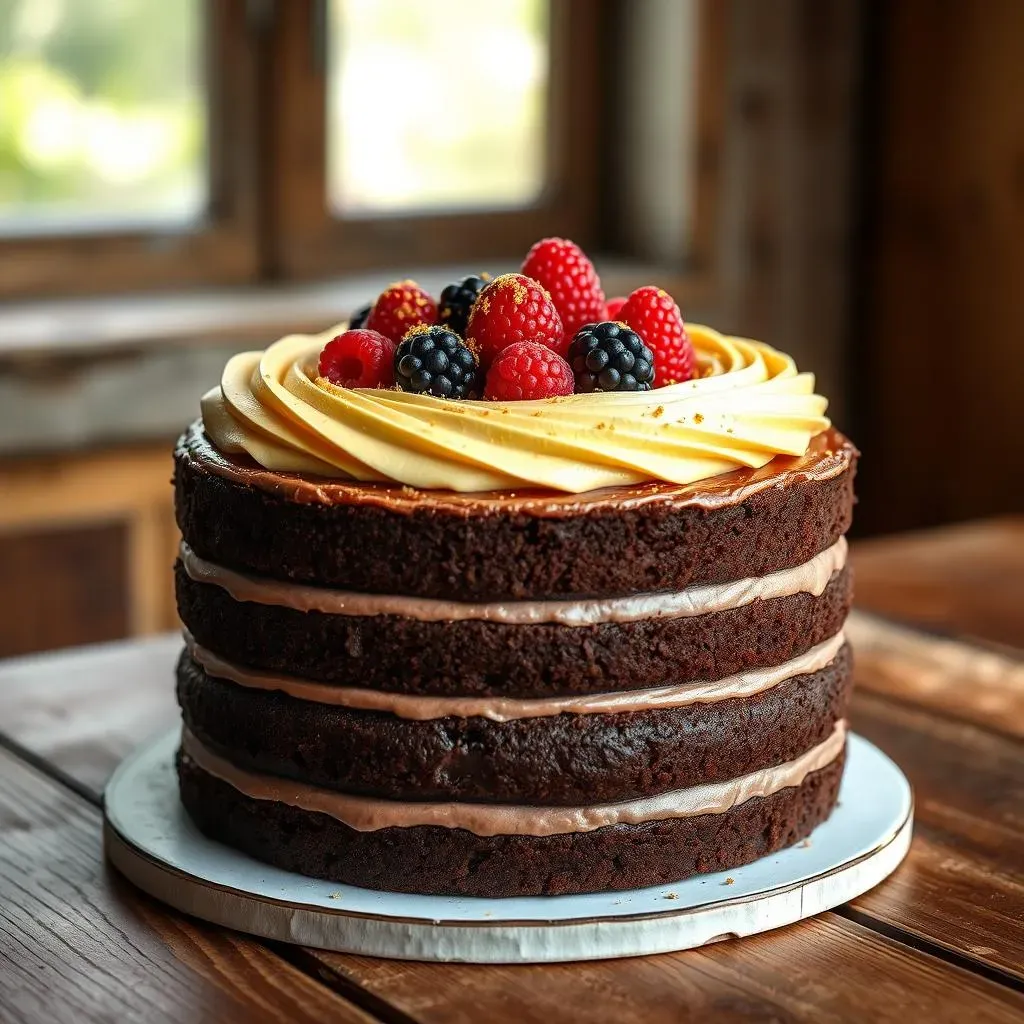
Now, for the assembly! Place one cake layer on your serving plate or cake stand. If your cake layers are a little uneven, you can use a serrated knife to trim the tops, making them nice and flat. This will make your cake look more professional and prevent it from wobbling. Spread a generous layer of frosting on top of the first cake layer. Then, carefully place the second cake layer on top. Now, it's time to frost the entire cake. Use an offset spatula to apply a thin layer of frosting all over the cake, this is called the crumb coat. The crumb coat will trap all the loose crumbs, giving you a nice, smooth base for your final layer of frosting. Put the cake in the fridge for about 15 to 20 minutes to let the crumb coat set. This step is important, it's like a primer for your cake.
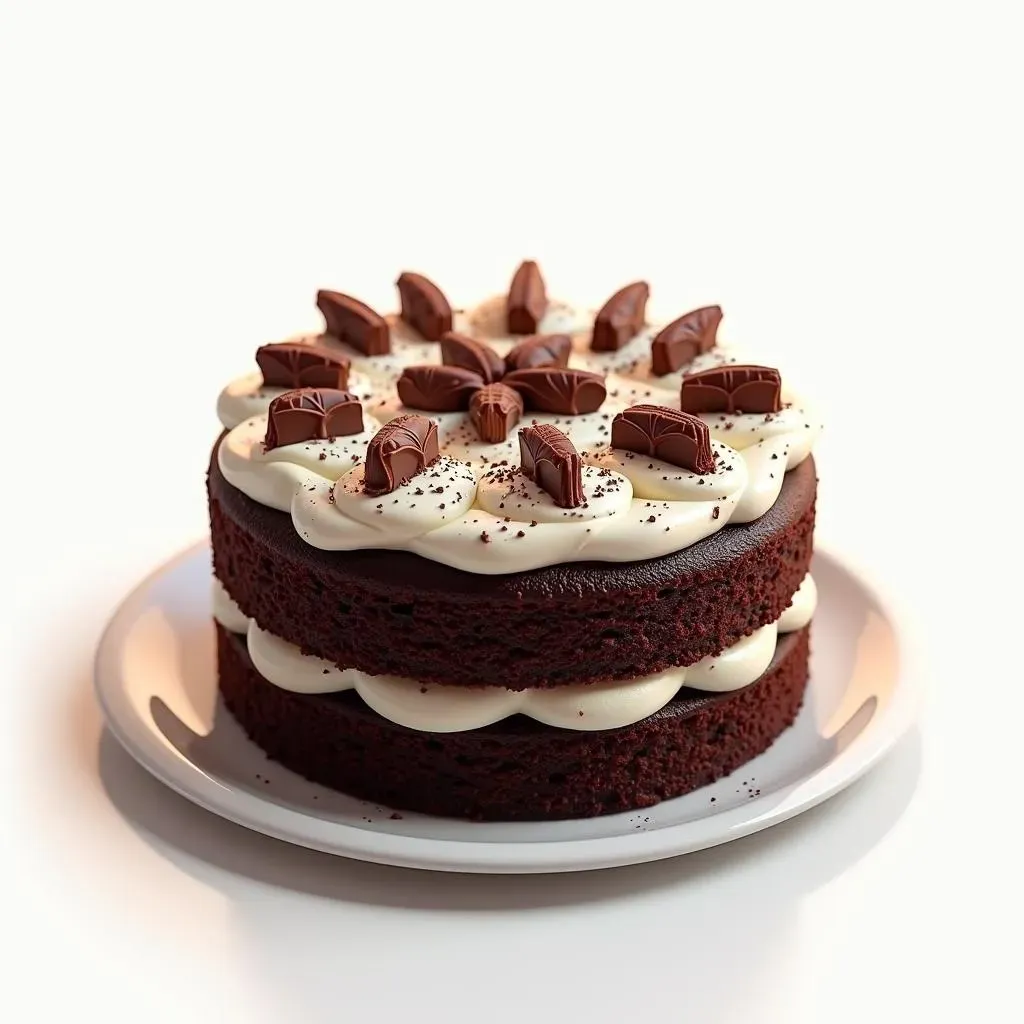
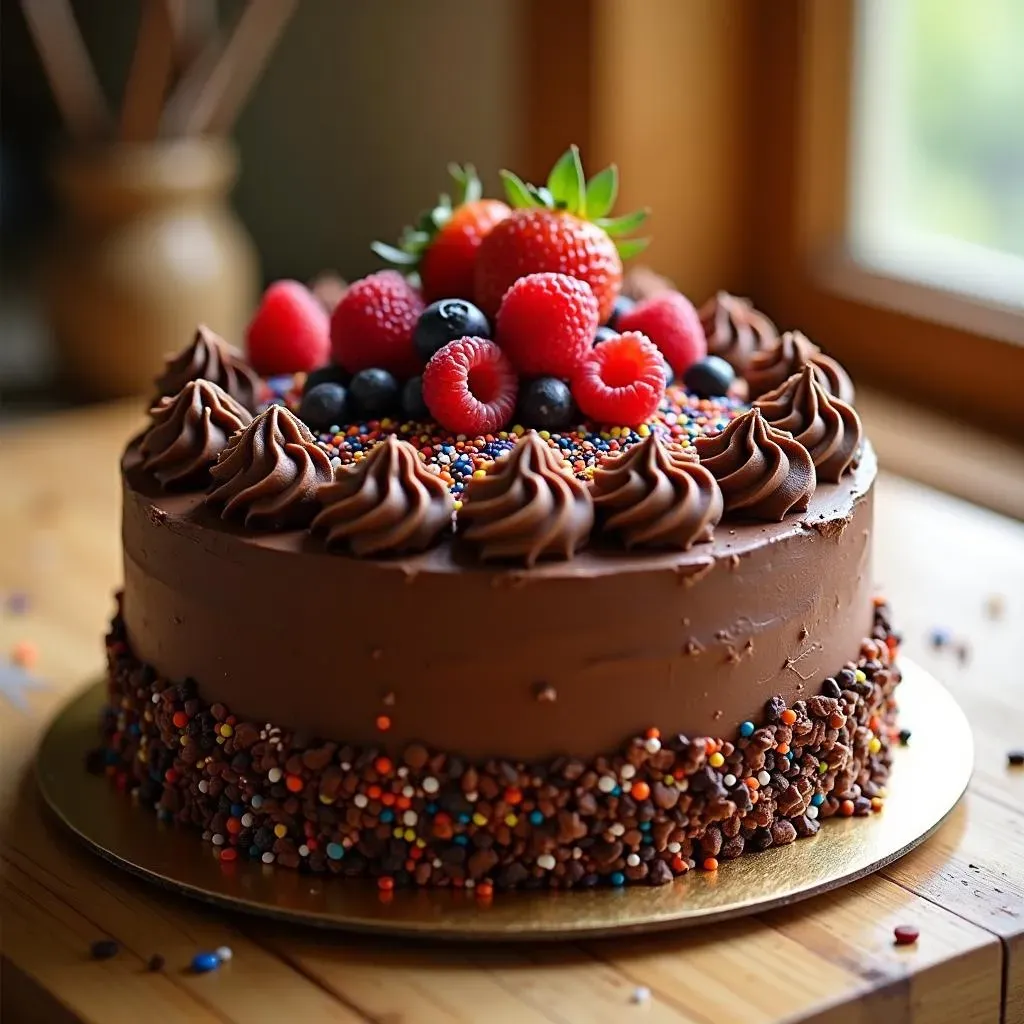
Once the crumb coat is set, apply the final layer of frosting. You can make it as smooth or as textured as you like. For a smooth finish, use your offset spatula to gently smooth the frosting, removing any excess. For a more textured look, you can create swirls or peaks with your spatula. Now for the fun part: decorating! You can add chocolate chips, sprinkles, chocolate shavings, or whatever your heart desires. A simple dusting of cocoa powder or a few fresh berries can also elevate your cake. Remember, there are no rules when it comes to decorating, have fun and make it your own!
Tips, Tricks and Troubleshooting for a Perfect 9 Inch Chocolate Cake
Tips, Tricks and Troubleshooting for a Perfect 9 Inch Chocolate Cake
Leveling the Playing Field: Achieving Even Cake Layers
So, you've baked your cakes, and they're looking a little…mountainous? Don't worry, it happens. The key to a professional-looking 9 inch chocolate cake is having even layers. If your cakes have domed tops, use a long serrated knife to carefully trim them off. I like to use a cake leveler for this, it’s like a tiny saw that makes the job super easy. Just make sure the cake is completely cool before you attempt to slice it. You can also use a long piece of dental floss to cut the tops, it's a bit like a magic trick and works wonders!
Another trick is to use baking strips. These are fabric strips that you soak in water and wrap around your cake pans before baking. They help to insulate the sides of the pan, which prevents the cake from rising too much in the center. It's a simple trick that can make a big difference. If you don't have baking strips, you can use wet paper towels instead. Just make sure to secure them tightly around the pans. Remember, we want flat, even layers for our 9 inch chocolate cake recipe, so don’t be afraid to trim those tops!
Battling the Baking Blues: Common Issues and How to Fix Them
Sometimes, even with the best intentions, things can go a little sideways in the kitchen. Maybe your cake didn’t rise as much as you expected, or maybe it’s a bit dry. Let's talk about some common issues with this 9 inch chocolate cake recipe and how to tackle them. If your cake is dense and doesn’t rise much, it could be a few things. First, make sure your baking soda and baking powder are fresh. Old leavening agents lose their oomph, and they won’t do their job. Also, be careful not to overmix the batter. Overmixing develops the gluten in the flour, which will make your cake tough and dense. Mix just until everything is combined, and no more.
If your cake is dry, it could be that you over baked it. Every oven is different, so keep an eye on your cake and start checking for doneness a few minutes before the recipe suggests. Also, make sure you’re using the right amount of oil in the recipe; it’s essential for moisture. If you’re at high altitude, you might need to make some adjustments to the recipe. High altitude baking can be tricky, so do some research on how to adjust recipes for your specific location. And remember, practice makes perfect. Don’t get discouraged if your first cake isn't perfect. Just keep trying, and you'll get there!
Problem | Possible Solution |
|---|---|
Cake is dense and doesn't rise | Use fresh baking soda and baking powder. Don't overmix batter. |
Cake is dry | Don't overbake. Use the correct amount of oil. |
Cake domes in the center | Use baking strips or wet paper towels around the pans. |
The Art of Frosting: Smooth, Swirly, or Spiked
let's talk frosting. We've already covered how to make the buttercream, but let's dive a little deeper into getting that perfect finish. If you want a super smooth finish, make sure your frosting is at the right consistency. It should be creamy and spreadable, not too thick or too thin. Use an offset spatula to gently smooth the frosting over the cake, using long, even strokes. You can dip your spatula in warm water between strokes to help create a smoother surface. You can also use a bench scraper to create a nice, flat finish. This is a super handy tool for any baker.
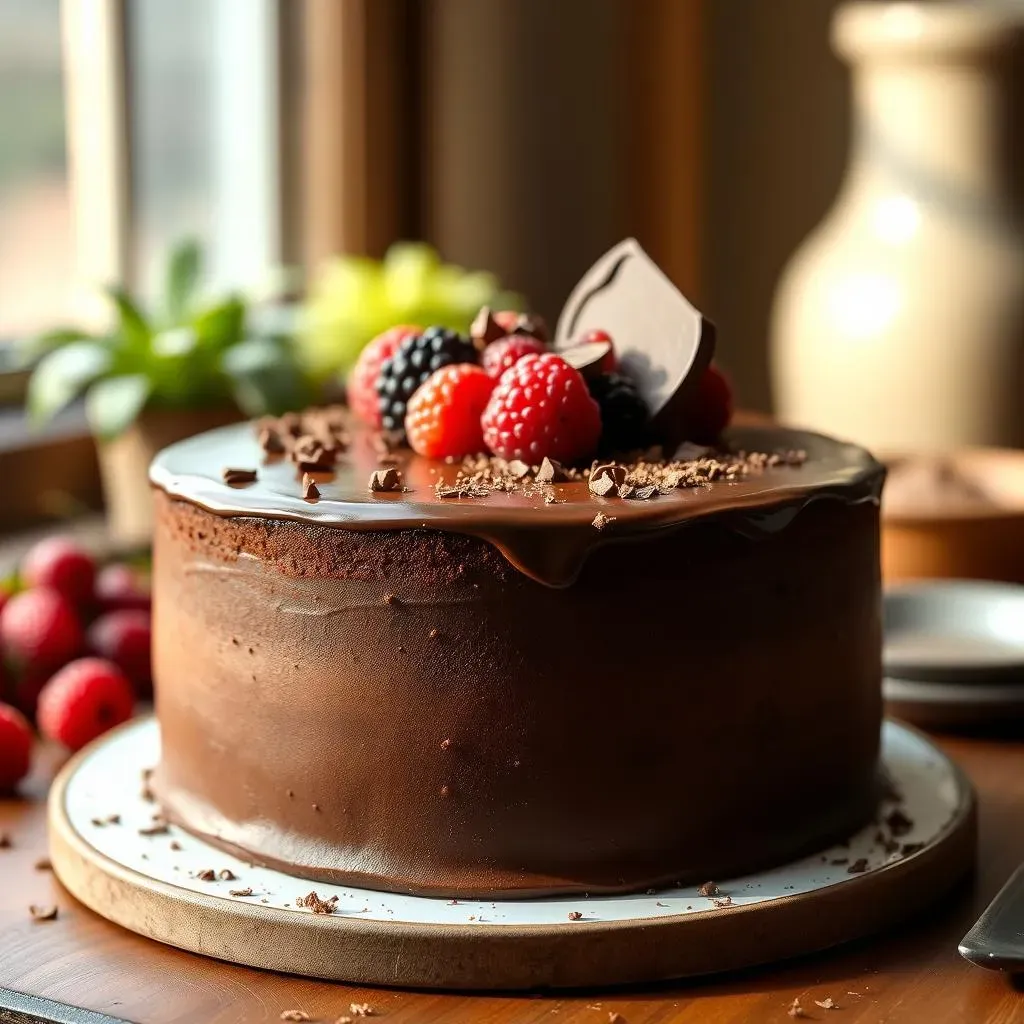
If you prefer a more textured look, embrace the swirls! Use your spatula to create peaks and valleys in the frosting. You can also use the back of a spoon to create different patterns. Don't be afraid to experiment and have fun with it! There are no wrong answers when it comes to decorating. And if you’re feeling extra fancy, you can add chocolate ganache, sprinkles, or fresh berries. The possibilities are endless! Remember, frosting is not just about taste; it's also about making your 9 inch chocolate cake recipe look like a masterpiece. So, go ahead and get creative!
The Sweet Ending: Your Perfect 9 Inch Chocolate Cake
So, there you have it – your very own, incredibly delicious 9 inch chocolate cake. We've journeyed from gathering ingredients to mastering the frosting, and hopefully, you've learned a trick or two along the way. Baking, like any skill, takes practice, so don't worry if your first cake isn't picture-perfect. The most important thing is that it's made with love (and maybe a little bit of chocolate!). Now, go forth and share your cake with the world, or, you know, just keep it all for yourself. I won't judge. Remember, the best part about baking is enjoying the sweet results!