Table of Contents
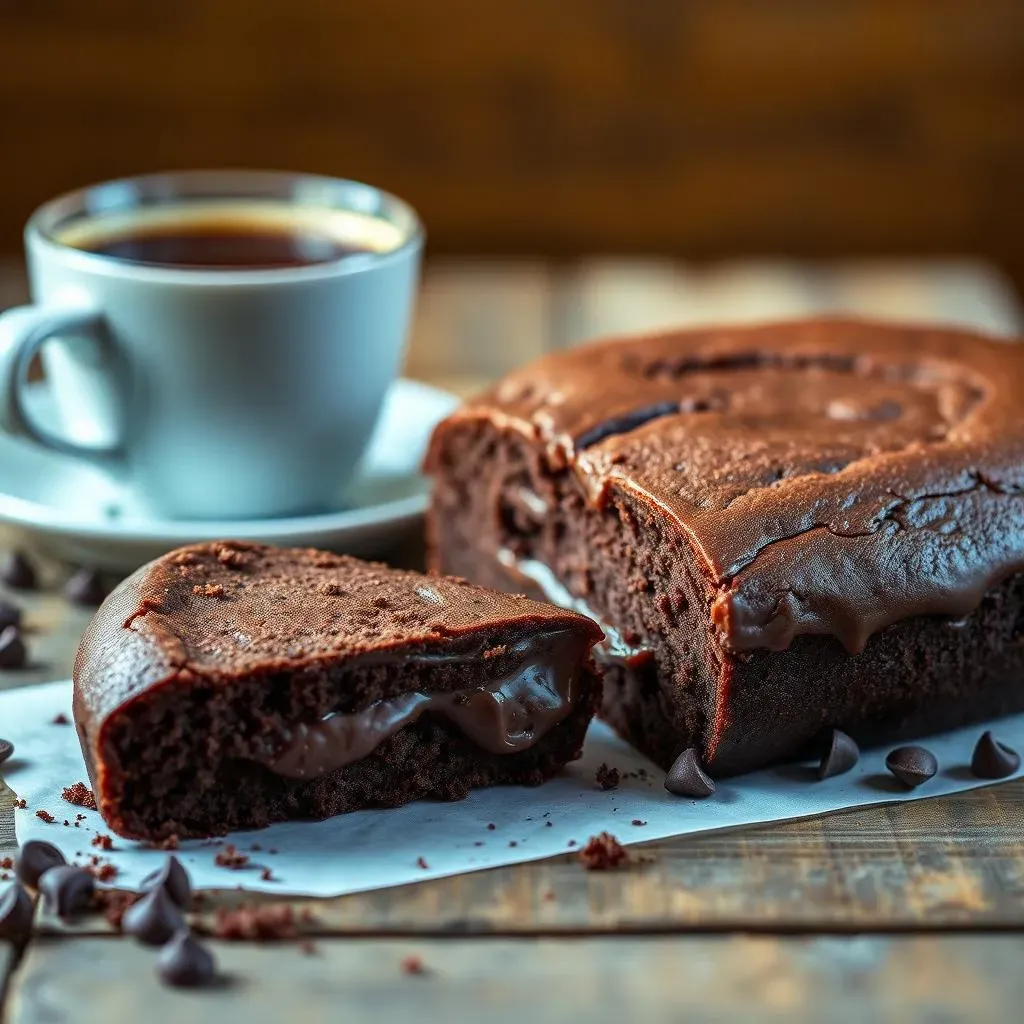
Ever dreamt of a chocolate cake so good, it practically disappears the moment it hits the table? I've been there, chasing that perfect recipe. After countless trials, tweaking, and maybe a few kitchen mishaps, I've finally nailed it. This isn't just any chocolate cake; this is *the* one. My 9 chocolate cake recipe is designed to be incredibly easy, using a simple one-bowl method. You don't need to be a master baker to pull this off, I promise. We'll walk through the basic steps and then explore how you can tweak it to fit your dietary needs, because everyone deserves a slice of happiness. Whether you're after a classic chocolate delight, or need a gluten-free or dairy-free version, this recipe has you covered. We'll talk about everything from the perfect ingredients to how to store your creation. So, grab your apron and let's bake a cake that'll have everyone asking for seconds!
Ingredients for the Perfect 9 Chocolate Cake Recipe
Ingredients for the Perfect 9 Chocolate Cake Recipe
The Foundation: Flour, Sugar, and Cocoa
Okay, so let's get down to the nitty-gritty. For this 9 chocolate cake recipe, you're going to need the usual suspects, but with a little twist. We're talking all-purpose flour, but don't worry, I've got a gluten-free hack for you later. Then, we've got granulated sugar for sweetness, and the star of the show, unsweetened cocoa powder. Now, not all cocoa is created equal. Go for a good quality one, the difference in flavor is huge. Trust me on this, it's like the difference between a regular cup of coffee and a barista-made one. And a little tip here: don’t skimp on the cocoa, it’s what gives the cake that deep, rich color and flavor.
Next up, we have our wet ingredients. We need some oil, vegetable or canola works just fine. Then there's the eggs, which help bind everything together. But the secret weapon here is buttermilk, which adds a touch of tang and keeps the cake super moist. If you don't have buttermilk, don’t sweat it, I have a substitute for you! And last but not least, a dash of vanilla extract to enhance all the flavors. Remember, the quality of your ingredients really does make a difference. So when you can, opt for the good stuff, it's worth it.
Ingredient | Amount | Notes |
|---|---|---|
All-purpose Flour | 2 cups | Use gluten-free blend for gluten-free option |
Granulated Sugar | 2 cups | Adjust to your sweetness preference |
Unsweetened Cocoa Powder | ¾ cup | High-quality for best flavor |
Vegetable Oil | ¾ cup | Canola oil is a good substitute |
Eggs | 2 large | Room temperature is best |
Buttermilk | 1 cup | See notes for substitute |
Vanilla Extract | 2 tsp | Pure extract is preferred |
The Flavor Boosters: Coffee and Baking Agents
Okay, let's talk about the flavor enhancers. This is where we take our 9 chocolate cake recipe from good to "OMG, what's your secret?". First, a little espresso powder. I know, it sounds weird, but trust me, it doesn't make the cake taste like coffee, it just intensifies the chocolate flavor. It's like a secret handshake for chocolate lovers. Then, we have our baking soda and baking powder, these are the magic that makes the cake rise. Make sure they are fresh, otherwise the cake might not have the lift you are looking for. And of course, a pinch of salt to balance out all the sweetness.
And finally, let's not forget the boiling water. Yes, boiling water! It might sound strange, but it helps dissolve the cocoa and create this super smooth batter. It also gives the cake an extra moistness. Add it at the end, and you will be amazed at how it transforms the batter. That’s all for the ingredients, now it's time to get baking! I'm so excited for you to try this. It’s a real game-changer, and I’m sure you’ll agree once you have a slice.
- Espresso Powder: 1 teaspoon (enhances chocolate flavor)
- Baking Soda: 1 ½ teaspoons (for lift)
- Baking Powder: 1 ½ teaspoons (for lift)
- Salt: ½ teaspoon (balances sweetness)
- Boiling Water: 1 cup (for smooth batter)
StepbyStep Instructions: Baking Your 9 Chocolate Cake Recipe
StepbyStep Instructions: Baking Your 9 Chocolate Cake Recipe
Getting Started: Prep Work and Mixing
Alright, let's get this show on the road! First things first, preheat your oven to 350°F (175°C). Now, grab your 9-inch cake pan – or two, if you're making layers – and grease it up. I like to use a bit of butter or cooking spray, then add a dusting of cocoa powder. This stops the cake from sticking and adds an extra layer of chocolatey goodness. In a large bowl, whisk together all the dry ingredients: the flour, sugar, cocoa powder, espresso powder, baking soda, baking powder, and salt. Give it a good mix to make sure everything is evenly distributed. Think of it as a dry ingredient party, where everyone needs to mingle.
Now, for the wet ingredients. In a separate bowl, mix the oil, eggs, buttermilk, and vanilla extract. Whisk them together until they're well combined. Then, pour the wet ingredients into the dry ingredients, and mix on low speed until just combined. Don't overmix! You want the batter to be smooth, but overmixing can make the cake tough. Finally, slowly pour in the boiling water while mixing on low speed. The batter will be thin, but don’t worry, that’s how it should be. It's like magic, I tell you, how the hot water transforms the batter.
Now, pour the batter into your prepared cake pan(s). If you are using 2 cake pans, make sure you divide the batter evenly between them. Tap the cake pan(s) gently on the counter to release any air bubbles. This little step helps ensure your cake bakes evenly. Now, we're ready to bake!
Baking and Cooling Your Cake
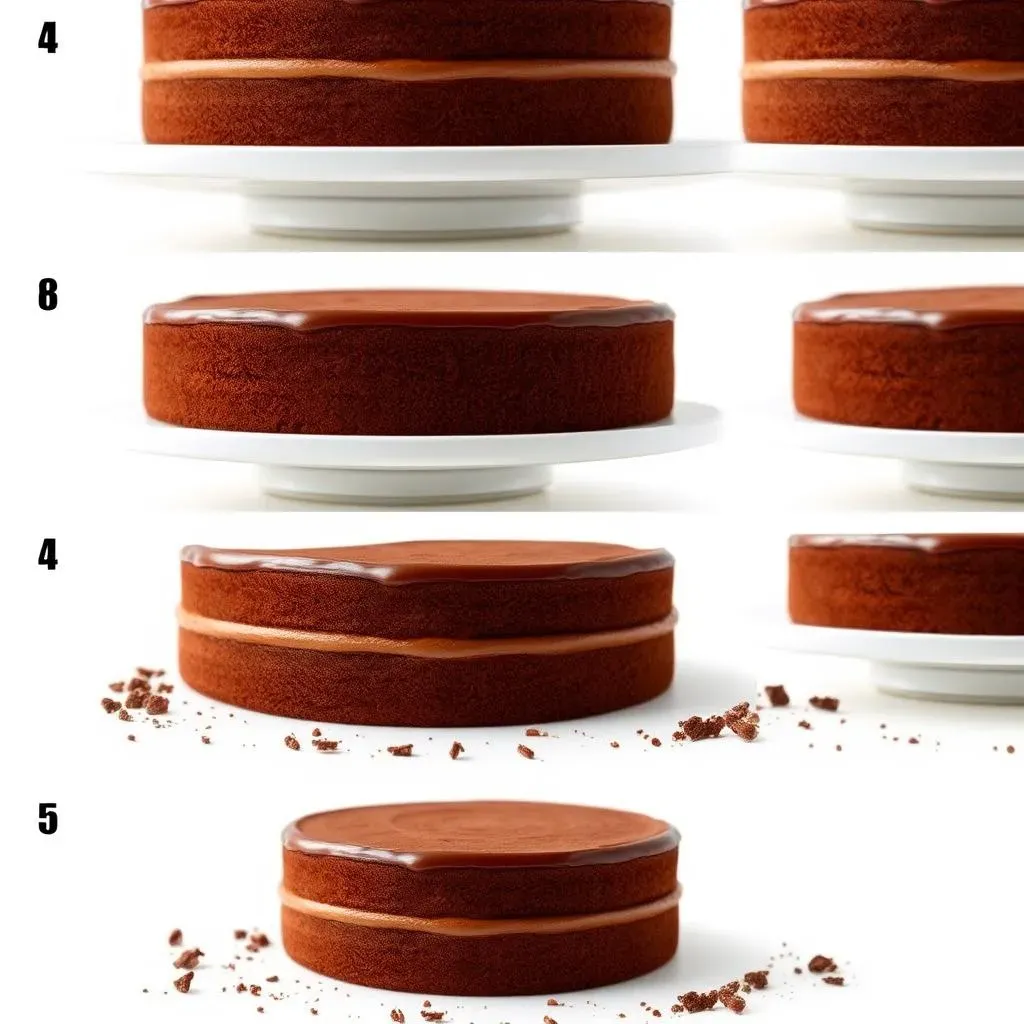
Pop the cake pan(s) into the preheated oven and bake for about 30-35 minutes. If you're doing a single 9-inch cake, it might take a little longer, maybe 35-40 minutes. You'll know it's ready when a toothpick inserted into the center comes out clean or with just a few moist crumbs. The cake should also be pulling away slightly from the sides of the pan. The aroma filling your kitchen will be heavenly. Trust me, the hardest part is waiting for it to cool.
Once the cake is baked, take it out of the oven and let it cool in the pan for about 10-15 minutes. Then, run a knife around the edges of the pan and carefully invert the cake onto a wire rack to cool completely. Make sure it's totally cool before frosting, or the frosting will melt and slide off. I know it's tempting to dive in right away, but trust me, patience is key here. Once it’s fully cooled, you are ready to frost and decorate! Now, go ahead and frost that masterpiece.
Modifying Your 9 Chocolate Cake Recipe for Dietary Needs
Modifying Your 9 Chocolate Cake Recipe for Dietary Needs
Gluten-Free Goodness
So, you're looking to make this 9 chocolate cake recipe gluten-free? No problem! It's actually easier than you might think. The key is swapping out the all-purpose flour for a good quality gluten-free blend. Now, not all gluten-free flours are created equal, so I recommend one that's designed for baking and includes a mix of different flours like rice flour, tapioca starch, and potato starch. This will give you the best texture. When you switch to gluten-free flour, you may find that the batter is a bit thicker or thinner than the original recipe, so if you need to add a little extra liquid or a bit more flour to get the right consistency, don't be afraid to adjust.
Also, make sure that your other ingredients are gluten-free too, especially the baking powder, as some brands may contain gluten. Baking soda is usually fine, but it's always good to double-check. The rest of the recipe should work just as well with the gluten-free flour. The cake will be just as delicious, moist, and rich as the original. You might even find some people can't tell the difference. Seriously, I've made this gluten-free for friends, and they had no idea! It's a pretty good trick, if I do say so myself.
Ingredient | Original | Gluten-Free |
|---|---|---|
All-Purpose Flour | 2 cups | 2 cups Gluten-Free Blend |
Baking Powder | 1 ½ teaspoons | 1 ½ teaspoons (ensure it's gluten-free) |
Dairy-Free Delights
Okay, next up, let's tackle dairy-free. This is another easy swap. The main dairy component in this recipe is the buttermilk. Instead of the regular buttermilk, you can use a dairy-free alternative. My go-to is a mix of soy milk or almond milk, with a teaspoon of lemon juice or apple cider vinegar. Let it sit for about five minutes, and it'll curdle and thicken, just like buttermilk. You get the same tang and moisture without the dairy. It's a pretty neat trick if you ask me.
The rest of the ingredients are naturally dairy-free, so you don't need to worry about changing anything else. The oil, eggs, cocoa powder, espresso powder, baking soda, baking powder, and salt are all dairy-free. The dairy-free version of this 9 chocolate cake recipe turns out incredibly moist and delicious. It's perfect for anyone who is lactose intolerant or avoiding dairy. You won’t even miss the dairy, trust me. It's just as good, if not better, than the original!
- Buttermilk Substitute: 1 cup dairy-free milk + 1 tsp lemon juice (let sit for 5 mins)
Serving and Storing Your Delicious 9 Chocolate Cake
Serving and Storing Your Delicious 9 Chocolate Cake
Serving Suggestions
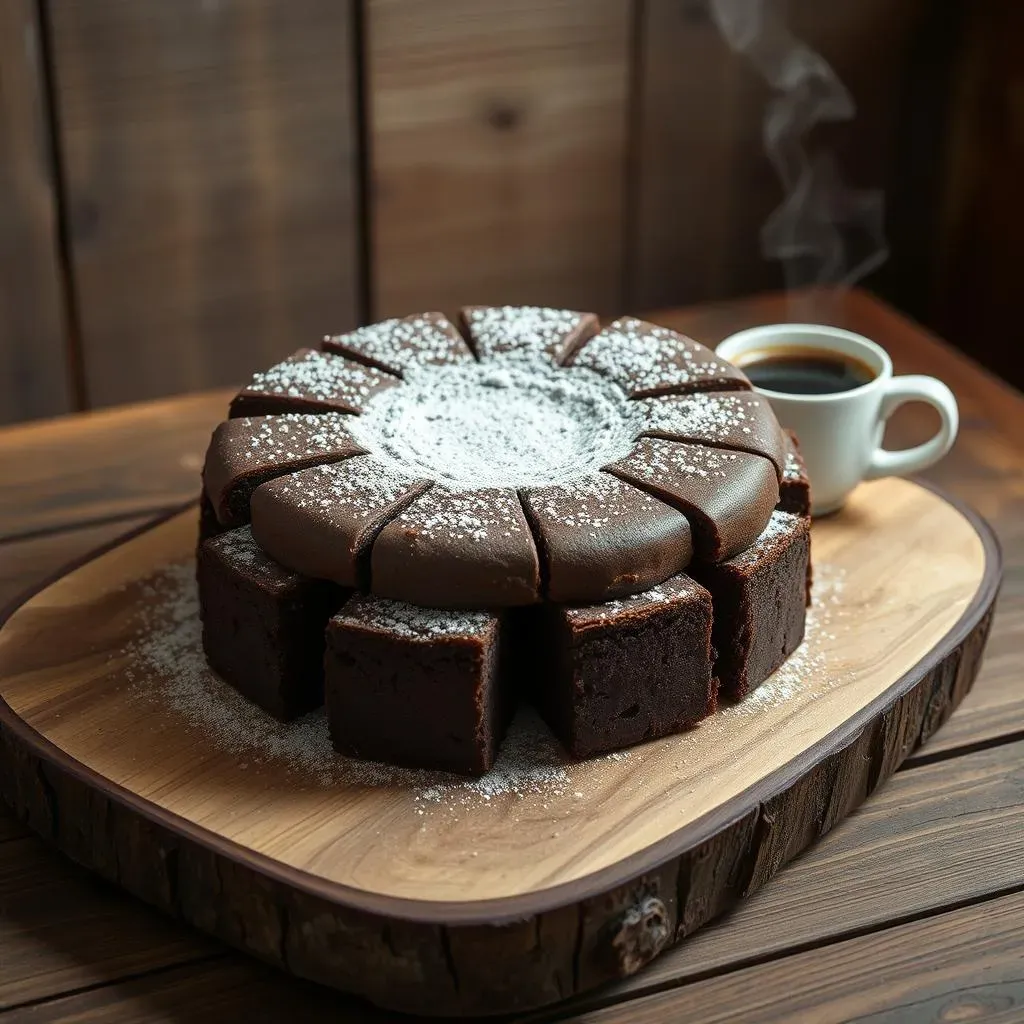
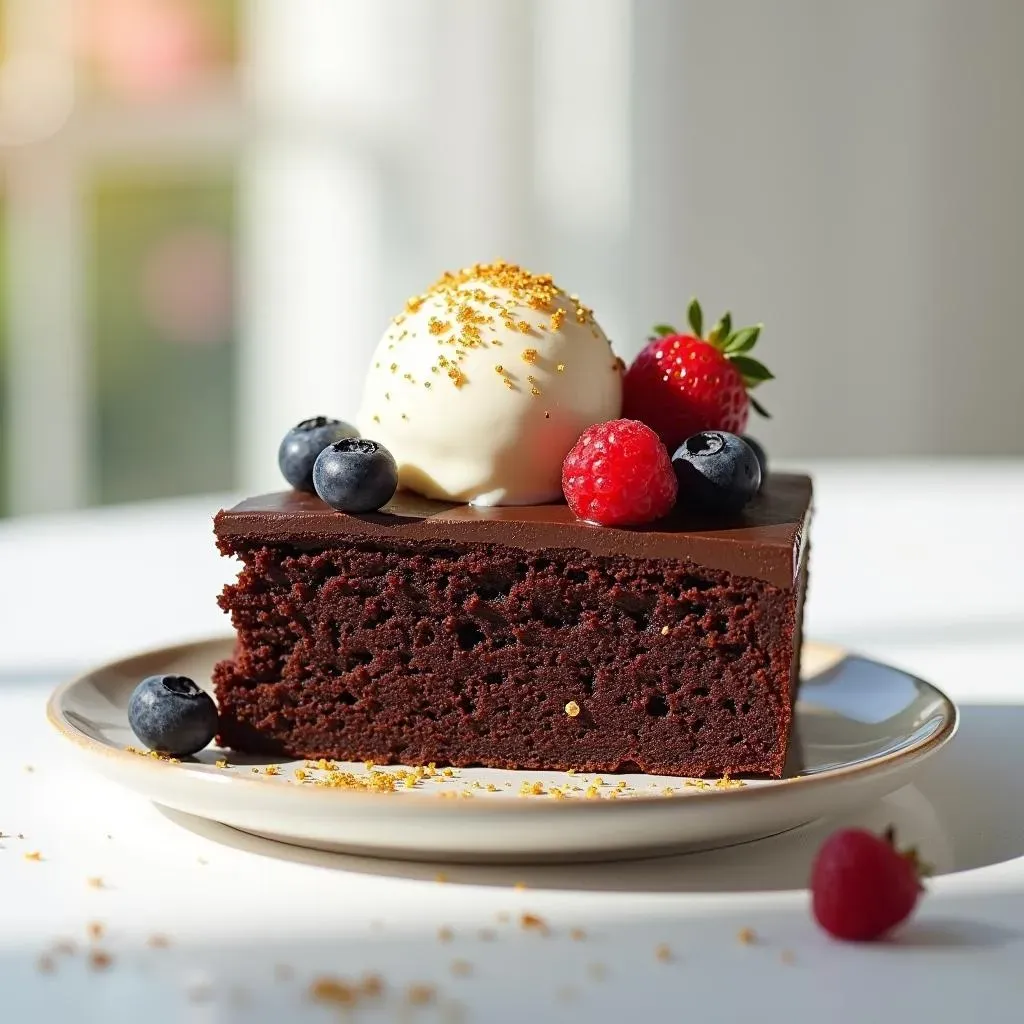
Alright, your 9 chocolate cake recipe is baked, cooled, and frosted. Now comes the fun part – serving it! This cake is seriously versatile, so you can keep it simple or go all out. For a classic touch, a dusting of powdered sugar or a simple chocolate ganache will do the trick. If you're feeling a bit more adventurous, why not try a layer of buttercream frosting or a drizzle of caramel? I've even seen people add fresh berries, chocolate shavings, or even a scoop of vanilla ice cream. The possibilities are endless! Don't be afraid to experiment and find your perfect pairing. This cake is like a blank canvas waiting for your creative touch. I've served it at fancy dinner parties and casual hangouts, and it always steals the show. It's that good.
When it comes to cutting the cake, use a sharp serrated knife for clean slices. For extra neatness, dip the knife in hot water between slices. This will help prevent the frosting from sticking to the knife and messing up your beautiful cake. And don't forget to serve each slice with a big smile – it’s the perfect complement to this delicious treat. Whether it’s for a birthday, a holiday, or just a random Tuesday, this cake is always a good idea. It brings joy to any occasion. So go on, slice it up and enjoy every bite!
Serving Style | Description | Pairings |
|---|---|---|
Classic | Powdered sugar dusting | Coffee, tea |
Simple | Chocolate ganache | Vanilla ice cream |
Adventurous | Buttercream frosting, caramel drizzle | Fresh berries, chocolate shavings |
Storing Your Cake
Now, let's talk about storing any leftovers. If, and that's a big if, you have any leftover cake, you'll want to keep it fresh. The best way to store this 9 chocolate cake recipe is in an airtight container at room temperature for a couple of days. If you've frosted it, you may want to store it in the fridge to keep the frosting from melting or going bad. In the fridge, it will keep for up to a week, but it’s best within the first few days for the best texture. If you want to store it for longer, freezing is your best option. Cut the cake into individual slices, wrap each one tightly in plastic wrap, then place them in a freezer bag or airtight container. This way, you can pull out a slice whenever you need a chocolate fix. It'll keep in the freezer for up to two months. Just make sure to let it thaw at room temperature before eating, so it’s as delicious as when it was first baked.
When freezing, a little tip is to wrap the cake slices twice. This helps prevent freezer burn and keeps the cake moist. I’ve even frozen whole, unfrosted cakes for future use. Just wrap the cake tightly and thaw it out when you are ready to frost. The cake is so good, and it’s nice to have some on hand when you need something sweet, or if unexpected guests arrive. Storing it right ensures the flavor and moisture of the cake is preserved. So, you can enjoy this delicious treat even days or months later.
- Room Temperature: Airtight container, 2-3 days
- Refrigerator: Airtight container, up to 1 week
- Freezer: Wrapped slices or whole cake, up to 2 months
Wrapping Up Your 9 Chocolate Cake Masterpiece
So there you have it, a 9 chocolate cake recipe that’s not only delicious but also adaptable to your needs. From the simple one-bowl method to the endless modifications, this cake is ready to be your go-to treat. Whether you're baking for a birthday, a holiday, or just because, the joy of a homemade cake is unmatched. Don't be afraid to experiment with different frostings and toppings to make it truly your own. And remember, baking is a journey, not a destination, so embrace the process, and most importantly, enjoy every single bite! Now go forth and create some chocolatey magic!