
Table of Contents
You saw it on TV. That towering monument of chocolate, a dessert defying gravity and maybe your sanity in the kitchen. The one with not two, not four, but *eight* distinct layers of chocolatey goodness. Yes, we're talking about the legendary 8 texture chocolate cake recipe. It looks impossible, a pastry chef's fever dream designed to intimidate the average home baker. Maybe you've scrolled past it online, admired it from afar, or perhaps even attempted a layer or two and decided your oven was cursed. Forget the glossy magazine spreads and the dramatic music. This isn't just a recipe; it's an engineering project in confectionery form. We're going to cut through the mystique, look at exactly what makes up this beast, and see if tackling the 8 texture chocolate cake recipe is a weekend challenge or a one-way ticket to the nearest bakery. Spoiler alert: it’s complicated, but maybe not *that* complicated if you know what you're getting into. Let's break it down, layer by layer.
What Exactly is an 8 Texture Chocolate Cake?
What Exactly is an 8 Texture Chocolate Cake?
Beyond Your Average Chocolate Layer Cake
Alright, let's cut to the chase. When someone mentions an 8 texture chocolate cake recipe, they aren't just talking about stacking a few sponge layers with some frosting. This is a dessert that aims for complexity, a culinary equivalent of a symphony, but with chocolate. The "eight texture" part is the key. It means you're not just getting one type of chocolate experience, like a simple mousse or a ganache. You're getting eight distinct sensations in one bite. Think about it: crunchy, creamy, airy, dense, smooth, firm, liquid, maybe even something unexpected. It’s a deliberate construction designed to keep your taste buds guessing and, ideally, singing praises.
Deconstructing the Layers of Complexity
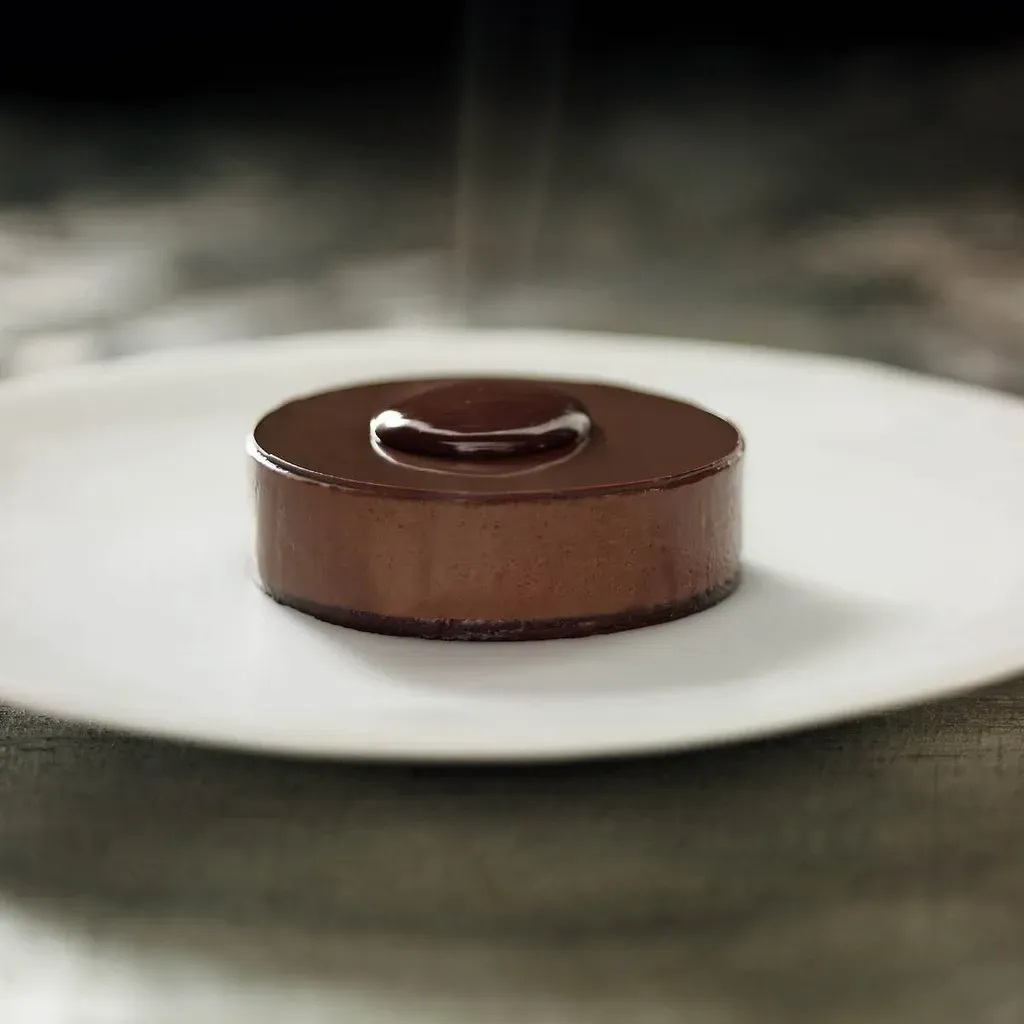
So, how do you get eight textures into one cake? It requires a bit more finesse than throwing things into a bowl. Typically, this involves multiple components prepared separately and then carefully assembled. You might have a dense chocolate brownie or financier base for structure. Then perhaps a light-as-air chocolate mousse. Followed by a crisp, thin layer of tempered chocolate or a praline crunch. Maybe a smooth, rich ganache, a slightly chewy dacquoise, a creamy caramel element, and a final, perhaps liquid or powdered, chocolate flourish on top. Each part contributes a different feel, a different resistance or lack thereof, when you slice into it and, more importantly, when you eat it. It’s about engineering mouthfeel as much as flavor.
- Dense cake base (like brownie or financier)
- Airy chocolate mousse
- Crisp tempered chocolate disc
- Crunchy praline layer
- Smooth, rich ganache
- Chewy dacquoise
- Creamy caramel or chocolate cream
- Liquid or powdered chocolate finish
Breaking Down the Layers: The Magic Behind the 8 Texture Chocolate Cake Recipe
Breaking Down the Layers: The Magic Behind the 8 Texture Chocolate Cake Recipe
Starting from the Foundation: The Base Layer
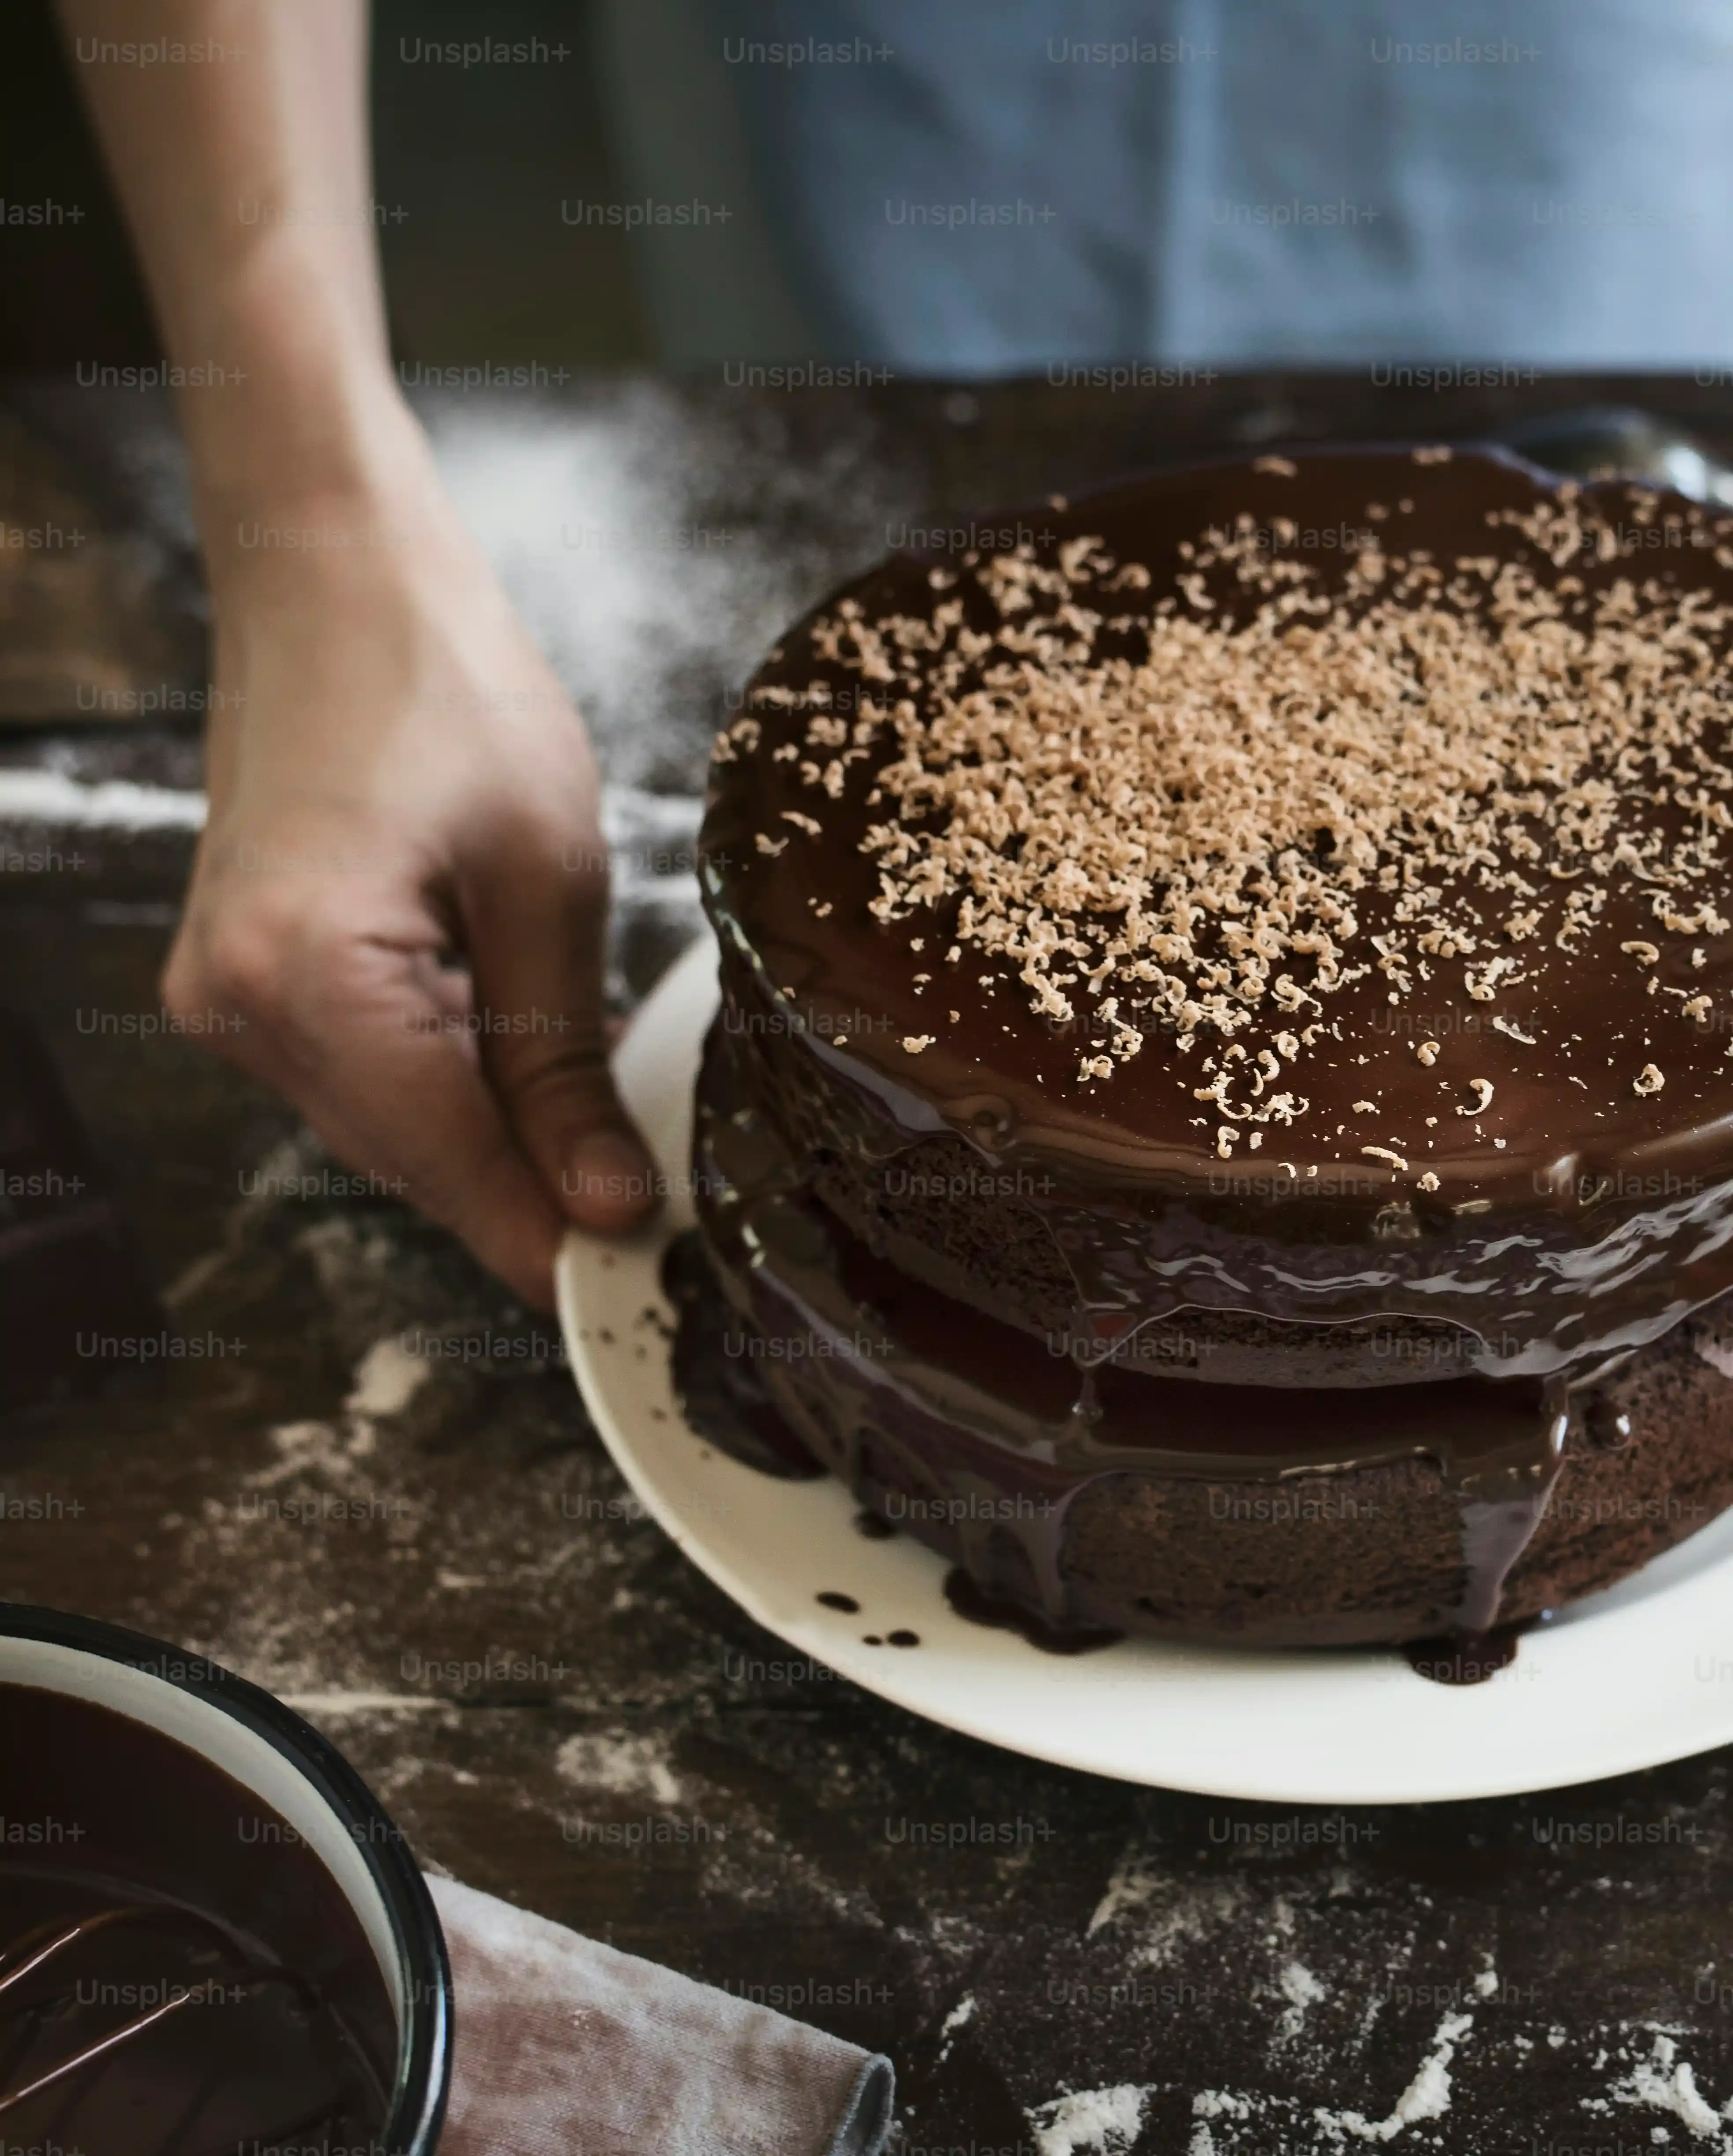
so you're diving into the 8 texture chocolate cake recipe. The first thing you need is a solid foundation. Think of it like building a skyscraper; you wouldn't start with the penthouse. This base layer needs to be sturdy enough to hold everything else up but still delicious. Often, this is a dense, moist chocolate cake layer, maybe a financier or even a brownie. It provides that grounding texture, something substantial to bite into before the lighter elements take over. Getting this right is crucial because a crumbly base means your whole masterpiece is going to collapse.
Floating on Air: The Mousse and Creamy Layers
Once your base is sorted, you move into the softer side of the 8 texture chocolate cake recipe. This is where the mousse comes in – light, airy, melt-in-your-mouth chocolate goodness. You'll likely have a rich ganache layer too, providing a smooth, intense hit of chocolate flavor and a different kind of creaminess. There might also be a caramel cream or a different flavored mousse to add complexity. These layers are about contrast – soft against the firm base, smooth against future crunchy bits. They require careful handling; no one wants a deflated mousse.
Adding the Crunch and Shine: Tempered Chocolate and Assembly
Now for the fun part: the textures that snap and crackle. The 8 texture chocolate cake recipe often includes a tempered chocolate disc or a praline layer. Tempering chocolate is tricky; it requires precision with temperature, but getting that perfect snap is incredibly satisfying. The praline adds a delightful crunch and nutty flavor. Finally, it all comes together. Layering these components neatly is key to getting those clean lines when you slice the cake. It’s a bit like edible architecture, ensuring each layer is distinct but works together in harmony for that ultimate 8 texture experience.
Tips and Tricks for Conquering the 8 Texture Chocolate Cake Recipe
Tips and Tricks for Conquering the 8 Texture Chocolate Cake Recipe
Preparation is Your Best Friend (Seriously)
let's get real about the 8 texture chocolate cake recipe. This isn't a spontaneous Tuesday night bake. This requires planning, like you're launching a small edible rocket. Read the *entire* recipe first. Understand what needs chilling, what needs tempering, and what can be made ahead. Gather *all* your ingredients and equipment before you start. There's nothing worse than being halfway through a delicate mousse and realizing you're out of gelatin or your springform pan is missing a side. Mis en place is non-negotiable here. Chop the chocolate, measure the sugar, separate the eggs. Do it all upfront. It saves you frantic searching and potential mistakes down the line. Think of it as setting up your battle station before the chocolate war begins.
Mastering Individual Components Before Assembly
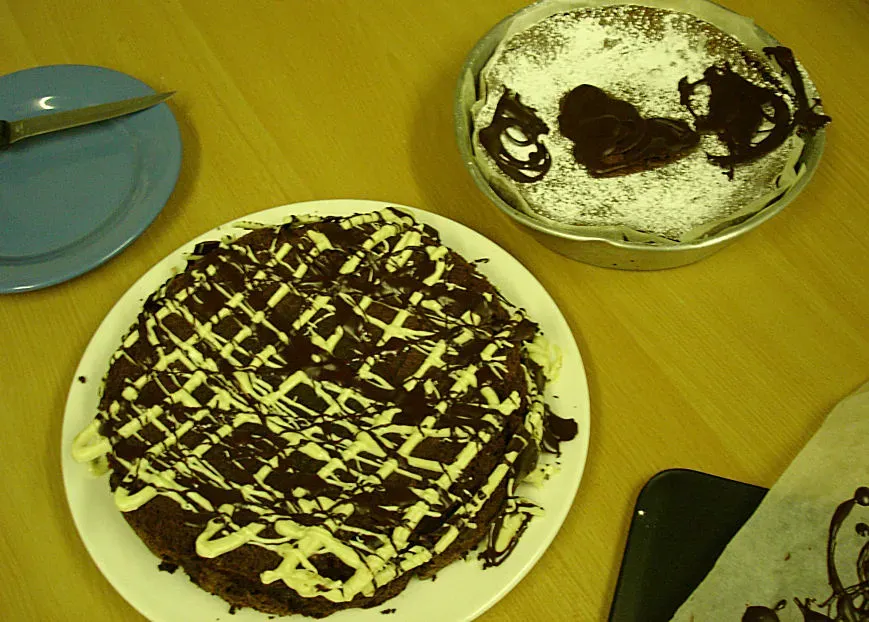
Trying to nail eight different textures simultaneously is a recipe for disaster. The smart approach to the 8 texture chocolate cake recipe is to master each component individually, or at least understand its quirks. Practice tempering chocolate if you haven't done it before. Learn what a stable mousse looks and feels like before you rely on it to hold up half the cake. Don't skip the chilling times; they are critical for structure. When you assemble, be patient and precise. Use acetate lining in your cake ring if the recipe calls for it – it makes unmolding infinitely easier. And accept that the first attempt might not look exactly like the picture. Mine certainly didn't. It tasted good, but it leaned like the Tower of Pisa after a few hours.
- Read the full recipe multiple times.
- Gather all ingredients and equipment beforehand.
- Practice tricky techniques like tempering chocolate separately.
- Respect chilling times; they are non-negotiable.
- Use acetate lining for cleaner edges during assembly.
- Be patient and precise during layering.
- Don't expect perfection on your first try.
Common Mistakes When Making This Famous Chocolate Cake
Ignoring the Importance of Ingredient Quality and Precision
Diving into the 8 texture chocolate cake recipe without the right ingredients is like trying to build a watch with playground sand. This cake relies on high-quality components working together perfectly. Using cheap chocolate? Your ganache might split or lack depth. Substituting ingredients willy-nilly? That delicate mousse might turn into soup. Precision is also non-negotiable. Baking is a science, especially complex patisserie. Eyeballing measurements or guessing temperatures for tempering chocolate guarantees disappointment. You need a reliable scale, an accurate thermometer, and the exact ingredients specified. Don't cheat on the chocolate quality; your taste buds (and your guests) will know.
Skipping Crucial Steps Like Chilling and Tempering
Patience is not just a virtue; it's a requirement for the 8 texture chocolate cake recipe. A major mistake people make is rushing the process, particularly the chilling times. Each layer needs adequate time to set properly before you add the next one. Trying to layer a warm ganache onto a soft mousse is asking for a melty, muddy disaster. Similarly, if the recipe calls for tempered chocolate discs, don't skip or botch the tempering. Untempered chocolate looks dull, melts instantly in your hand, and lacks that satisfying snap that contributes one of the key textures. My first attempt at tempering looked like a sad, streaky mess; I learned the hard way that temperature matters.
- Using low-quality chocolate or ingredients.
- Inaccurate measurements (especially for sugar and liquids).
- Not chilling layers sufficiently between steps.
- Improperly tempering chocolate or skipping it entirely.
- Overmixing or undermixing components like mousse or dacquoise.
Underestimating the Assembly Challenge and Expecting Perfection
You've made all eight glorious components. Now comes the moment of truth: assembly. This is where many hopeful bakers stumble with the 8 texture chocolate cake recipe. Trying to stack delicate layers perfectly straight, especially if they aren't fully set, is challenging. Don't just dump them in; carefully place and spread each one. Use the right tools – an offset spatula is your friend. Another common pitfall is expecting your first attempt to look like a professional display case cake. It probably won't. There might be a slight lean, some smudges, or edges that aren't razor-sharp. That's okay. Focus on getting the textures and flavors right. The aesthetics improve with practice. Remember, it's more important that it tastes incredible than that it's Instagram-perfect on your initial go.
So, Is the 8 Texture Chocolate Cake Recipe Worth the Effort?
Alright, you've seen the layers, understood the components, and maybe even felt a slight tremor of fear contemplating the sheer volume of dishes this project generates. The 8 texture chocolate cake recipe is not a weeknight bake when you're feeling peckish. It demands time, patience, and a willingness to embrace potential failure (or at least, a slightly less-than-perfect execution). Is it the most practical cake? Absolutely not. Will it impress anyone who sees or tastes it? Undeniably. Think of it less as a casual baking session and more as a culinary marathon. If you're up for the challenge, armed with the knowledge of what each texture brings and prepared for the meticulous steps, it can be a rewarding, albeit exhausting, endeavor. Just make sure you have plenty of clean towels and maybe a strong cup of coffee nearby.