
Table of Contents
Look, we've all had a basic chocolate cake. Maybe it was fine. But sometimes, fine just doesn't cut it, especially when you're marking a milestone. Four years of putting recipes out there? That calls for something a bit... extra. Something that makes people stop scrolling and ask, "Wait, what is *that*?"
Decoding the Layers: What Goes Into Your 7 Layer Chocolate Mousse Cake?

Decoding the Layers: What Goes Into Your 7 Layer Chocolate Mousse Cake?
Starting with the Foundation: The Cake Layer
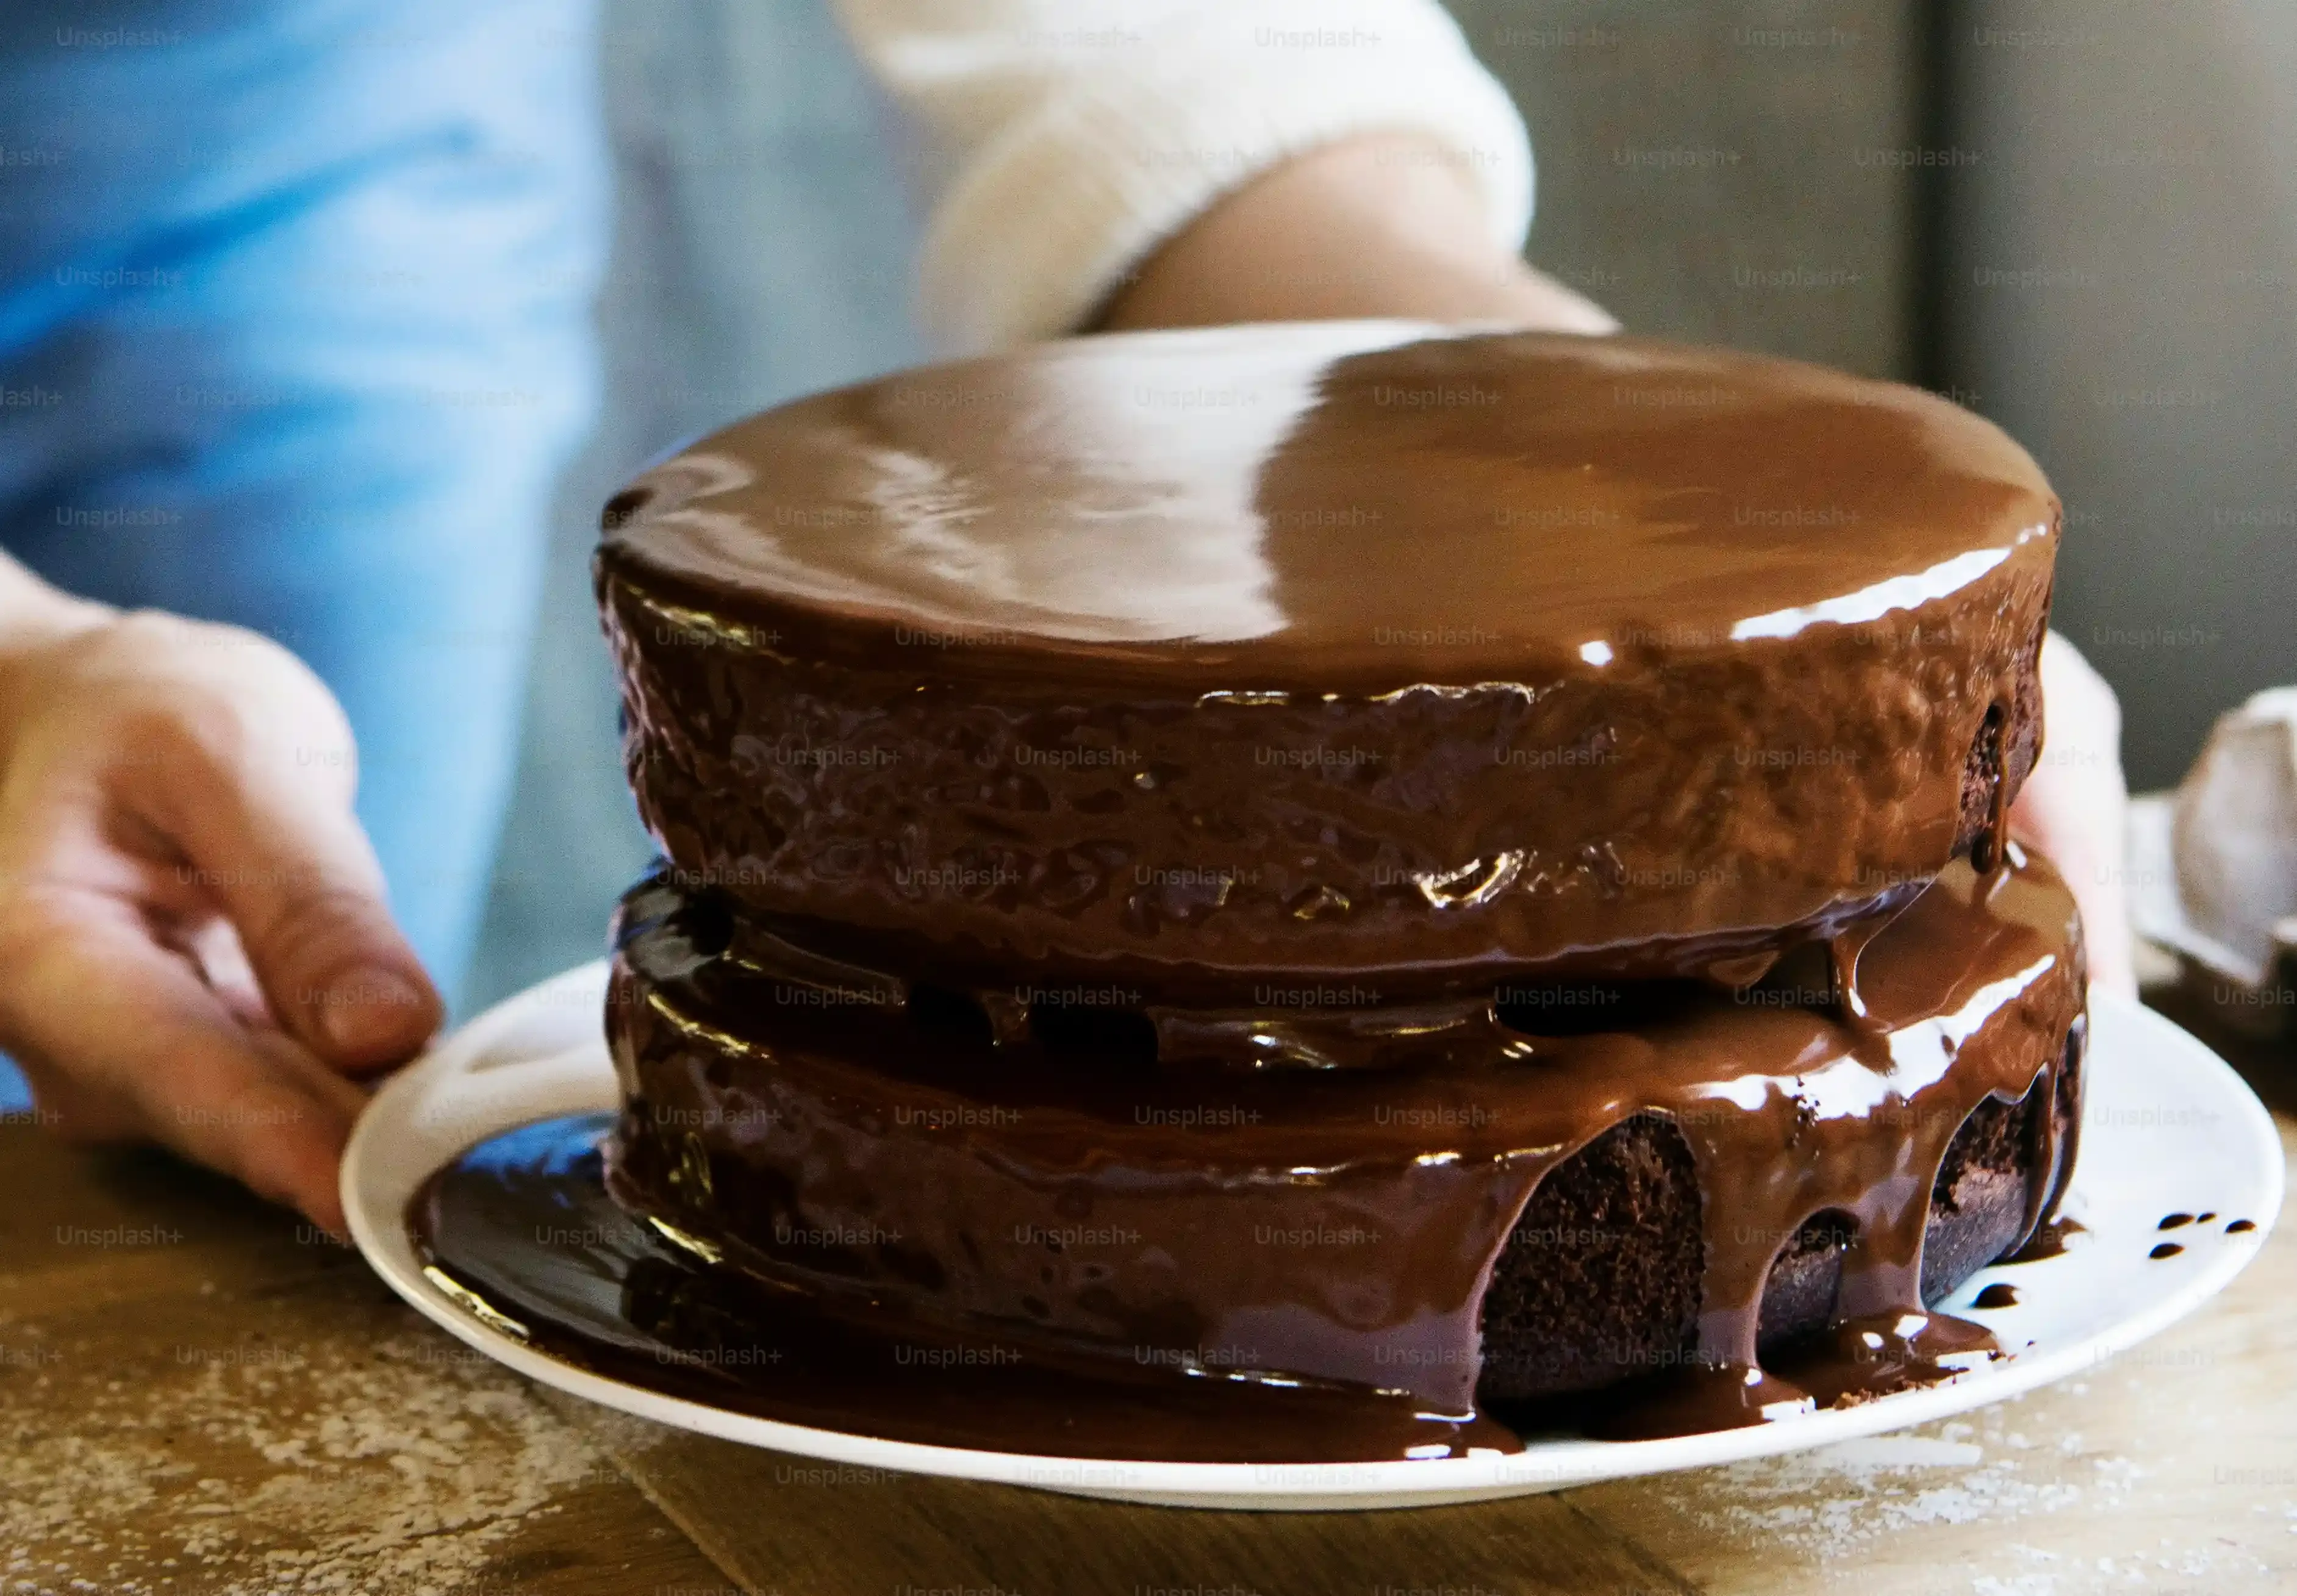
Alright, let's talk cake. You can't build a skyscraper of chocolatey goodness without a solid base, right? For a proper 7 layer chocolate mousse cake, you need a chocolate cake layer that can hold its own. We're not looking for something light and airy here. You need a moist, sturdy dark chocolate cake that won't crumble under the weight of all that mousse and fudge. Think rich, dense, almost brownie-like in its intensity, but still definitely cake. This bottom layer is crucial; it's the anchor holding your entire dessert together.
Adding the Gooey Goodness: The Fudge Layer
Next up, the fudge. This isn't your grandma's crumbly holiday fudge. This is a smooth, almost ganache-like fudge layer that melts in your mouth and adds a necessary counterpoint to the airy mousse. It provides a concentrated burst of chocolate flavor right above the cake. It's the glue, the transition, the layer that takes your triple chocolate mousse cake from "pretty good" to "seriously, what is in this?" Getting the consistency right is key – too thin and it runs everywhere, too thick and it's just a hard lump.
- Dark Chocolate Cake Base
- Smooth Chocolate Fudge
- Creamy Chocolate Mousse
- Velvety White Chocolate Mousse
- Optional: Chocolate Ganache Topping
- Optional: Chocolate Shavings/Decorations
- The invisible layer of pure joy you experience while eating it.
Building the Cloud: The Mousse Layers
Now for the main event: the mousse. This is where the "mousse cake" part really shines. You'll typically have at least two distinct mousse layers in a true triple chocolate mousse cake, often a dark or milk chocolate mousse and a white chocolate mousse. These should be light, airy, and intensely flavored. Made with whipped cream and often stabilized with gelatin, they provide that cloud-like texture that contrasts beautifully with the dense cake and fudge. The distinct colors of the dark and white mousse also give the cake its striking layered look when you finally slice into it.
Gather Your Arsenal: Ingredients and Prep Steps
Gather Your Arsenal: Ingredients and Prep Steps
Rounding Up the Good Stuff: Essential Ingredients
Alright, before you even think about turning on the oven or pulling out a mixer for this 7 layer chocolate mousse cake, you need the right ingredients. And I'm not talking about that dusty bag of chocolate chips you found in the back of the pantry. Quality matters here. You need good cocoa powder for that deep, dark cake and fudge. Spend a little extra on decent chocolate – bittersweet or semi-sweet for the fudge and dark mousse, and a good quality white chocolate that actually tastes like something other than sugar for the white mousse.
Don't skimp on the heavy cream either. This is where the magic happens for your mousse layers. You'll be whipping gallons of the stuff, or at least it will feel that way, so make sure it's cold and fresh. And yes, you'll likely need gelatin to stabilize the mousse layers so they don't turn into a sad puddle when you slice into your masterpiece. It's not glamorous, but it's necessary unless you enjoy structural failure in your desserts.
Getting Your Ducks in a Row: Prep Work is Key
Now, let's talk prep. Making a triple chocolate mousse cake, or any multi-layered dessert, is a marathon, not a sprint. You can't just wing this. Read the entire recipe first. Seriously, all of it. Figure out what needs chilling, what needs to be done in advance, and how long each layer takes to set.
Gather all your ingredients and measure them out before you start. Nothing is worse than being halfway through making mousse and realizing you're short on chocolate or, worse, gelatin. Get your pans ready – grease them, line them with parchment paper. Have your springform pan ready for assembly. This might sound like your mom telling you to clean your room, but trust me, a little organization upfront saves a lot of panic later.
Essential Tools You'll Need:
- Springform pan (the taller the better)
- Electric mixer (stand or hand-held)
- Multiple bowls (you'll be using a lot)
- Saucepans for melting chocolate and making fudge
- Parchment paper
- Offset spatula for smoothing layers
- Sharp knife for slicing (later!)
Building Your Masterpiece: Assembling the 7 Layer Chocolate Mousse Cake
Building Your Masterpiece: Assembling the 7 Layer Chocolate Mousse Cake
Laying the Foundation: Cake in the Pan
you've baked your cake layer and hopefully let it cool completely. Attempting to build a 7 layer chocolate mousse cake on a warm cake is like trying to stack Jell-O. Don't do it. Once cool, place that sturdy dark chocolate cake disc right in the bottom of your springform pan. Make sure it fits snugly. If you want extra security and a cleaner edge, you can line the sides of the pan with parchment paper or an acetate cake collar. This isn't strictly necessary if your pan sides are smooth, but it makes releasing the finished cake much easier and gives you those pro-level crisp edges.
Stacking the Richness: Fudge and Chocolate Mousse
Now for the good stuff. Carefully pour or spread your cooled (but still pourable) chocolate fudge layer directly over the cake base. Use an offset spatula to spread it evenly right to the edges. Give the pan a gentle tap on the counter to settle it. Next, pour your prepared dark or milk chocolate mousse over the fudge. This layer should be light and airy. Don't just plop it in; try to pour it gently or spoon it in carefully to avoid trapping large air bubbles. Smooth the top with your spatula. Now, here's the critical part: Into the fridge it goes. Each mousse layer needs time to set firm enough to support the next one. Skimp on this chilling time, and you'll end up with a leaning tower of sad, mixed-up chocolate goo.
- Ensure cake is fully cooled.
- Line pan sides if desired for clean release.
- Spread fudge layer evenly over cake.
- Pour chocolate mousse gently over fudge.
- Smooth each layer before chilling.
- Chill *each* layer until firm before adding the next.
- Patience is key; rushing equals disaster.
Crowning Glory: White Chocolate Mousse and Final Chill
Once your chocolate mousse is firm to the touch – give it an hour or two, minimum – it's time for the final main layer: the white chocolate mousse. This one needs to be just as light and airy as the dark. Pour or spoon it over the set chocolate mousse layer. Again, smooth the top carefully. This white layer really makes the contrast pop when you slice it. After this, your 7 layer chocolate mousse cake is almost built. It needs one final, long chill. Four to six hours is good, overnight is better. This allows all the layers to meld slightly and become truly stable. Don't skip this; it's the difference between a clean slice and a messy collapse.
Tips for Perfecting Your Triple Chocolate Mousse Cake
Tips for Perfecting Your Triple Chocolate Mousse Cake
Don't Skimp on Quality or Temperature
Listen, you're putting in the work to make a triple chocolate mousse cake. Don't ruin it with cheap chocolate. Seriously. Use good quality stuff, especially for the mousse layers. It makes a world of difference in flavor and texture. Also, pay attention to temperatures. Melted chocolate needs to cool slightly before folding into whipped cream, or you'll deflate everything. Cream needs to be cold, like straight from the back of the fridge cold, to whip properly. Gelatin needs to bloom correctly. These small details aren't optional; they're foundational for a successful 7 layer chocolate mousse cake.
Master the Chill and the Pan
Patience is not just a virtue here; it's a requirement. Rushing the chilling time between layers is the number one cause of mousse-related disasters. Each layer *must* be set firmly before you pour the next one on. This isn't a suggestion. It's a rule. Also, using a springform pan is non-negotiable for a cake like this unless you plan on serving it with a spoon directly from the bowl. Lining the sides with parchment or an acetate collar? Highly recommended for clean release and those sharp, defined layers that make the 7 layer chocolate mousse cake so visually impressive.
- Chill *each* layer completely.
- Use a springform pan.
- Consider a pan collar for clean edges.
- Don't overmix the mousse; keep it airy.
- Ensure gelatin is fully dissolved.
Slice Like a Pro and Decorate Simply
You've done the hard part. Now, how do you show it off? Slicing a triple chocolate mousse cake requires a hot, sharp knife. Run your knife under hot water, wipe it dry, and make your cut. Clean the blade between each slice for those picture-perfect portions. For decoration, sometimes less is more. A simple dusting of cocoa powder, some chocolate shavings, or a few chocolate curls are often all you need. The layers themselves are the star. Don't bury your beautiful 7 layer chocolate mousse cake under a mountain of frosting or sprinkles.
Troubleshooting Common Questions About Making This Decadent Dessert
Troubleshooting Common Questions About Making This Decadent Dessert
My Mousse Didn't Set! What Went Wrong?
Ah, the dreaded mousse fail. You waited hours, you peeked in the fridge, and instead of a firm, cloud-like layer, you have... soup. This is almost always a gelatin issue when you're making a structured 7 layer chocolate mousse cake. Either your gelatin wasn't properly bloomed (soaked in cold liquid first), or it wasn't heated enough to fully dissolve, or maybe you boiled it, which can kill its setting power. Another culprit could be trying to fold warm melted chocolate into cold whipped cream – it can deflate everything and mess with the setting. Make sure your gelatin is fully dissolved in a small amount of liquid *before* you combine it with the rest of your ingredients, and let melted chocolate cool to lukewarm before folding it in.
Why Are My Layers Sliding Apart or Messy When Sliced?
If your beautiful triple chocolate mousse cake looks like it's been through a minor earthquake when you cut into it, several things could be happening. Most likely, you didn't chill the layers long enough between additions. Each layer needs to be firm before the next one goes on. Rushing this step means the weight of the new layer can push into the soft one below, causing mixing and instability. Another reason for messy slicing is not using a hot, clean knife for each cut. Cold mousse is sticky, and a cold knife will just drag through it. Finally, if your cake base wasn't level or centered, the whole structure might be off-kilter from the start.
Common Layer Issues and Fixes
- Layers bleeding into each other: Insufficient chilling time between layers. Chill longer!
- Mousse collapsing: Gelatin issue or mousse wasn't whipped enough initially.
- Cake sliding: Pan wasn't lined properly, or cake base wasn't level.
- Messy slices: Knife wasn't heated and cleaned between cuts.
My Cake Base is Dry, or the Fudge Layer is Too Hard!
Nobody wants a dry cake under all that creamy mousse. If your dark chocolate cake came out dry, you likely overbaked it. Keep a close eye on baking time and use a skewer test – it should come out with moist crumbs, not completely clean. For the fudge layer in your 7 layer chocolate mousse cake, if it set up rock hard, it might have been overcooked, or perhaps it had too high a ratio of chocolate to cream/butter. Fudge should be firm but still yielding and smooth, not like a chocolate brick. If it's too hard after chilling, let the cake sit at room temperature for 15-20 minutes before slicing to allow the fudge to soften slightly.
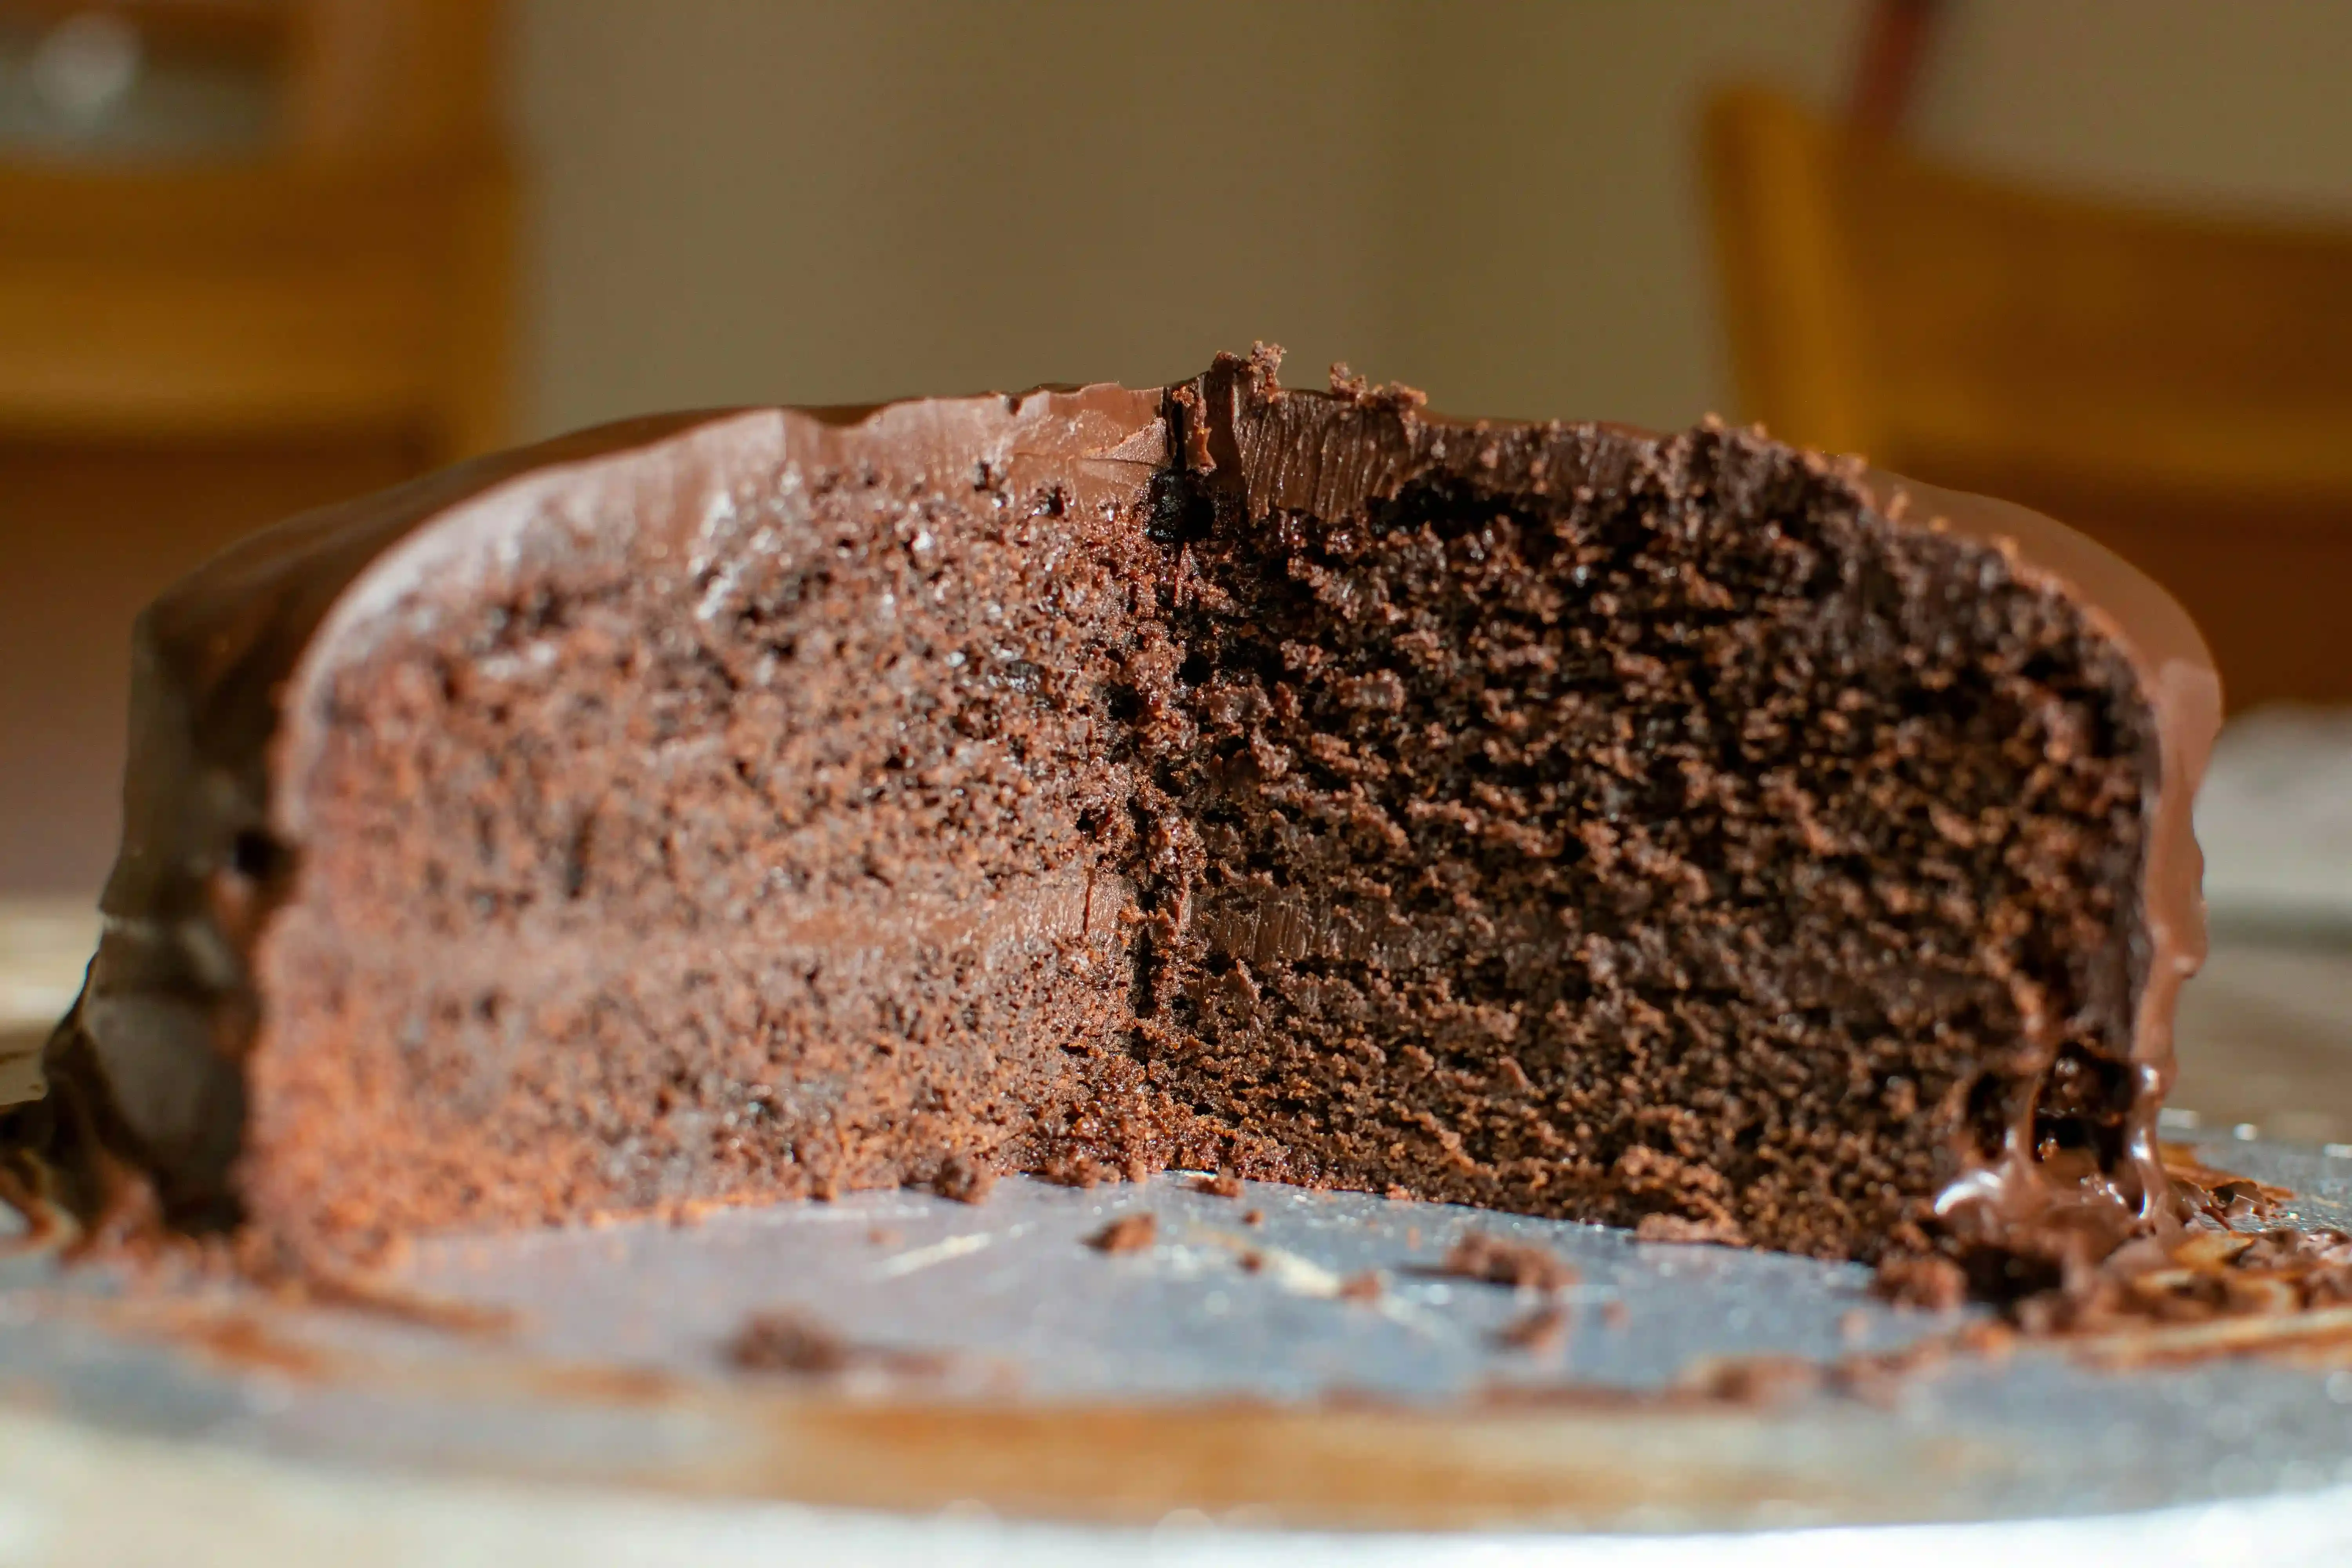
The Final Slice: Was It Worth It?
So, you did it. You navigated the mousses, wrestled with the fudge, and stacked those layers like a pro. This isn't a five-minute mug cake; it required attention, patience, and probably a few dirty bowls. But now, looking at that towering confection, the question isn't really "was it worth it?" You know the answer when you cut the first slice and see those distinct, beautiful layers. It's a statement piece. It's proof that sometimes, the extra effort gets you something far beyond just "dessert." Enjoy the silence that falls over the room when people take that first bite.