Table of Contents
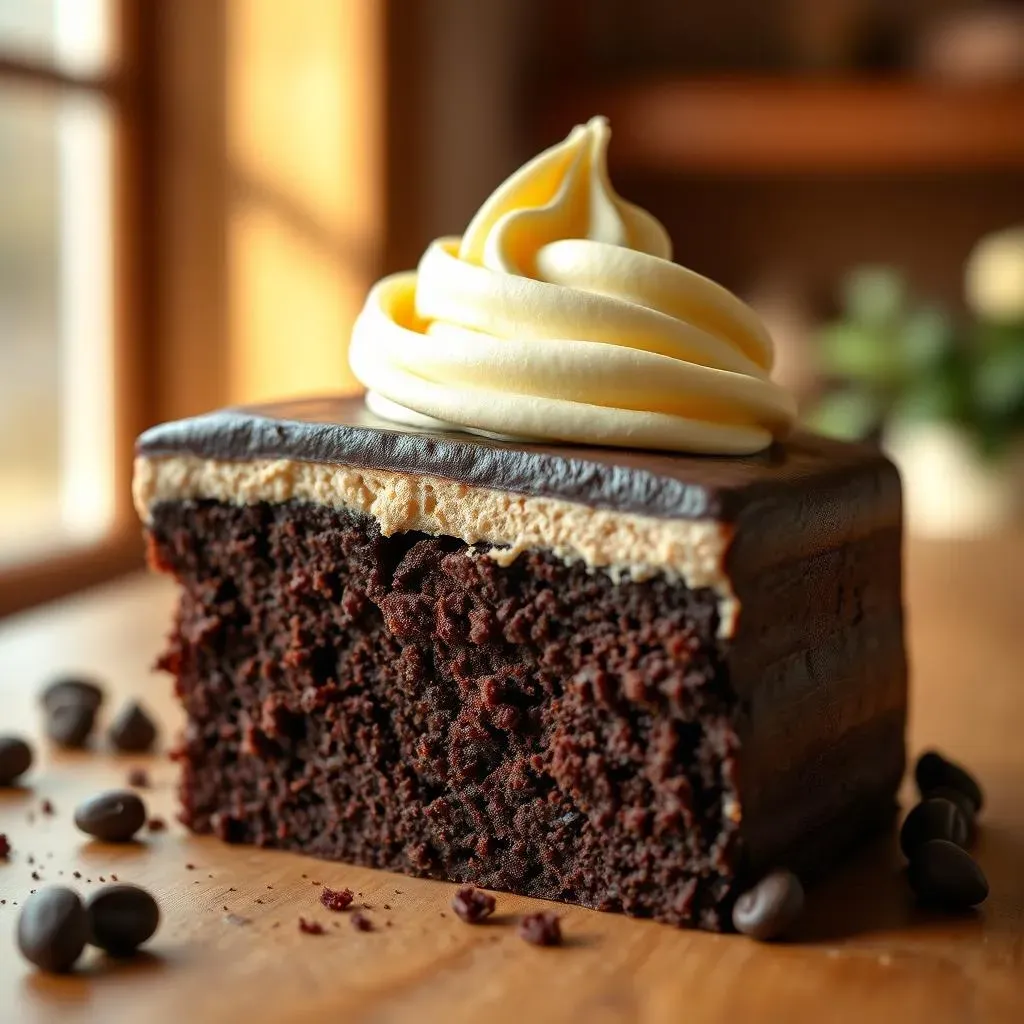
Ever dream of a chocolate cake that’s not just good, but amazing? Forget those dry, crumbly disappointments. I'm talking about a moist, rich, utterly divine chocolate experience. This isn't just any cake; it’s a classic, a go-to, a "wow" every single time. We're diving headfirst into a "7 chocolate cake recipe" that’s so easy, a kid could almost make it – almost! No fancy mixers needed for the cake itself, just one bowl, one egg, and a whole lotta love. You can bake it in two small pans or one larger one, and it’s sturdy enough to handle all your decorating dreams. But we don’t stop there! We'll also whip up a super easy buttercream frosting that’ll make this cake sing. Get ready to learn the secrets to making a perfect chocolate cake, from the initial batter to the final sprinkle. It’s time to ditch the store-bought stuff and create a cake that'll have everyone begging for the recipe. We'll cover everything from the ingredients, to how to bake it, to the best frosting and decorating tips. Let's get baking!
Baking Your 7 Chocolate Cake Recipe: Ingredients and StepbyStep Guide
Baking Your 7 Chocolate Cake Recipe: Ingredients and StepbyStep Guide
Alright, let's get down to the nitty-gritty. You wanna bake this killer chocolate cake, right? First, gather your troops, I mean, ingredients. You’ll need 1 3/4 cups of all-purpose flour, and don't try to be fancy with some other kind; trust me. Then grab 2 cups of sugar, because we’re not messing around with sweetness. Next, 3/4 cup of unsweetened cocoa powder, the darker the better—it’s what gives that real chocolate kick. Don’t forget 1 1/2 teaspoons of baking powder and the same amount of baking soda; they're the secret agents for that light and fluffy texture. A teaspoon of salt is crucial; it balances all that sweetness. We need one egg, and this isn't a time to be a hero with two, one is all you need. Then we have 1 cup of milk, 1/2 cup of vegetable oil, and 2 teaspoons of vanilla extract. Last but not least, 1 cup of boiling water—yup, boiling. Now, once you have all your stuff together, preheat your oven to 350°F (175°C), and grease and flour two 6-inch cake pans, or if you're going big, one 7 or 8-inch pan. Don't skip this step, or you’ll be crying when the cake sticks.
Now for the fun part, actually making the cake. In a large bowl, whisk together your flour, sugar, cocoa powder, baking powder, baking soda, and salt. Make sure it's all mixed up properly, so you don’t have any pockets of baking soda. Then, add in the egg, milk, oil, and vanilla extract. Mix it all together until everything is just combined. It’s going to look a bit thick, but don’t worry. Next, slowly pour in the boiling water while mixing. The batter will become thin and smooth, kinda like a chocolate milkshake. Immediately pour the batter into your prepared cake pans. If you're using two pans, try to make them as even as possible. Now, pop those bad boys into the preheated oven and bake for 30 to 35 minutes, or until a toothpick inserted into the center comes out clean. Don't overbake them, or they’ll be dry, and no one wants a dry cake. Let the cakes cool in the pans for about 10 minutes before turning them out onto a wire rack to cool completely. And that’s it! You’ve just baked the base for an awesome chocolate cake.
Ingredient | Quantity |
|---|---|
All-purpose flour | 1 3/4 cups |
Sugar | 2 cups |
Unsweetened cocoa powder | 3/4 cup |
Baking powder | 1 1/2 teaspoons |
Baking soda | 1 1/2 teaspoons |
Salt | 1 teaspoon |
Egg | 1 |
Milk | 1 cup |
Vegetable oil | 1/2 cup |
Vanilla extract | 2 teaspoons |
Boiling water | 1 cup |
Creating the Perfect Chocolate Frosting for Your 7 Chocolate Cake
Creating the Perfect Chocolate Frosting for Your 7 Chocolate Cake
The Basics of a Great Chocolate Buttercream
so you've got your cake, now for the real magic: the frosting. We're not talking about some store-bought stuff here; we're making a homemade chocolate buttercream that’s so good, you might just eat it with a spoon, and I wouldn't blame you. To start, you'll need 1 cup (2 sticks) of unsalted butter, softened – not melted, softened. Then you'll need 3 cups of powdered sugar, and don't even think about using granulated sugar; it’s gotta be powdered for that smooth texture. Grab 3/4 cup of unsweetened cocoa powder, again, the darker the better, for that deep chocolate flavor. You will also need 1/2 cup of milk, and 1 teaspoon of vanilla extract. If you want a little extra somethin', a pinch of salt will do the trick.
Now, for the how-to, it’s pretty simple, but pay attention. In a large bowl, or the bowl of your stand mixer (if you have one), beat the softened butter until it’s creamy. Then, gradually add the powdered sugar and cocoa powder, alternating between the two, while mixing on low speed. This prevents a huge cloud of powdered sugar from taking over your kitchen. Once everything is combined, slowly pour in the milk and vanilla extract, then add your pinch of salt. Beat on medium speed until the frosting is light, fluffy, and super smooth. If it’s too thick, add a tiny bit more milk, and if it’s too thin, add a little more powdered sugar. Remember, patience is key, so take your time and get the consistency just right. You're aiming for a frosting that's easy to spread but holds its shape. Now, that wasn’t so hard, right?
Troubleshooting Your Frosting
Sometimes, even with the best intentions, frosting can get a little wonky. If your frosting seems too thick, it might be because you added too much powdered sugar or not enough liquid. Try adding a tablespoon of milk at a time, mixing well after each addition, until you reach the desired consistency. On the flip side, if your frosting is too thin, you might have added too much liquid. In that case, add a tablespoon of powdered sugar at a time, mixing well after each addition until it thickens up. Another common problem is grainy frosting. This usually happens when the butter isn't soft enough or the ingredients aren’t mixed properly. Make sure your butter is softened to room temperature before starting, and mix the ingredients on low speed until they're just combined, then increase the speed to medium. If you still have a grainy texture, try beating the frosting for a few more minutes. Sometimes, all it needs is a little extra air.
And let’s talk about flavor. If your frosting feels a bit one-dimensional, you can jazz it up. Add a teaspoon of instant coffee granules for a mocha twist. Or, a dash of cinnamon or a pinch of cayenne pepper for a little warmth. Some people like to add a tablespoon of melted chocolate for an even richer flavor. Feel free to experiment until you get that perfect taste. The key is to adjust the ingredients and flavors to your own liking. Remember, baking should be fun, so don't be afraid to play around with it. Now, you've got the frosting basics down, and you’re ready to take your cake to the next level.
Ingredient | Quantity | Notes |
|---|---|---|
Unsalted butter | 1 cup (2 sticks) | Softened, not melted |
Powdered sugar | 3 cups | Sifted for smoother texture |
Unsweetened cocoa powder | 3/4 cup | Darker for richer flavor |
Milk | 1/2 cup | Add more for thinner frosting |
Vanilla extract | 1 teaspoon | Pure vanilla is best |
Salt | Pinch | Balances sweetness |
Tips for a Moist and Delicious 7 Chocolate Cake and Baking Variations
Tips for a Moist and Delicious 7 Chocolate Cake and Baking Variations
Secrets to a Super Moist Cake
let's talk about keeping that cake moist, because nobody likes a dry, crumbly cake. First off, don't overbake it, I can’t stress this enough. That toothpick test is your best friend. Start checking at around 30 minutes, and if it comes out with just a few moist crumbs, it's ready. Another trick is to use the right amount of liquid. This recipe is pretty spot-on, but don't go rogue and start adding extra ingredients. That boiling water is key; it helps to activate the cocoa powder and gives the cake a really moist texture. Also, make sure you're not overmixing the batter. Once the dry and wet ingredients are combined, mix until just incorporated. Overmixing develops the gluten in the flour, which can lead to a tough cake. And finally, let the cake cool completely before frosting it. If you try to frost it while it's still warm, the frosting will melt, and you'll have a sticky mess.
Another thing that can make a huge difference is the quality of your ingredients. Use good quality cocoa powder, and fresh baking powder and baking soda. If they've been sitting in your pantry for ages, they might not work as well, and your cake won't rise properly. And if you’re feeling fancy, you can add a tablespoon of sour cream or Greek yogurt to the batter. It adds a little extra moisture and a slight tang that complements the chocolate flavor. Don’t have those on hand? No problem, the recipe works great without it too. Just remember, it’s all about balance. A little bit of this, a little bit of that, and you'll have a cake that everyone will be talking about.
Baking Tips for a Moist Cake
- Don't overbake: Use the toothpick test and start checking early.
- Correct liquid balance: Follow the recipe closely, especially with the boiling water.
- Avoid overmixing: Mix until ingredients are just combined.
- Cool completely: Let the cake cool before frosting to avoid melting.
- Fresh ingredients: Use quality cocoa, baking powder, and soda.
- Optional additions: Try sour cream or Greek yogurt for extra moisture.
Fun Variations on the Classic Recipe
Now, let's get to the fun part, how to mix things up. If you're not a fan of the buttercream frosting, you can try a chocolate ganache. It's super easy to make; just heat equal parts of heavy cream and chocolate, and pour it over the cake. Or, you can make a cream cheese frosting, it adds a nice tang that contrasts with the chocolate. For a peanut butter twist, you can swirl some peanut butter into the batter or add a peanut butter layer in the middle of the cake. You can also add chocolate chips to the batter for extra chocolate goodness, or some chopped nuts for a little crunch. And if you want to make it a little more adult, you can add a tablespoon of coffee liqueur or a shot of espresso to the batter. These small changes can make a big difference. Remember, baking is all about experimenting, so don't be afraid to try new things. It’s your cake, so you can make it however you want.
And if you're not in the mood for a layer cake, you can bake this recipe in a 9x13 inch pan for a single layer cake, or even use it to make cupcakes. Just adjust the baking time accordingly. For a 9x13 inch cake, it might take 35-40 minutes. For cupcakes, start checking at around 18 minutes. Also, if you want to make a chocolate lava cake, bake the batter in ramekins and underbake it slightly, so the center is molten. The possibilities are endless. The key is to have fun with it and make it your own. This cake is a blank canvas, so go ahead and create your masterpiece.
Possible Variations
Variation | Description |
|---|---|
Chocolate Ganache | Pour melted chocolate and heavy cream over the cake. |
Cream Cheese Frosting | Add a tangy twist with cream cheese frosting. |
Peanut Butter Swirl | Add peanut butter into the batter or as a layer. |
Chocolate Chips | Mix chocolate chips into the batter. |
Nuts | Add chopped nuts for extra crunch. |
Coffee Liqueur | Add a tablespoon for an adult twist. |
Espresso | Add a shot of espresso for a richer flavor. |
Single Layer Cake | Bake in a 9x13 inch pan. |
Cupcakes | Adjust baking time for cupcakes. |
Chocolate Lava Cake | Underbake in ramekins for a molten center. |
Decorating Your 7 Chocolate Cake: Ideas and Inspiration
Decorating Your 7 Chocolate Cake: Ideas and Inspiration
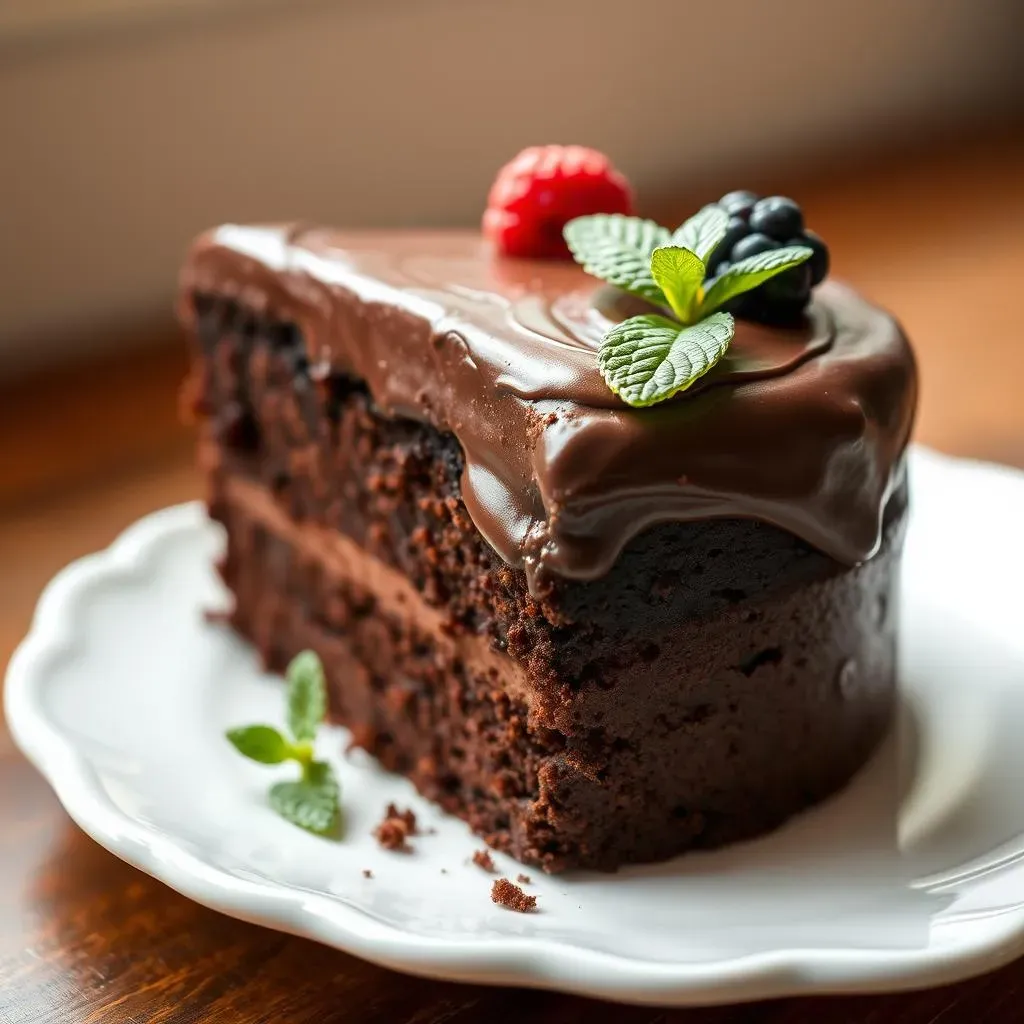
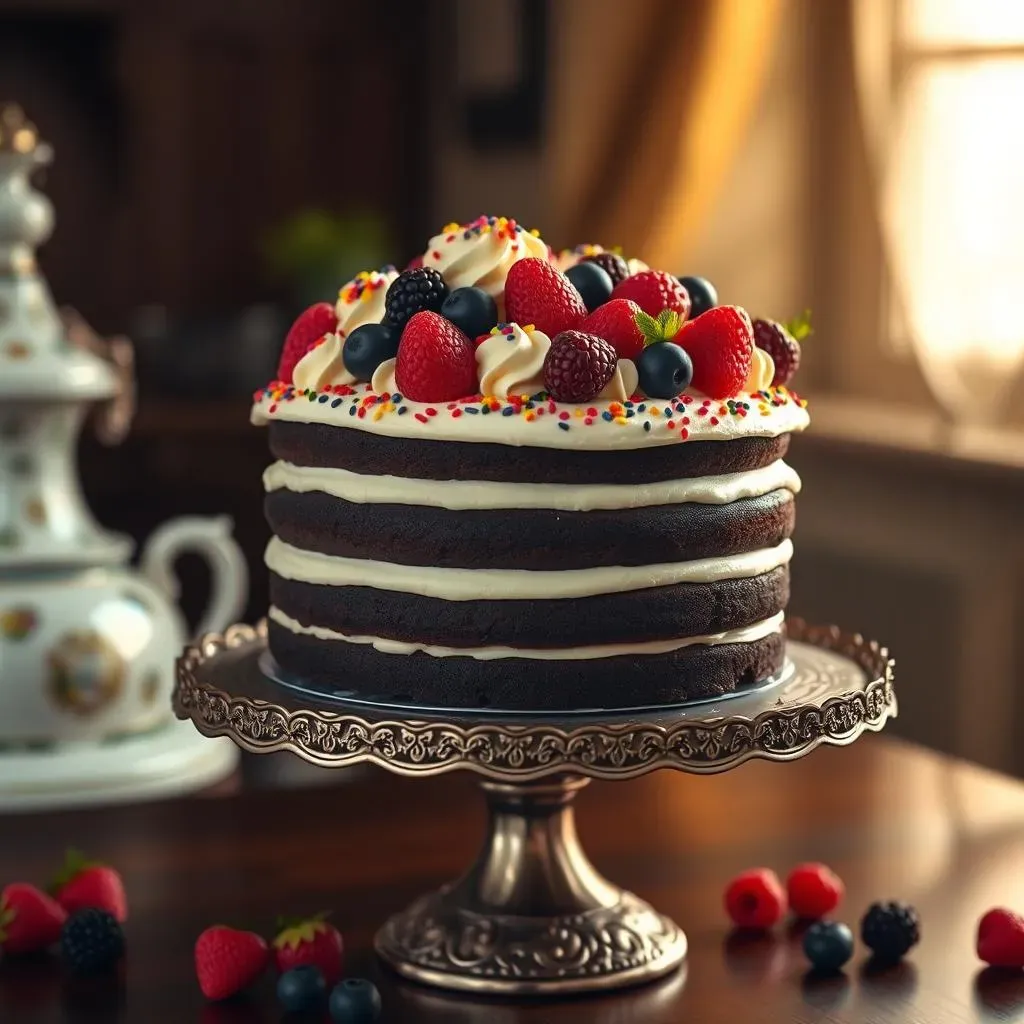
so you've baked this amazing 7 chocolate cake, and it's time to make it look as good as it tastes. Now, decorating doesn't have to be super complicated, you can keep it simple, but still make it stunning. A classic way is to start with that buttercream frosting, and spread it evenly all over the cake. Don't worry if it's not perfect, a little rustic charm is always good. Then, grab some sprinkles, and go wild. You can use a mix of colors or stick to one color for a more elegant look. Chocolate shavings are another great option, just use a vegetable peeler on a bar of chocolate, and you’ll get beautiful curls. If you’re feeling fancy, you can pipe some extra frosting around the edges of the cake. A simple swirl pattern can add a lot of visual interest. And don’t forget about fresh fruit. Strawberries, raspberries, or even some blueberries make a great addition and add a pop of color.
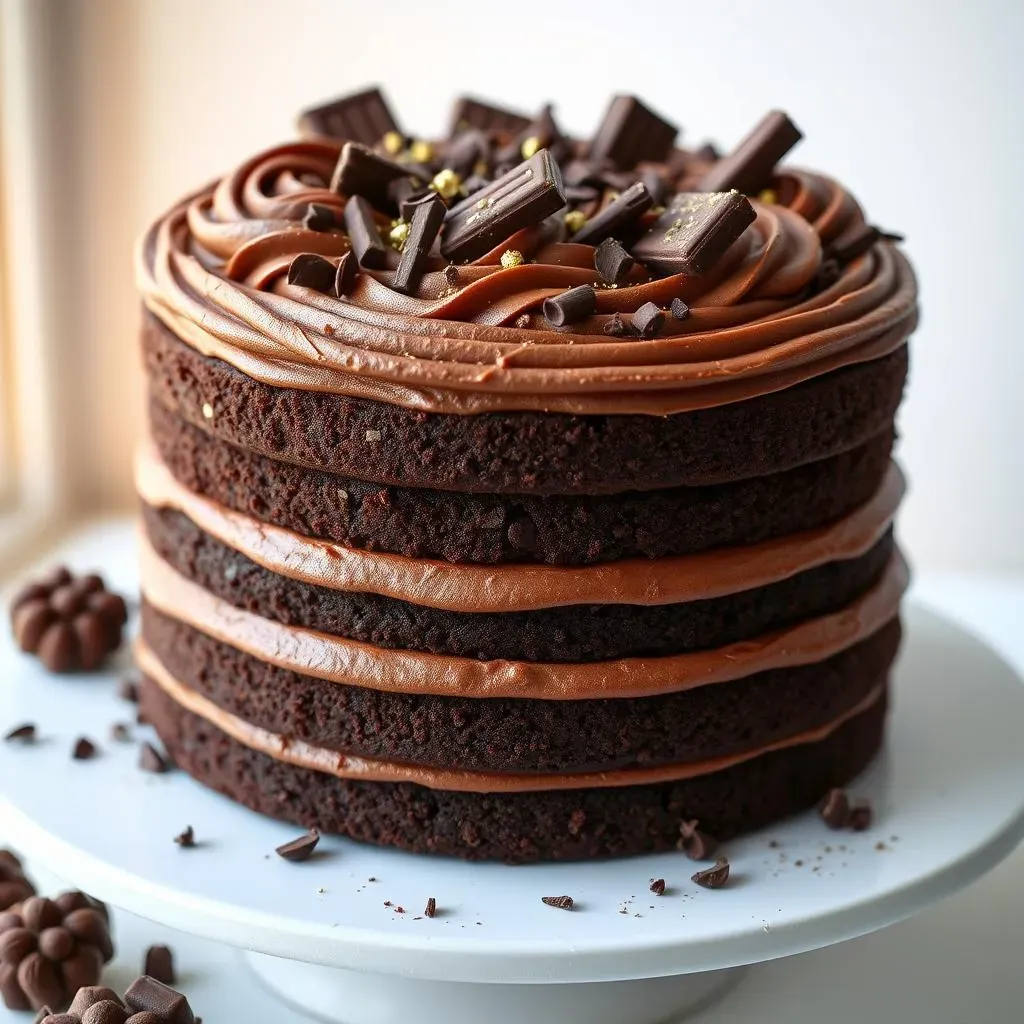
If you want to step it up a notch, you can try making a chocolate drip. It’s easier than you think. Just melt some chocolate with a little bit of heavy cream, let it cool slightly, and then pour it over the edge of the cake. Let it drip down the sides naturally for a cool effect. You can also use different colored frostings to create patterns on the cake. A simple ombre effect is easy to do with different shades of the same color. Or you can try some geometric patterns with a toothpick or a spatula. If you're baking for a special occasion, you can use edible markers to write a message on the cake. But remember, the most important thing is to have fun with it. Let your creativity flow, and don't be afraid to try new things. It’s your cake, make it your masterpiece!
Decoration | Description | Tips |
|---|---|---|
Sprinkles | Add color and texture. | Mix colors or stick to one. |
Chocolate Shavings | Elegant and simple. | Use a vegetable peeler. |
Piped Frosting | Add visual interest. | Try a simple swirl pattern. |
Fresh Fruit | Adds a pop of color. | Use strawberries, raspberries, or blueberries. |
Chocolate Drip | Cool and stylish effect. | Melt chocolate with heavy cream. |
Colored Frosting | Create patterns and designs. | Try an ombre or geometric pattern. |
Edible Markers | Write messages or draw designs. | Great for special occasions. |
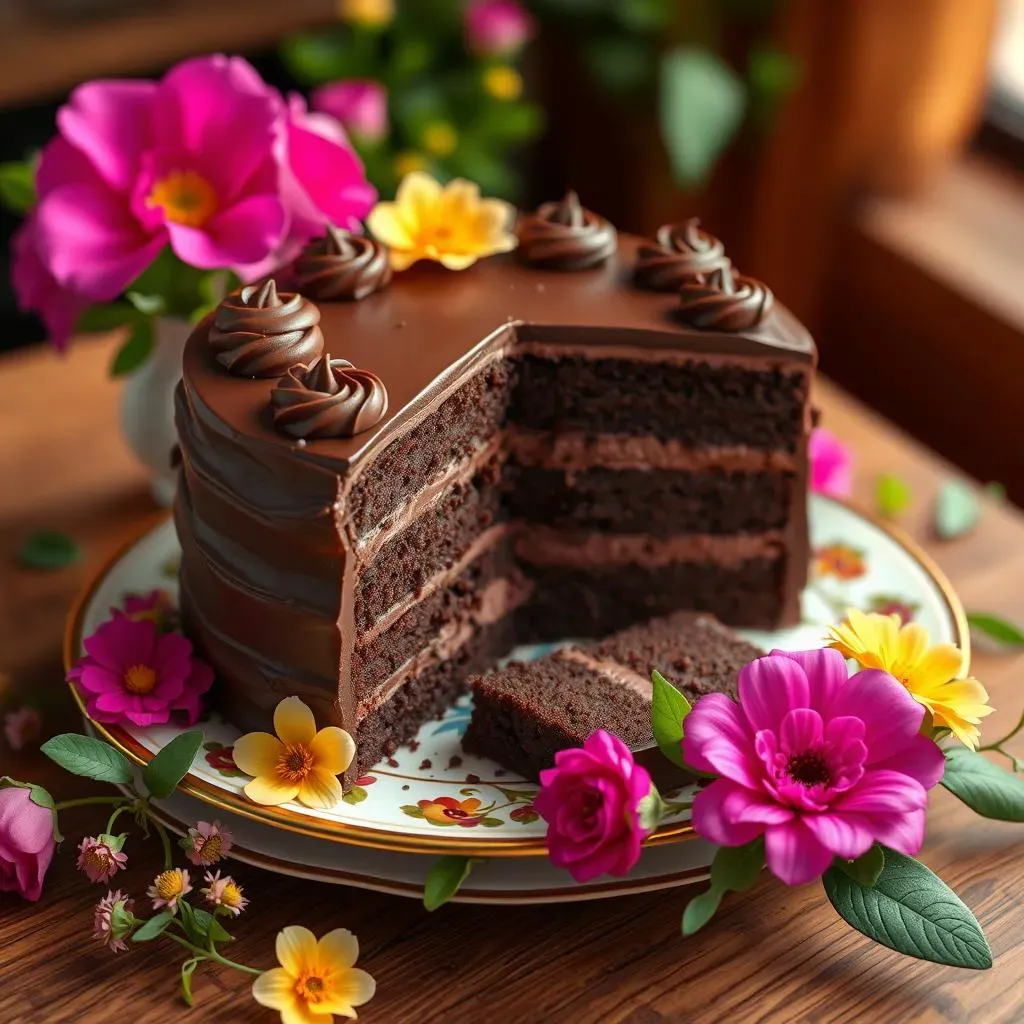
For an extra touch of elegance, consider using edible flowers. They add a beautiful, natural element to your cake. Make sure the flowers are food-safe and pesticide-free before using them. Another idea is to create a stencil with parchment paper, place it on top of the cake, and dust it with powdered sugar or cocoa powder. This creates a clean, crisp design. If you’re making a layered cake, you can add a layer of chocolate ganache or some fruit filling between the layers for an extra burst of flavor. And if you’re feeling really adventurous, you can try making a mirror glaze. It’s a bit more advanced, but it creates a stunning, reflective finish on the cake. Just remember, practice makes perfect, so don't be discouraged if your first attempt isn't exactly what you envisioned. Baking and decorating is a journey, so enjoy the process. And most importantly, don't forget to share your amazing cake with your friends and family!
Wrapping Up Your 7 Chocolate Cake Adventure
So, there you have it – a classic 7 chocolate cake recipe that’s as easy as it is delicious. From mixing the batter in one bowl to frosting it with that dreamy buttercream, you’ve got all the tools to create a cake that will impress everyone. Remember, baking is all about practice and having a little fun, so don't worry if your first attempt isn't perfect. The most important thing is that you made something with your own two hands, and that you're sharing it with people you care about. Now go forth, bake, decorate, and enjoy every single chocolatey bite of your magnificent creation. And hey, if you make something truly spectacular, don't forget to share it!