
Table of Contents
Ever find yourself craving a rich, decadent chocolate mousse cake but don't need a massive dessert that feeds a small army? Maybe you're baking for a quiet night in, a small celebration, or just because Tuesday feels like a cake day. That's where the beauty of a 6 inch chocolate mousse cake comes in. It's the perfect size to satisfy that intense chocolate craving without leaving you with a week's worth of leftovers staring you down from the fridge.
Why Choose a 6 Inch Chocolate Mousse Cake?
Why Choose a 6 Inch Chocolate Mousse Cake?
Skip the Cake Mountain, Embrace the Mini-Masterpiece
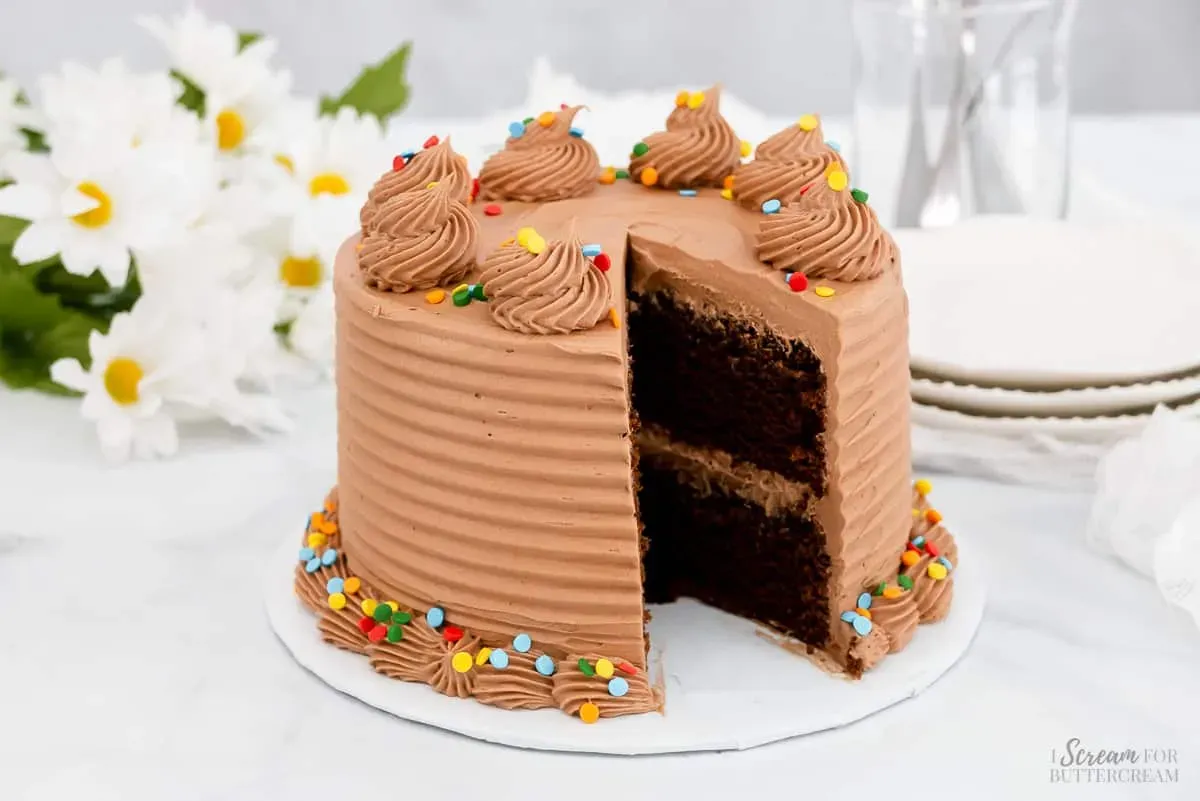
Let's be honest. Sometimes, baking a full-size cake feels like signing up for a sugar marathon. You spend hours crafting this beautiful dessert, and then you're faced with slicing it for days, maybe even weeks. The leftovers sit there, judging you from the fridge, slowly drying out and losing their magic. A standard 9-inch cake yields 12-16 slices, often more than a small household needs. A 6 inch chocolate mousse cake, on the other hand, offers a perfect portion. It's enough for a small gathering, a special date night, or just treating yourself without the impending doom of dessert excess.
Practicality, Precision, and Less Pressure
Baking a smaller cake isn't just about portion control; it's often less intimidating. Fewer ingredients are required, cleanup is generally quicker, and the bake time is reduced. You still get all the satisfaction of creating a complex dessert – the delicate crumb, the airy mousse – but on a scale that feels manageable. Think of it as high-impact baking without the high-volume commitment. Plus, let's not overlook the aesthetic. A perfectly formed 6 inch chocolate mousse cake looks incredibly elegant and intentional, not like a sad, half-eaten behemoth languishing on the counter.
Benefits of a 6 Inch Chocolate Mousse Cake:
- Ideal for smaller households or events
- Less food waste
- Reduced ingredient cost
- Quicker baking and setting time
- More manageable process for novice bakers
- Looks sophisticated and charming
- Easier to store
Baking the Base for Your 6 Inch Chocolate Mousse Cake
Baking the Base for Your 6 Inch Chocolate Mousse Cake
Choosing the Right Foundation
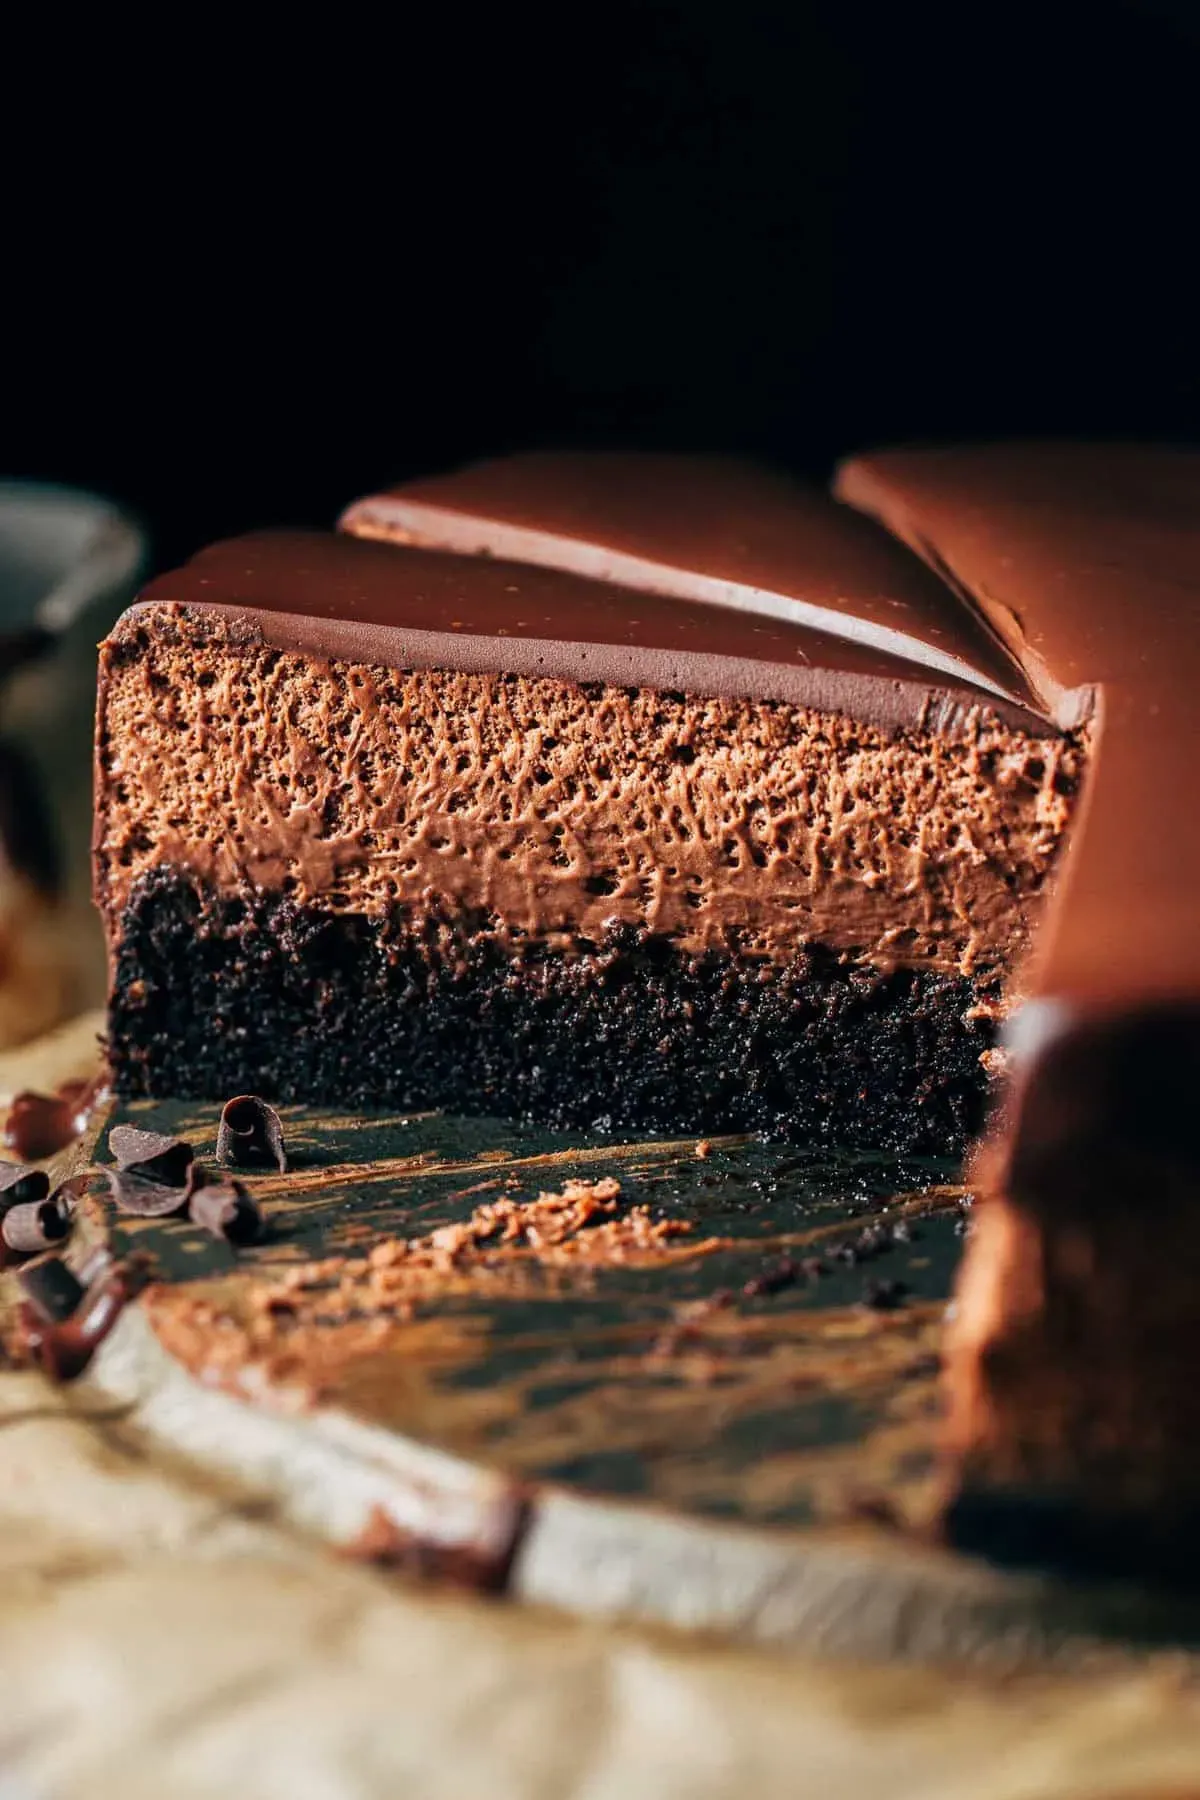
Every great building needs a solid foundation, and your 6 inch chocolate mousse cake is no different. You can't just slap mousse onto a flimsy cookie. You need a cake layer that can hold up to the richness and moisture of the mousse without turning into a soggy mess. For a classic chocolate mousse cake, a dense yet tender chocolate cake or even a brownie layer works beautifully. Think about the texture contrast you want. A fudgy brownie base provides chewiness, while a lighter chocolate sponge offers more delicate support. Whatever you choose, make sure the flavor complements the chocolate mousse – usually, more chocolate is the answer.
Scaling Down or Starting Small
Attempting to simply halve a 9-inch cake recipe for a 6-inch pan can lead to disaster. Ratios, especially with leavening agents, don't always scale linearly. You're better off finding a recipe specifically developed for a 6-inch round pan or carefully using a reliable converter. Pan preparation is crucial for a clean release. Greasing and flouring (or using cocoa powder for chocolate cakes) is standard, but lining the bottom with parchment paper is non-negotiable, especially with a springform pan. It saves you from the heartbreak of your base sticking and crumbling just as you're about to unmold.
Pan Size | Approximate Volume (Cups) | Common Yield (Slices) |
|---|---|---|
6 inch round | 4-6 cups | 6-8 |
8 inch round | 8-10 cups | 10-12 |
9 inch round | 10-12 cups | 12-16 |
Baking Smart, Cooling Right
Because a 6-inch cake is smaller, it bakes faster. Keep a close eye on it. Ovens vary, so don't just set a timer and walk away. Start checking for doneness a bit earlier than you would for a larger cake. A toothpick inserted into the center should come out with moist crumbs, not wet batter. Overbaking is the enemy of a tender cake base. Once baked, let the cake cool in the pan for 10-15 minutes before attempting to transfer it to a wire rack to cool completely. Trying to move a hot cake is an express ticket to crumbly town. Ensure it's fully cool before you even *think* about adding that gorgeous mousse layer for your 6 inch chocolate mousse cake.
Crafting the Dreamy Mousse for a 6 Inch Chocolate Mousse Cake
Crafting the Dreamy Mousse for a 6 Inch Chocolate Mousse Cake
Melting Magic: Starting Your Mousse Base
Alright, let's talk mousse. This isn't just melted chocolate mixed with cream; it's a delicate dance of textures and temperatures. For your 6 inch chocolate mousse cake, you need chocolate with good flavor. Skip the waxy stuff. Think bittersweet or dark chocolate, chopped finely so it melts evenly. You'll likely start by melting this chocolate gently, maybe over a double boiler or in short bursts in the microwave, being careful not to scorch it. Some recipes use egg yolks heated with sugar for richness and stability, essentially making a custard base before adding the chocolate. Others rely solely on whipped cream and melted chocolate. The key is getting that melted chocolate smooth and ready to mingle without seizing up.
Whipping, Folding, and Setting the Scene
Once your chocolate base is ready and perhaps slightly cooled (you don't want to melt your whipped cream instantly), the magic happens. You'll need perfectly whipped heavy cream – think soft peaks, not stiff ones that look like clouds. Gently fold the whipped cream into the chocolate mixture. *Gently* is the operative word here. Don't beat the air out of it. This folding is what gives the mousse its signature light, airy texture. You're incorporating air, not collapsing it. Once combined, pour or spoon this dreamy mixture over your cooled cake base in the 6-inch pan. Smooth the top, then the hardest part begins: waiting. This 6 inch chocolate mousse cake needs serious fridge time to set up properly, usually several hours or even overnight. Trying to slice it too soon results in a sad, slumping mess.
Mousse Making Essentials:
- High-quality chocolate (bittersweet or dark recommended)
- Heavy cream, chilled
- Gentle melting method for chocolate
- Whipping cream to soft peaks
- Folding gently, not stirring vigorously
- Adequate chilling time
Expert Tips for Your 6 Inch Chocolate Mousse Cake Success
Expert Tips for Your 6 Inch Chocolate Mousse Cake Success
Expert Tips for Your 6 Inch Chocolate Mousse Cake Success
Making a stellar 6 inch chocolate mousse cake isn't just about following a recipe; it's about paying attention to the details that elevate it from good to unforgettable. Temperature is your silent partner, or your worst enemy. Ensure your ingredients, especially the heavy cream for whipping, are properly chilled. Melted chocolate needs to cool slightly before folding into whipped cream – too hot, and you've got chocolate soup; too cool, and it can seize. Don't rush the chilling time; this cake needs solid hours, preferably overnight, in the refrigerator for the mousse to set firm enough to slice cleanly. Patience here prevents a structural collapse when you unmold it. Also, consider using an acetate cake collar inside your springform pan; it makes for incredibly clean sides when you remove the ring, giving your 6 inch chocolate mousse cake that professional look.
Key Tips for Success:
- Chill ingredients thoroughly.
- Cool melted chocolate before folding.
- Allow ample refrigeration time (4+ hours, ideally overnight).
- Use an acetate cake collar for clean edges.
- Run a warm, sharp knife under hot water before slicing.
Serving and Enjoying Your 6 Inch Chocolate Mousse Cake
Serving and Enjoying Your 6 Inch Chocolate Mousse Cake
The Grand Unveiling: Getting It Out Cleanly
So, your 6 inch chocolate mousse cake has spent its required sentence in the fridge, ideally overnight. Now comes the moment of truth: getting it out of the pan without turning it into a chocolate landslide. If you used a springform pan, run a thin, sharp knife dipped in hot water around the edge *before* releasing the clasp. This helps detach the mousse from the pan sides smoothly. If you were smart and used an acetate collar, simply peel it away after removing the springform ring. Lift the cake gently off the base or slide it onto a serving plate if your pan base is separate. Don't just yank it; this delicate operation requires a steady hand and a prayer to the dessert gods. A clean unmolding is half the battle won in presenting your gorgeous 6 inch chocolate mousse cake.
Slicing Perfection and What to Serve With It
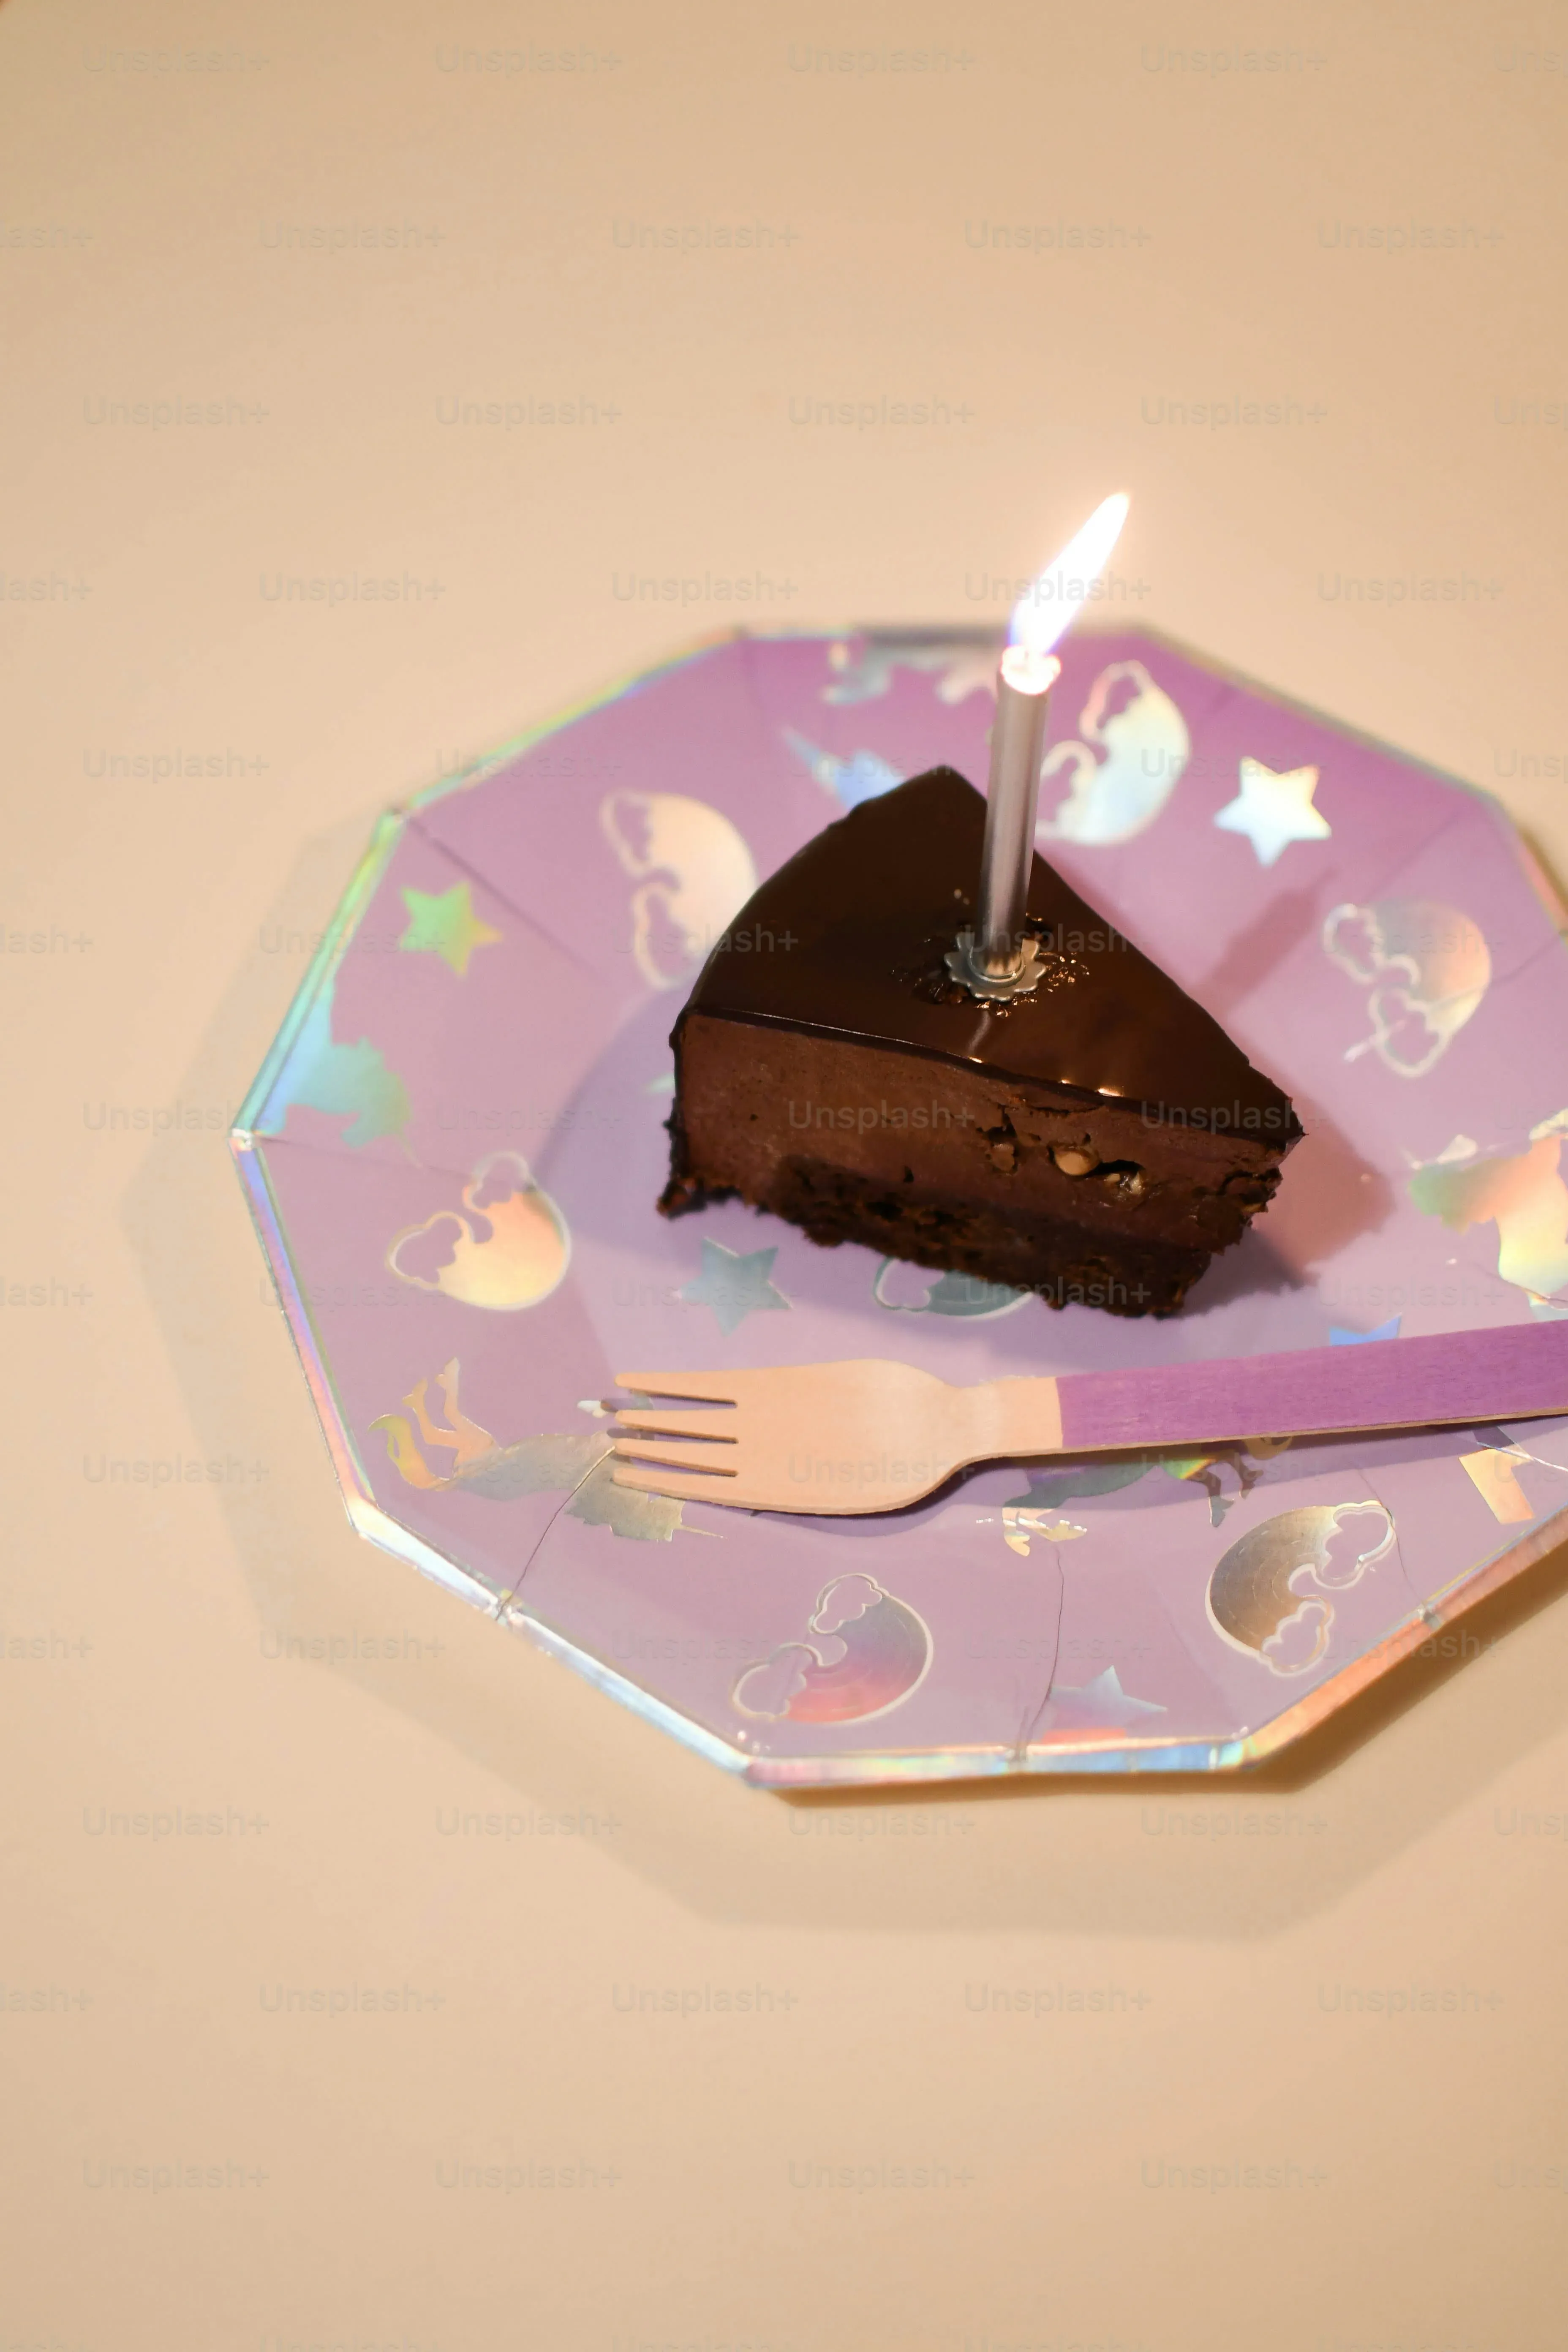
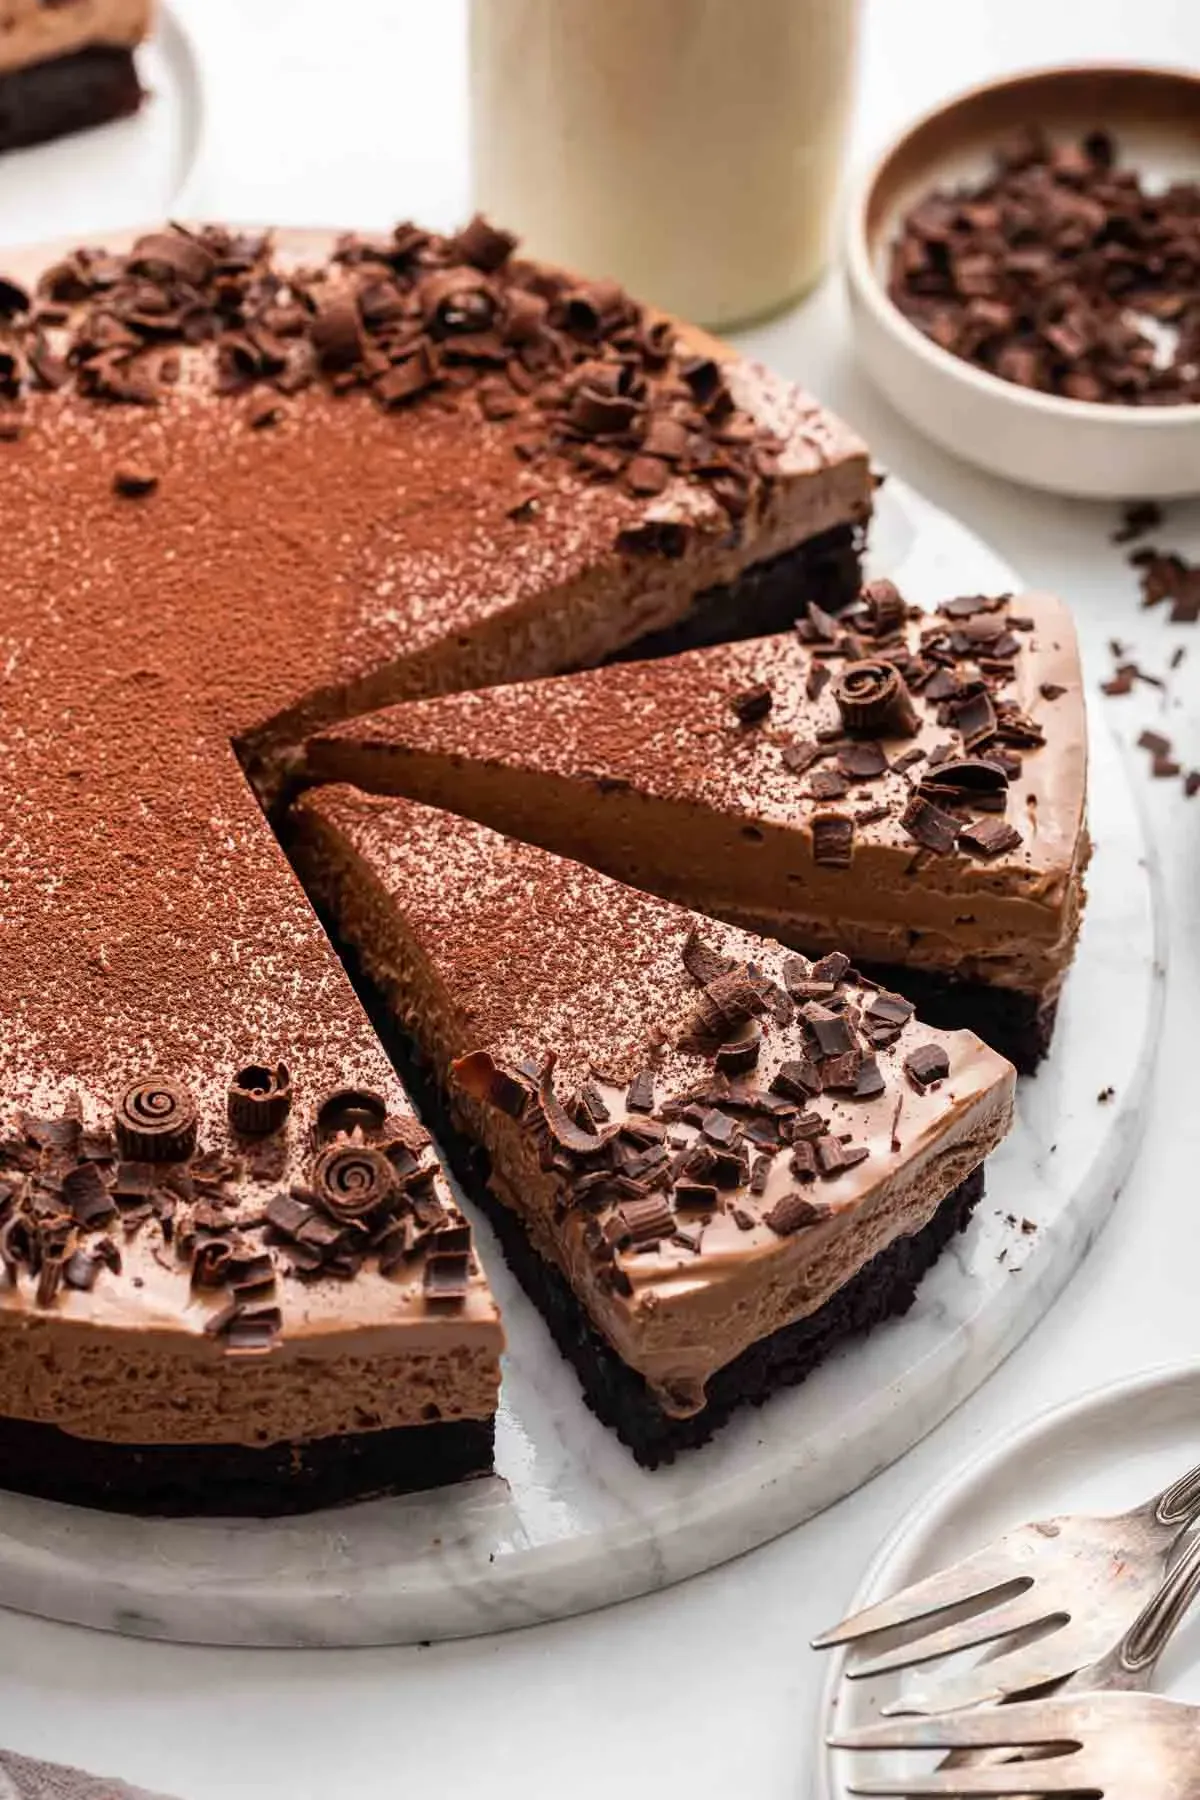
You've got your beautiful 6 inch chocolate mousse cake ready for its close-up. Now, how do you slice it without making a mess? Again, a hot, sharp knife is your best friend. Run a thin-bladed knife under hot water for a few seconds, wipe it dry, and make your cut. Clean the knife between each slice for the cleanest edges. Since it's a 6-inch cake, you'll likely get about 6-8 decent slices. As for what to serve with it? This cake is rich. A simple dusting of cocoa powder, a few fresh berries, or a dollop of lightly sweetened whipped cream are classic complements that don't overpower the star of the show. A small espresso on the side never hurt anyone either.
Serving Suggestions for Your 6 Inch Chocolate Mousse Cake:
- Dust with unsweetened cocoa powder.
- Add a few fresh raspberries or strawberries.
- Serve with a dollop of lightly sweetened whipped cream.
- Pair with a small cup of strong coffee or espresso.
- Garnish with chocolate shavings or curls.
Wrapping Up Your 6 Inch Chocolate Mousse Cake
So there you have it. You've navigated the potential minefield of scaling down a classic and emerged with a stunning 6 inch chocolate mousse cake. It wasn't magic, just careful steps and maybe a little butter on your nose. This isn't just a smaller cake; it's a deliberate choice for when a full-sized production is overkill. You've got the skills now to pull off this elegant dessert whenever the mood strikes, proving that sometimes, less really is more, especially when it comes to avoiding excessive leftovers.