Table of Contents
Ever find yourself craving a rich, decadent chocolate cake, but the thought of baking a huge one feels like too much? I get it. That's where this 6 chocolate cake recipe comes in. It's perfectly sized for a small gathering, a date night, or even just a personal treat. This isn't some complicated, multi-layered monstrosity. It's a simple, moist, and utterly delicious cake that's easy to whip up. I'm talking about a cake that uses basic ingredients you likely already have in your kitchen. We'll start by exploring why a smaller cake is sometimes the best choice, then we'll get into the nitty-gritty of actually baking it. I'll walk you through each step, from mixing the batter to creating a luscious chocolate ganache. We'll also tackle common baking issues and how to avoid them, plus I'll give you some fun ideas for variations. Finally, we'll touch on how to store your masterpiece and even how to turn this recipe into yummy cupcakes. So, grab your apron, and let's bake something amazing!
Why a 6Inch Chocolate Cake is Your Best Bet
Why a 6Inch Chocolate Cake is Your Best Bet
Let's be real, sometimes you just want a slice of cake, not an entire bakery. That's where the magic of a 6-inch chocolate cake comes in. It's the perfect size for a small family, a couple, or even just a single person who deserves a treat. No more staring at a half-eaten, giant cake going stale on the counter. Plus, it’s less intimidating to bake. A full-sized cake can feel like a huge project, whereas a 6-inch cake is manageable and fun. Think of it as the Goldilocks of cakes—just the right amount. It's also fantastic for practicing new techniques, like perfecting your frosting or trying out a different type of ganache without committing to a massive cake. Smaller cake equals less risk, and more reward. I have even used it when I wanted to try to bake a new flavor, and this size is perfect for that.
Making the Perfect 6Inch Chocolate Cake: A StepbyStep Guide
Making the Perfect 6Inch Chocolate Cake: A StepbyStep Guide
Getting Started: Ingredients and Prep
Alright, let's get down to business. Baking a great cake isn't about magic; it's about the right ingredients and a bit of care. For this 6-inch chocolate cake recipe, we're talking about simple stuff: flour, sugar, cocoa powder, an egg, some buttermilk, and a bit of oil. Oh, and a pinch of salt because that's how we roll. Now, before you even think about turning on your oven, make sure everything is measured out and ready to go. I like to preheat my oven to 350°F (175°C) because nobody likes a cold oven. And don't forget to grease and flour your 6-inch cake pan, it's the unsung hero of cake baking, trust me on this. I've had my fair share of cakes stick to the pan, and it's not a pretty sight.
Now, for an extra layer of chocolatey goodness, we're going to add a touch of espresso powder. Don't worry if you don't have it, the cake will still be amazing, but it does enhance the chocolate flavor. Think of it like a secret weapon, just a tiny bit takes your cake from good to "OMG, what is this amazingness?". Also, make sure your buttermilk and egg are at room temperature because it helps them mix better with the other ingredients, resulting in a smoother batter. It's all about the details, folks, and those little things can make a big difference.
Ingredient | Quantity | Why it Matters |
|---|---|---|
Flour | 1 1/2 cups | Provides structure to the cake |
Sugar | 1 cup | Adds sweetness and moisture |
Cocoa Powder | 1/2 cup | Gives the cake its chocolate flavor |
Egg | 1 large | Binds the ingredients together |
Buttermilk | 1/2 cup | Adds moisture and tenderness |
Vegetable Oil | 1/4 cup | Keeps the cake moist |
Espresso Powder | 1 teaspoon (optional) | Enhances chocolate flavor |
Mixing the Batter and Baking
so you've got everything measured, and your oven is preheating, great job! Now it's time to mix this batter. In a large bowl, whisk together the dry ingredients: flour, sugar, cocoa powder, salt, and espresso powder. In another bowl, whisk together the wet ingredients: the egg, buttermilk, and oil. Gradually add the wet ingredients to the dry ingredients, mixing until just combined. Don't overmix it, that's a rookie mistake that leads to a tough cake. It's like when you overwork your muscles, it's not pretty. Just mix until everything is combined, and you no longer see streaks of dry flour.
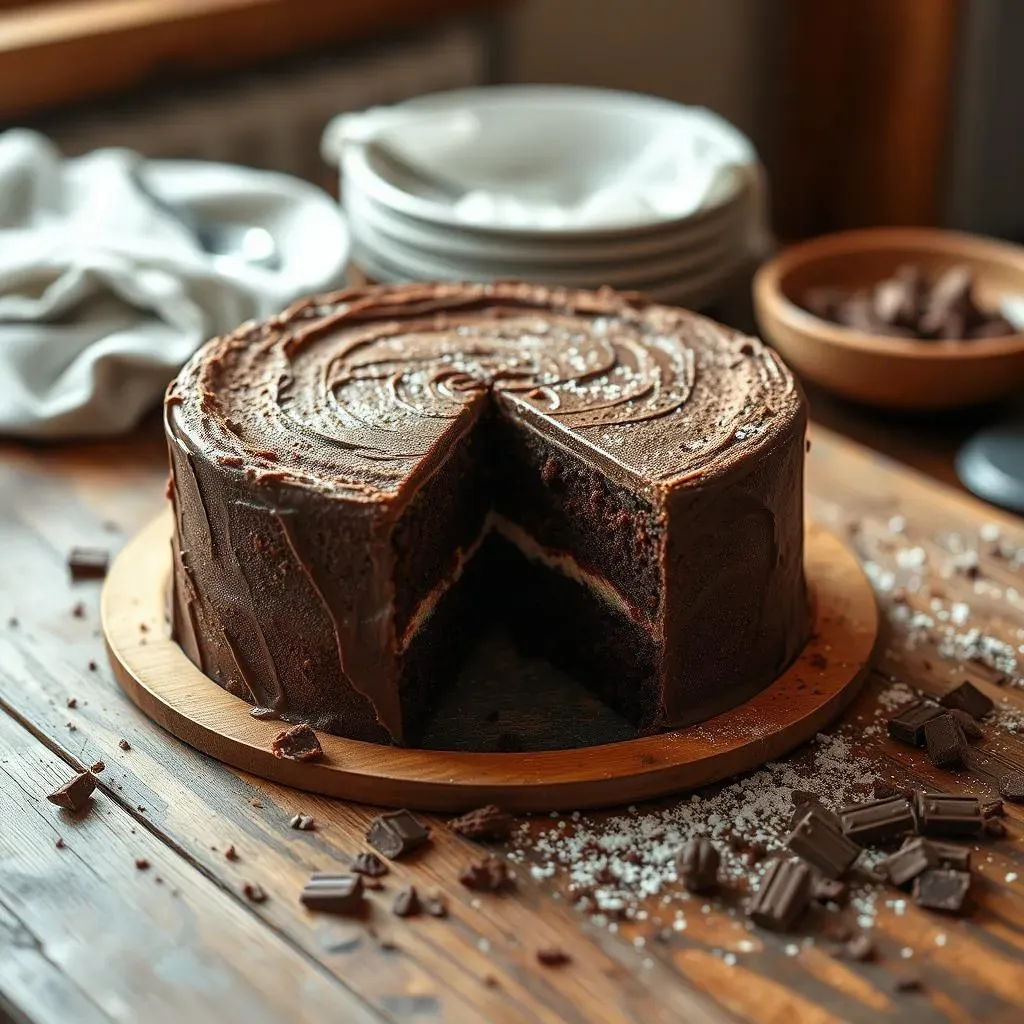
Pour the batter into your prepared 6-inch cake pan and smooth the top. Now, it's time to bake. Pop it in the preheated oven for about 27 to 30 minutes. To check if it's done, insert a toothpick into the center, if it comes out clean, then you're golden. Don't panic if the cake sinks slightly in the center, that's totally normal. It's a sign that it’s moist and ready to be devoured. Let the cake cool in the pan for about 10 minutes before inverting it onto a wire rack to cool completely. Patience is key here, do not touch the cake before that, it is still fragile.
- Preheat oven to 350°F (175°C).
- Grease and flour a 6-inch cake pan.
- Whisk dry ingredients together.
- Whisk wet ingredients together.
- Combine wet and dry ingredients until just mixed.
- Pour into the pan and bake for 27-30 minutes.
- Cool in the pan for 10 minutes before inverting to cool completely.
Frosting and Finishing Your 6Inch Chocolate Cake
Frosting and Finishing Your 6Inch Chocolate Cake
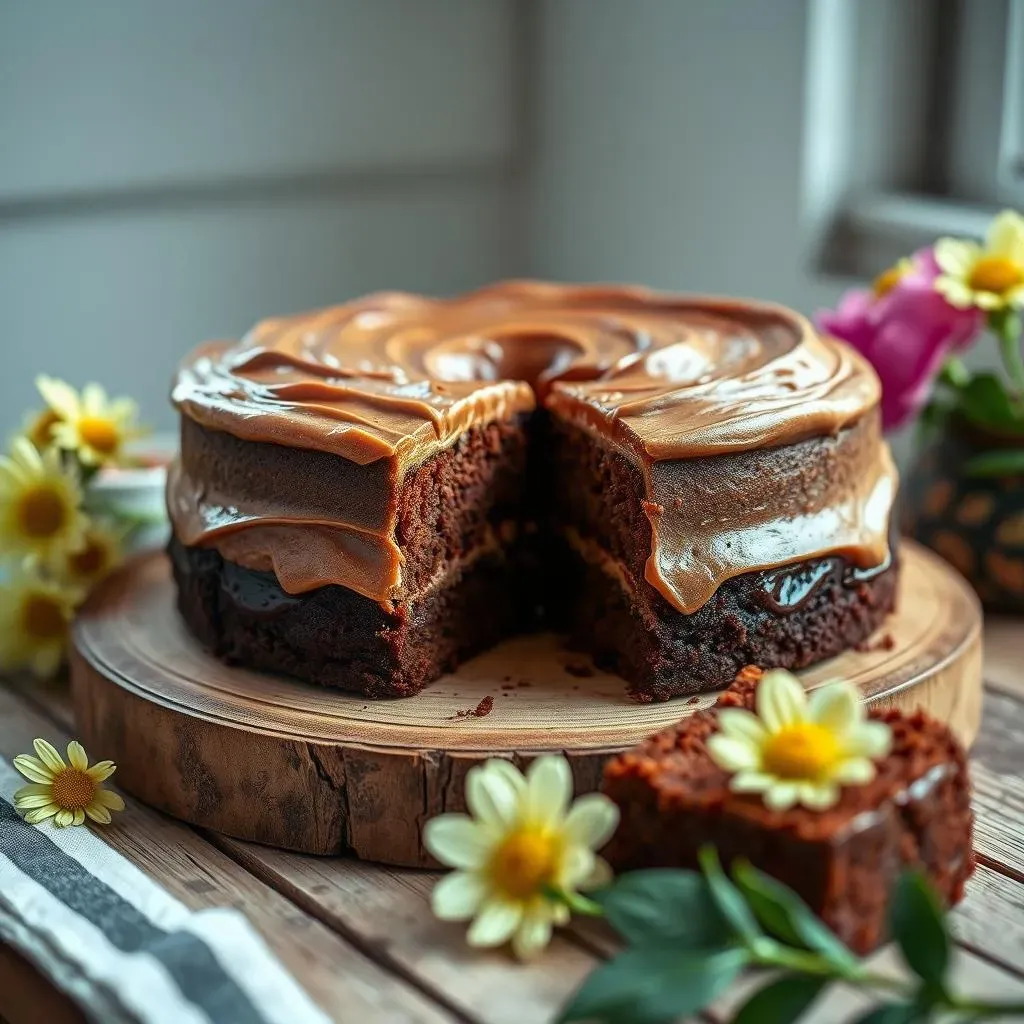
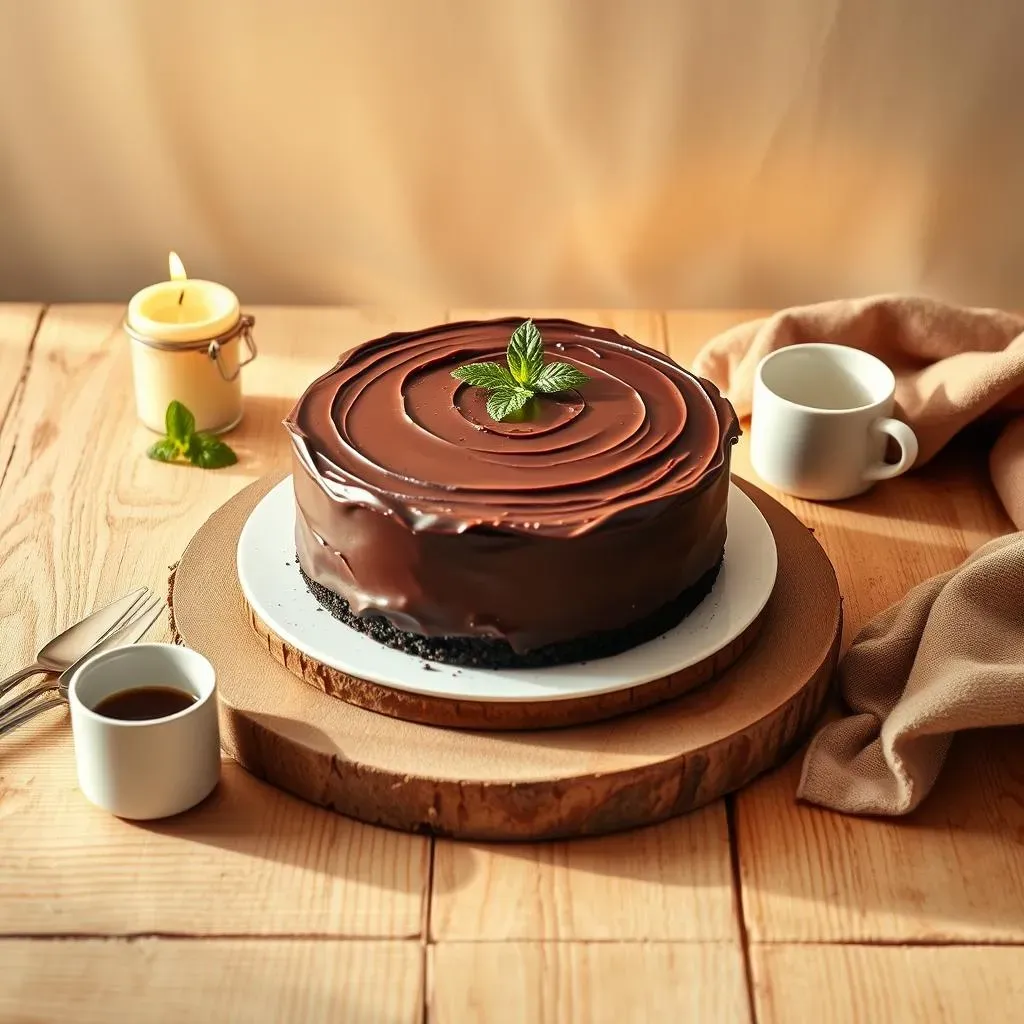
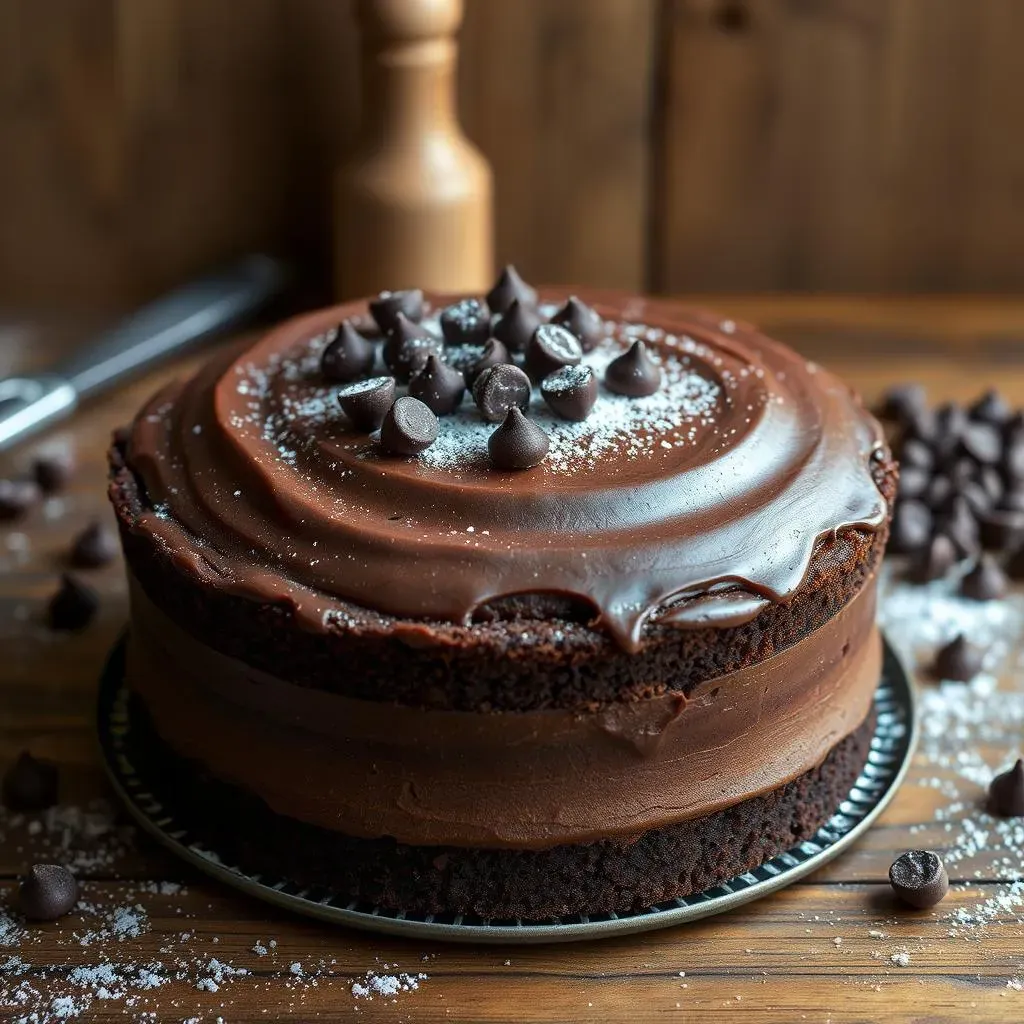
so your cake is out of the oven, cooled down, and looking pretty good, right? Now comes the fun part: frosting! For this 6-inch chocolate cake, I’m a huge fan of a simple chocolate ganache. It’s super easy to make, and it adds a rich, decadent layer that takes the cake to the next level. All you need is some heavy cream and good quality chocolate. Heat the cream until it’s simmering, then pour it over the chopped chocolate. Let it sit for a minute, and then stir until it's smooth and glossy. That’s it! You’ve just made ganache.
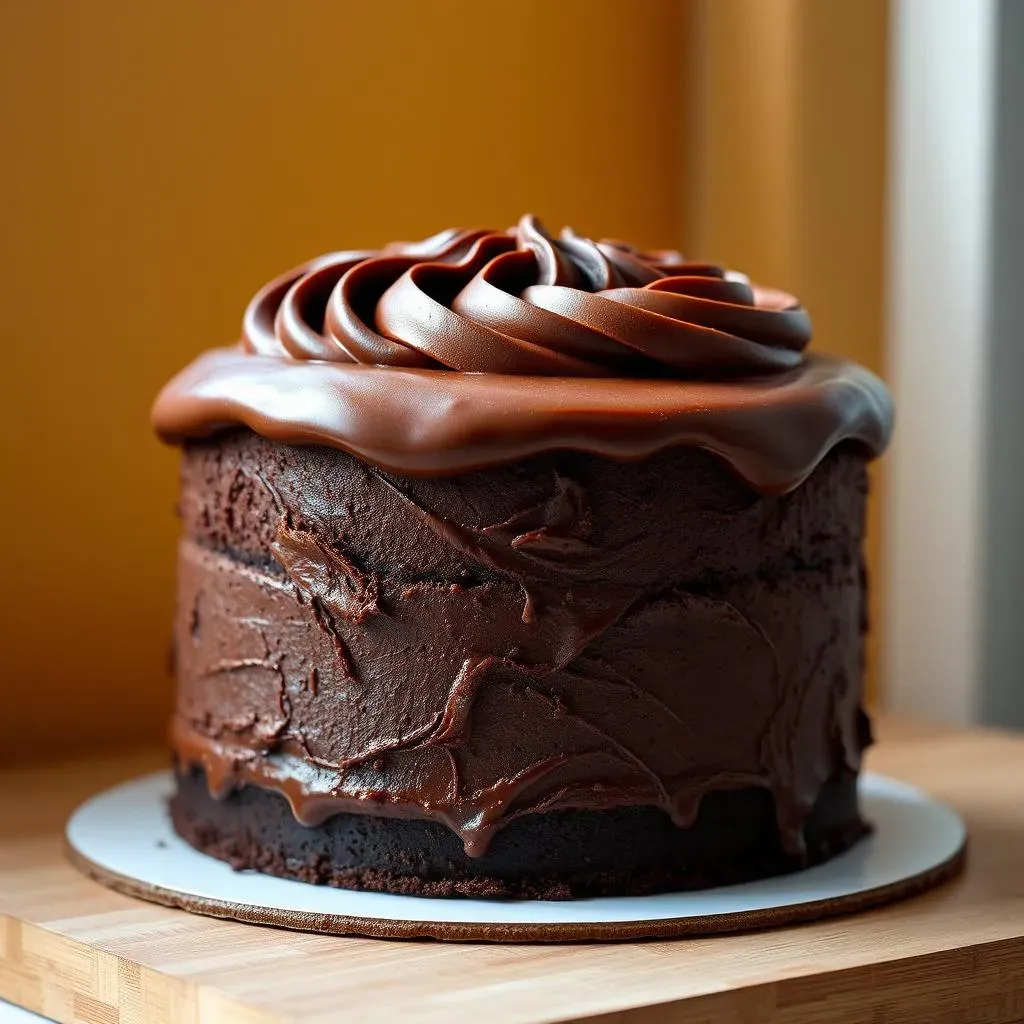
Now, you can either pour the ganache over the cake while it’s still warm for a beautiful, shiny glaze, or you can let it cool down and whip it for a lighter, fluffier frosting. I usually go with the whipped version, it makes the cake feel extra special. To whip the ganache, let it cool at room temperature until it's firm but still soft. Then, using a hand mixer or stand mixer, whip it until it's light and airy. It’s like magic, watching it transform! Spread it over the cake, and voila, you’ve got yourself a beautifully frosted 6-inch chocolate cake.
Ingredient | Quantity | Why it Matters |
|---|---|---|
Heavy Cream | 1/2 cup | Provides richness and smooth texture |
High-Quality Chocolate | 6 ounces | Adds flavor and sets the ganache |
Tips for a Moist 6Inch Chocolate Cake and Troubleshooting
Tips for a Moist 6Inch Chocolate Cake and Troubleshooting
The Secret to a Moist Cake
let's talk about what nobody wants—a dry cake. It's like biting into a desert, and not the good kind. The key to a moist 6-inch chocolate cake is all about moisture retention. Buttermilk is your best friend here, it adds tenderness and keeps the cake from being dry. Also, using oil instead of butter helps keep the cake moist. And don't overbake it! That's a cardinal sin in the baking world. Start checking for doneness around 27 minutes with a toothpick. If it comes out with a few moist crumbs, that’s perfect. Remember, a slightly underbaked cake is better than an overbaked one. It's a fine line, but you'll get the hang of it.
Another tip is to not open the oven door too often while baking. Every time you open the door, you let out heat, which can cause the cake to collapse or become uneven. It's like peeking at presents before Christmas—just don't do it. Trust the process and the timing. Sometimes, I even place a small pan of water in the oven while baking to add extra moisture, especially when it's a dry day. It’s like giving your cake a little spa treatment while it bakes, and who doesn't want that?
Problem | Solution |
|---|---|
Dry Cake | Use buttermilk, oil, and don't overbake |
Cake Sinks in the Center | It's normal, but ensure oven temperature is accurate |
Cake Sticks to Pan | Grease and flour the pan well |
Troubleshooting Common Issues
So, things aren't always perfect in the baking world, and that's okay. Maybe your cake sank more than you expected, or perhaps it stuck to the pan. Don't panic! If your cake sinks a little, it's usually a sign that it's nice and moist. But if it sinks dramatically, your oven temperature might be off, or you might have overmixed the batter. If it sticks to the pan, it usually means that you didn't grease and flour it well enough. Next time, be generous with the grease and flour, or use parchment paper. It's like putting on a good pair of shoes before a marathon, preparation is key.
Another common issue is a tough cake. This usually happens when you overmix the batter, which develops the gluten in the flour. Remember, mix until just combined, and no more. It's like having a conversation with someone, you don't want to overtalk them. If you're having trouble with your oven temperature, consider getting an oven thermometer. It can be a real lifesaver. Baking is a science, and sometimes you need a little help from tools. And if all else fails, just remember, even a slightly flawed cake is still delicious. It's about the taste, not the perfection.
- Sinking Cake: Check oven temp, avoid overmixing
- Sticking Cake: Grease and flour pan properly
- Tough Cake: Don't overmix batter
Variations on Your 6Inch Chocolate Cake Recipe
Variations on Your 6Inch Chocolate Cake Recipe
Switching Up the Chocolate
so you've nailed the basic 6-inch chocolate cake, congrats! But what if you're feeling adventurous? One of the easiest ways to switch things up is by playing with the type of chocolate you use. Instead of regular cocoa powder, try using Dutch-processed cocoa for a richer, smoother flavor. It's like upgrading from a regular coffee to a fancy espresso. You can also experiment with different types of chocolate in the ganache. Milk chocolate will give you a sweeter, more classic flavor, while dark chocolate will add a deep, intense bitterness. And if you're feeling fancy, you can use a combination of both for a complex, layered flavor. It's like creating your own custom blend, a bit like a DJ mixing tracks, but for your taste buds.
Another fun twist is to add chocolate chips or chunks to the batter. This will give you little pockets of melty chocolate throughout the cake. It's a bit like a treasure hunt, each bite revealing a burst of chocolatey goodness. You can use semi-sweet, dark, or even white chocolate chips, depending on your preference. And don't be afraid to get creative with the amount you add. The more the merrier, right? It's your cake, you get to decide how much chocolate you want. I once added a whole bag of chocolate chips and it was amazing.
Variation | Description | Flavor Profile |
|---|---|---|
Dutch-Processed Cocoa | Use instead of regular cocoa powder | Richer, smoother chocolate flavor |
Milk Chocolate Ganache | Use milk chocolate for the ganache | Sweeter, classic chocolate taste |
Dark Chocolate Ganache | Use dark chocolate for the ganache | Deep, intense, and bittersweet |
Chocolate Chips | Add chocolate chips or chunks to the batter | Pockets of melty chocolate throughout the cake |
Going Beyond Chocolate: Vanilla and More
Who says you have to stick with chocolate? You can easily transform this 6-inch cake recipe into a vanilla version. Just swap out the cocoa powder for an equal amount of flour, and add a teaspoon of vanilla extract. It's like switching from a dark suit to a bright summer dress. You can also add a bit of lemon zest for a refreshing twist. It's like a little burst of sunshine in your cake. And if you're feeling really adventurous, you can add other extracts like almond or peppermint for a unique flavor profile.
Another great option is to add spices to the batter. Cinnamon, nutmeg, and cloves can give your cake a warm, cozy flavor that's perfect for fall or winter. It's like adding a warm blanket to your dessert. You can also add chopped nuts like walnuts or pecans for some added texture and flavor. It's like adding a little crunch to your masterpiece. And if you want to get really fancy, you can add a swirl of caramel or fruit preserves to the batter before baking. It's like adding a hidden surprise inside, something that will make your cake unique.
Flavor Combinations and Finishing Touches
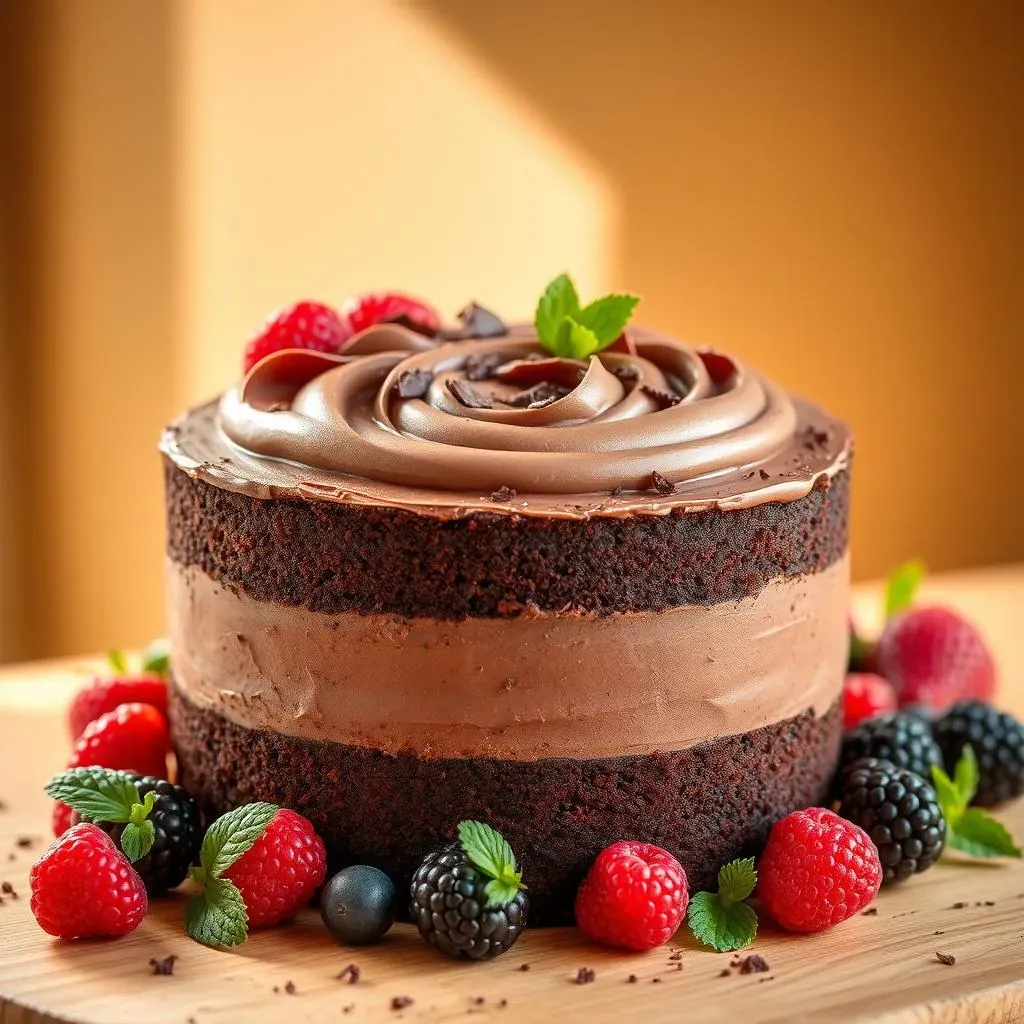
Now, let's talk about flavor combinations. Chocolate and peanut butter is a classic for a reason. You can add a layer of peanut butter frosting or swirl some peanut butter into the batter. It's a bit like a power couple, they just work so well together. Another great combination is chocolate and raspberry. You can add a layer of raspberry jam or fresh raspberries to the cake. It's a bit like a sweet and tart tango, a dance of flavors on your tongue. And if you want to get really fancy, you can add a layer of coffee-flavored frosting or a sprinkle of sea salt on top. It's like adding the final brushstroke to a painting, something that makes the cake look and taste even better.
And don't forget about the toppings! Sprinkles, chocolate shavings, fresh berries, or even a drizzle of caramel can add a touch of elegance and visual appeal to your cake. It's like adding jewelry to your outfit, it just makes everything look better. The possibilities are endless. Baking should be fun and creative, so don't be afraid to experiment and try new things. It's your cake, so make it your own.
- Chocolate & Peanut Butter: Add peanut butter frosting or swirl into batter.
- Chocolate & Raspberry: Layer with raspberry jam or fresh raspberries.
- Chocolate & Coffee: Use coffee-flavored frosting.
- Add Toppings: Sprinkles, chocolate shavings, fresh berries, caramel.
Storing Your 6Inch Chocolate Cake and Cupcake Option
Storing Your 6Inch Chocolate Cake and Cupcake Option
Keeping Your Cake Fresh
Alright, so you've baked this beautiful 6-inch chocolate cake, and maybe, just maybe, you haven't devoured it all in one sitting. What do you do now? Well, the good news is that this cake stores pretty well. If you plan to eat it within a day, you can keep it at room temperature, just make sure it's covered, so it doesn't dry out. I usually use a cake dome or an airtight container. It's like tucking it in for a good night's sleep, you want to keep it snug and protected. But if you need to store it for longer than that, then the fridge is your friend. Just pop it in an airtight container, and it should stay moist and delicious for up to 5 days.
Now, if you've frosted your cake with ganache, the fridge is definitely the way to go. The ganache will set up nicely, and the cake will stay moist. But be warned, cold cake can sometimes taste a bit less flavorful, so take it out of the fridge about 30 minutes before you want to eat it to let it come to room temperature. It’s like letting a good wine breathe, it needs a little time to reach its full potential. And if you're planning to freeze your cake, you can do that too! Wrap it tightly in plastic wrap, then foil, and it should be good for a month or two. Just make sure it's completely cooled before you wrap it up, or you'll end up with a soggy mess. It’s like packing for a long trip, you need to do it right.
Storage Method | Duration | Best For |
|---|---|---|
Room Temperature (Covered) | 1 day | Short-term storage, eating soon |
Refrigerator (Airtight Container) | Up to 5 days | Longer storage, keeps moist |
Freezer (Wrapped Tightly) | 1-2 months | Long-term storage, for later enjoyment |
Turning Your Cake into Cupcakes
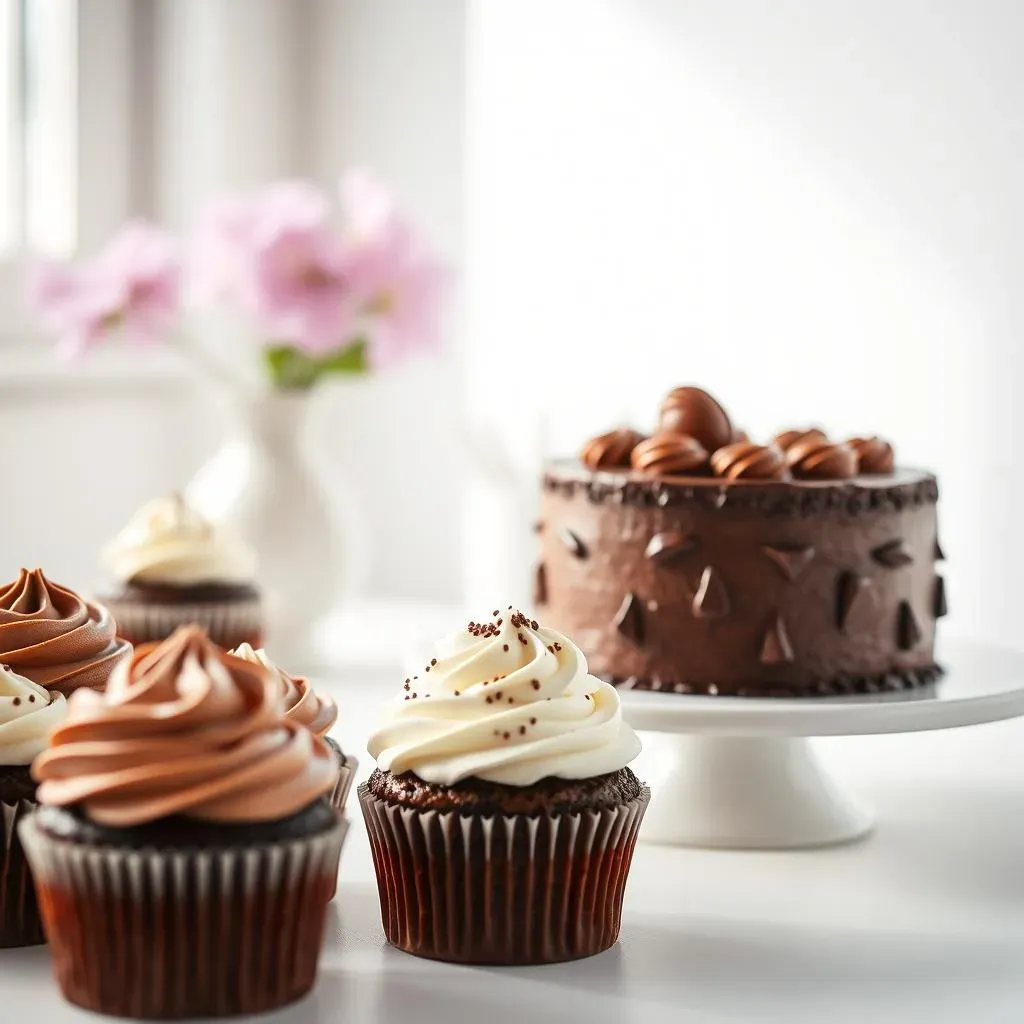
so maybe you're not in the mood for a cake, maybe you're more of a cupcake person. Good news, this 6-inch chocolate cake recipe works perfectly for cupcakes too. Simply line a muffin tin with cupcake liners, fill each liner about two-thirds full, and bake for about 18 to 20 minutes. It's like transforming a cake into a bunch of mini-cakes, and who doesn't love mini versions of things? Cupcakes are great for parties, potlucks, or just when you want a single serving of chocolate goodness. They're also easier to decorate and share, which is a win-win in my book.
And if you're making cupcakes for a crowd, you can easily double or triple the recipe. It's like scaling up your operation, but it's still easy peasy. Just make sure you have enough muffin tins! And don't forget to frost your cupcakes. You can use the same chocolate ganache recipe, or you can get creative and try different frostings. Vanilla, cream cheese, or even a peanut butter frosting would be amazing. The possibilities are endless. It's like giving each cupcake its own unique personality. And who knows, maybe you'll discover a new favorite flavor combination.
- Line a muffin tin with cupcake liners.
- Fill each liner about two-thirds full.
- Bake for 18-20 minutes.
- Frost with ganache or your favorite frosting.
Wrapping Up Your 6-Inch Chocolate Cake Adventure
So, there you have it – a simple, yet satisfying 6-inch chocolate cake recipe that’s perfect for any occasion (or no occasion at all!). We've covered everything from the basic batter to the dreamy ganache, and even how to troubleshoot any baking mishaps. Remember, baking should be fun, not stressful. Don't be afraid to experiment with different chocolates or add your own personal twist. Whether you’re celebrating a special day or just treating yourself, this little cake is sure to hit the spot. And hey, if you end up with a slightly sunken center? That just means there’s more room for ganache. Now go on, enjoy your delicious creation, and maybe share a slice or two… if you’re feeling generous.