
Table of Contents
Introduction
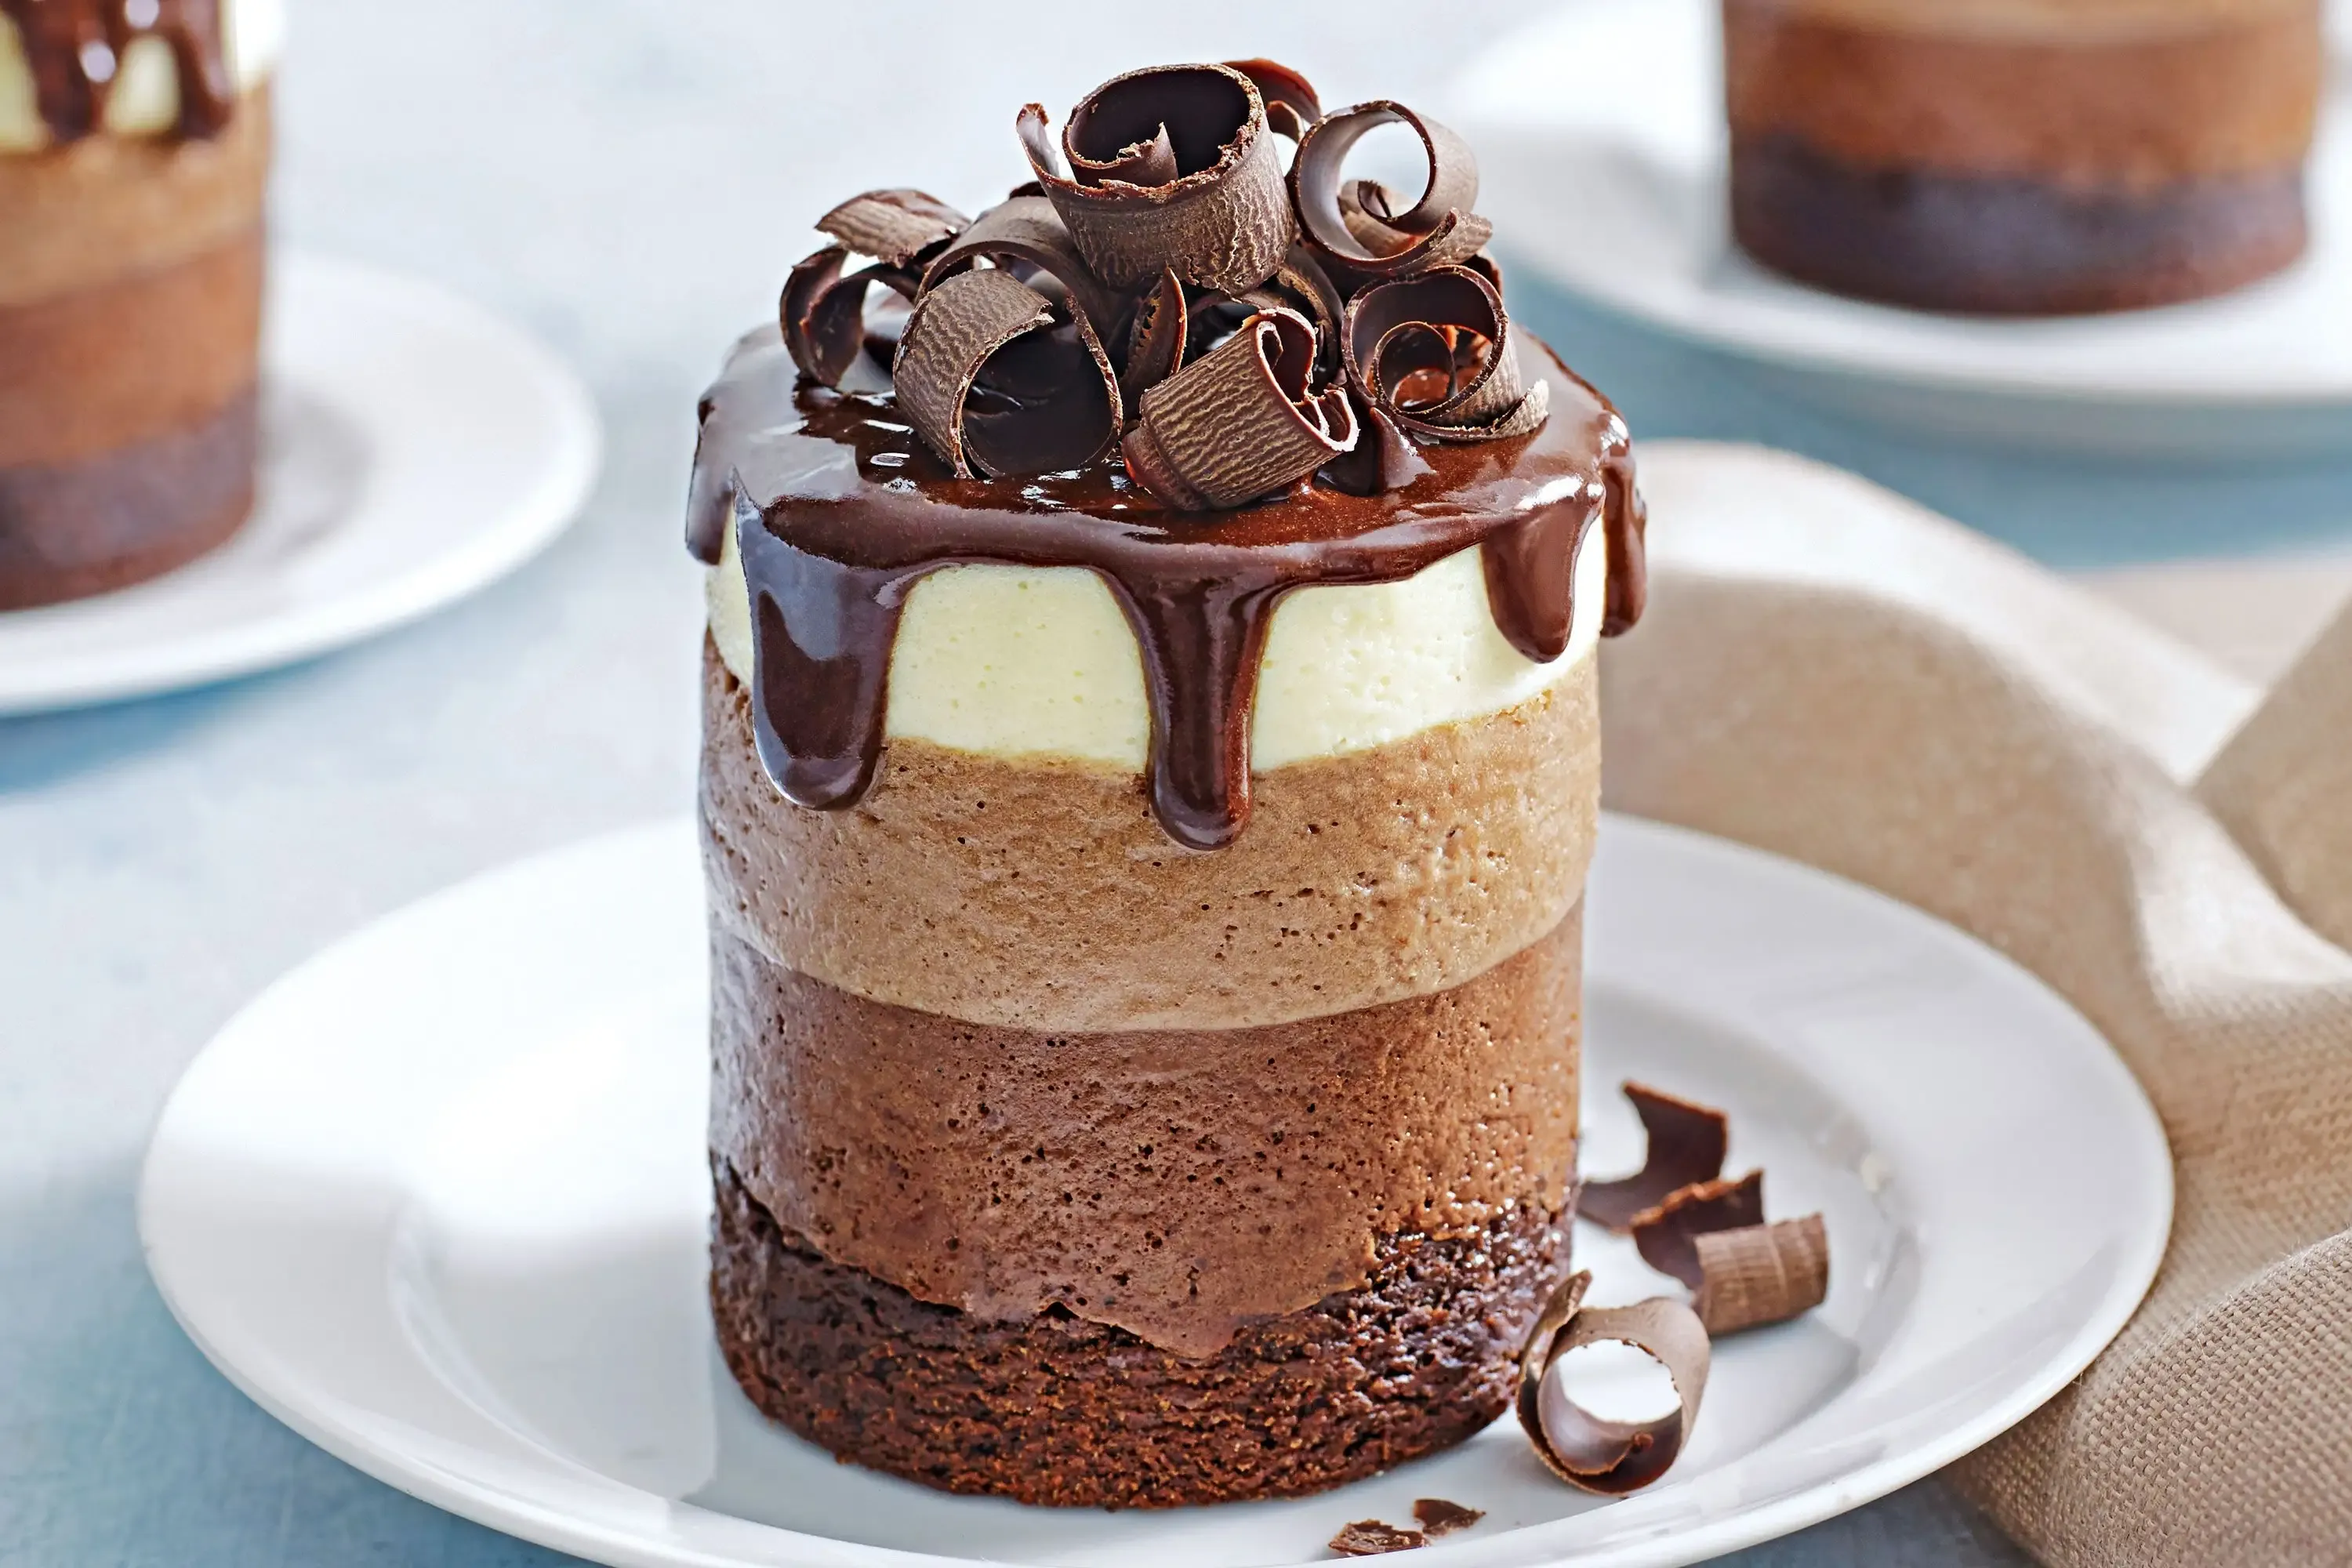
Let's be honest, seeing a towering, luscious slice of chocolate mousse cake makes most people weak in the knees. But thinking about actually *making* one with multiple layers? That can feel like attempting edible architecture. Especially a showstopper like a 4 layer chocolate mousse cake. It sounds fancy, maybe even a little intimidating, like something only a professional pastry chef could pull off. Forget the overly complicated instructions and vague steps you might have encountered before. This isn't about performing culinary miracles; it's about breaking down a delicious challenge into manageable steps. We're going to walk through exactly what goes into creating this decadent dessert. You'll learn about the specific components that make up a truly exceptional 4 layer chocolate mousse cake, how to prepare each one with precision, and the best way to stack them into that impressive final form. We'll cover the base cake layer, the rich fudge, and those silky smooth chocolate and white chocolate mousse layers. Plus, we'll hit the common pitfalls and how to avoid them, because nobody needs a collapsed cake catastrophe. Ready to build something beautiful and incredibly tasty? Let's get stacking.
Deconstructing the 4 Layer Chocolate Mousse Cake

Deconstructing the 4 Layer Chocolate Mousse Cake
Crafting Each Divine Layer for Your 4 Layer Chocolate Mousse Cake
Crafting Each Divine Layer for Your 4 Layer Chocolate Mousse Cake
Now that we know the players, it's time to talk about how you actually *make* these individual components sing before they ever meet each other in glorious stacked formation. Crafting Each Divine Layer for Your 4 Layer Chocolate Mousse Cake isn't just about following a recipe; it's about understanding the role each ingredient plays and treating it with the respect it deserves. Think about the chocolate cake: it needs to be sturdy enough to support the weight of all that mousse but tender enough to be a pleasure to eat. Overbake it, and you've got a dry, crumbly mess that will collapse under pressure. Undercook it, and it's a gummy disaster. The fudge or ganache layer requires precision with temperature and ratios to get that perfect set – too soft and it squishes out, too hard and it's like biting into a chocolate brick. And the mousse? Ah, the mousse. This is where technique truly matters. Whipping cream to the right consistency, melting chocolate without burning it, and folding everything together gently are non-negotiables for that ethereal texture. Get these right, and the final assembly is less a struggle and more a celebration.
Assembling Your Showstopping 4 Layer Chocolate Mousse Cake

Assembling Your Showstopping 4 Layer Chocolate Mousse Cake
Building the Chocolate Foundation
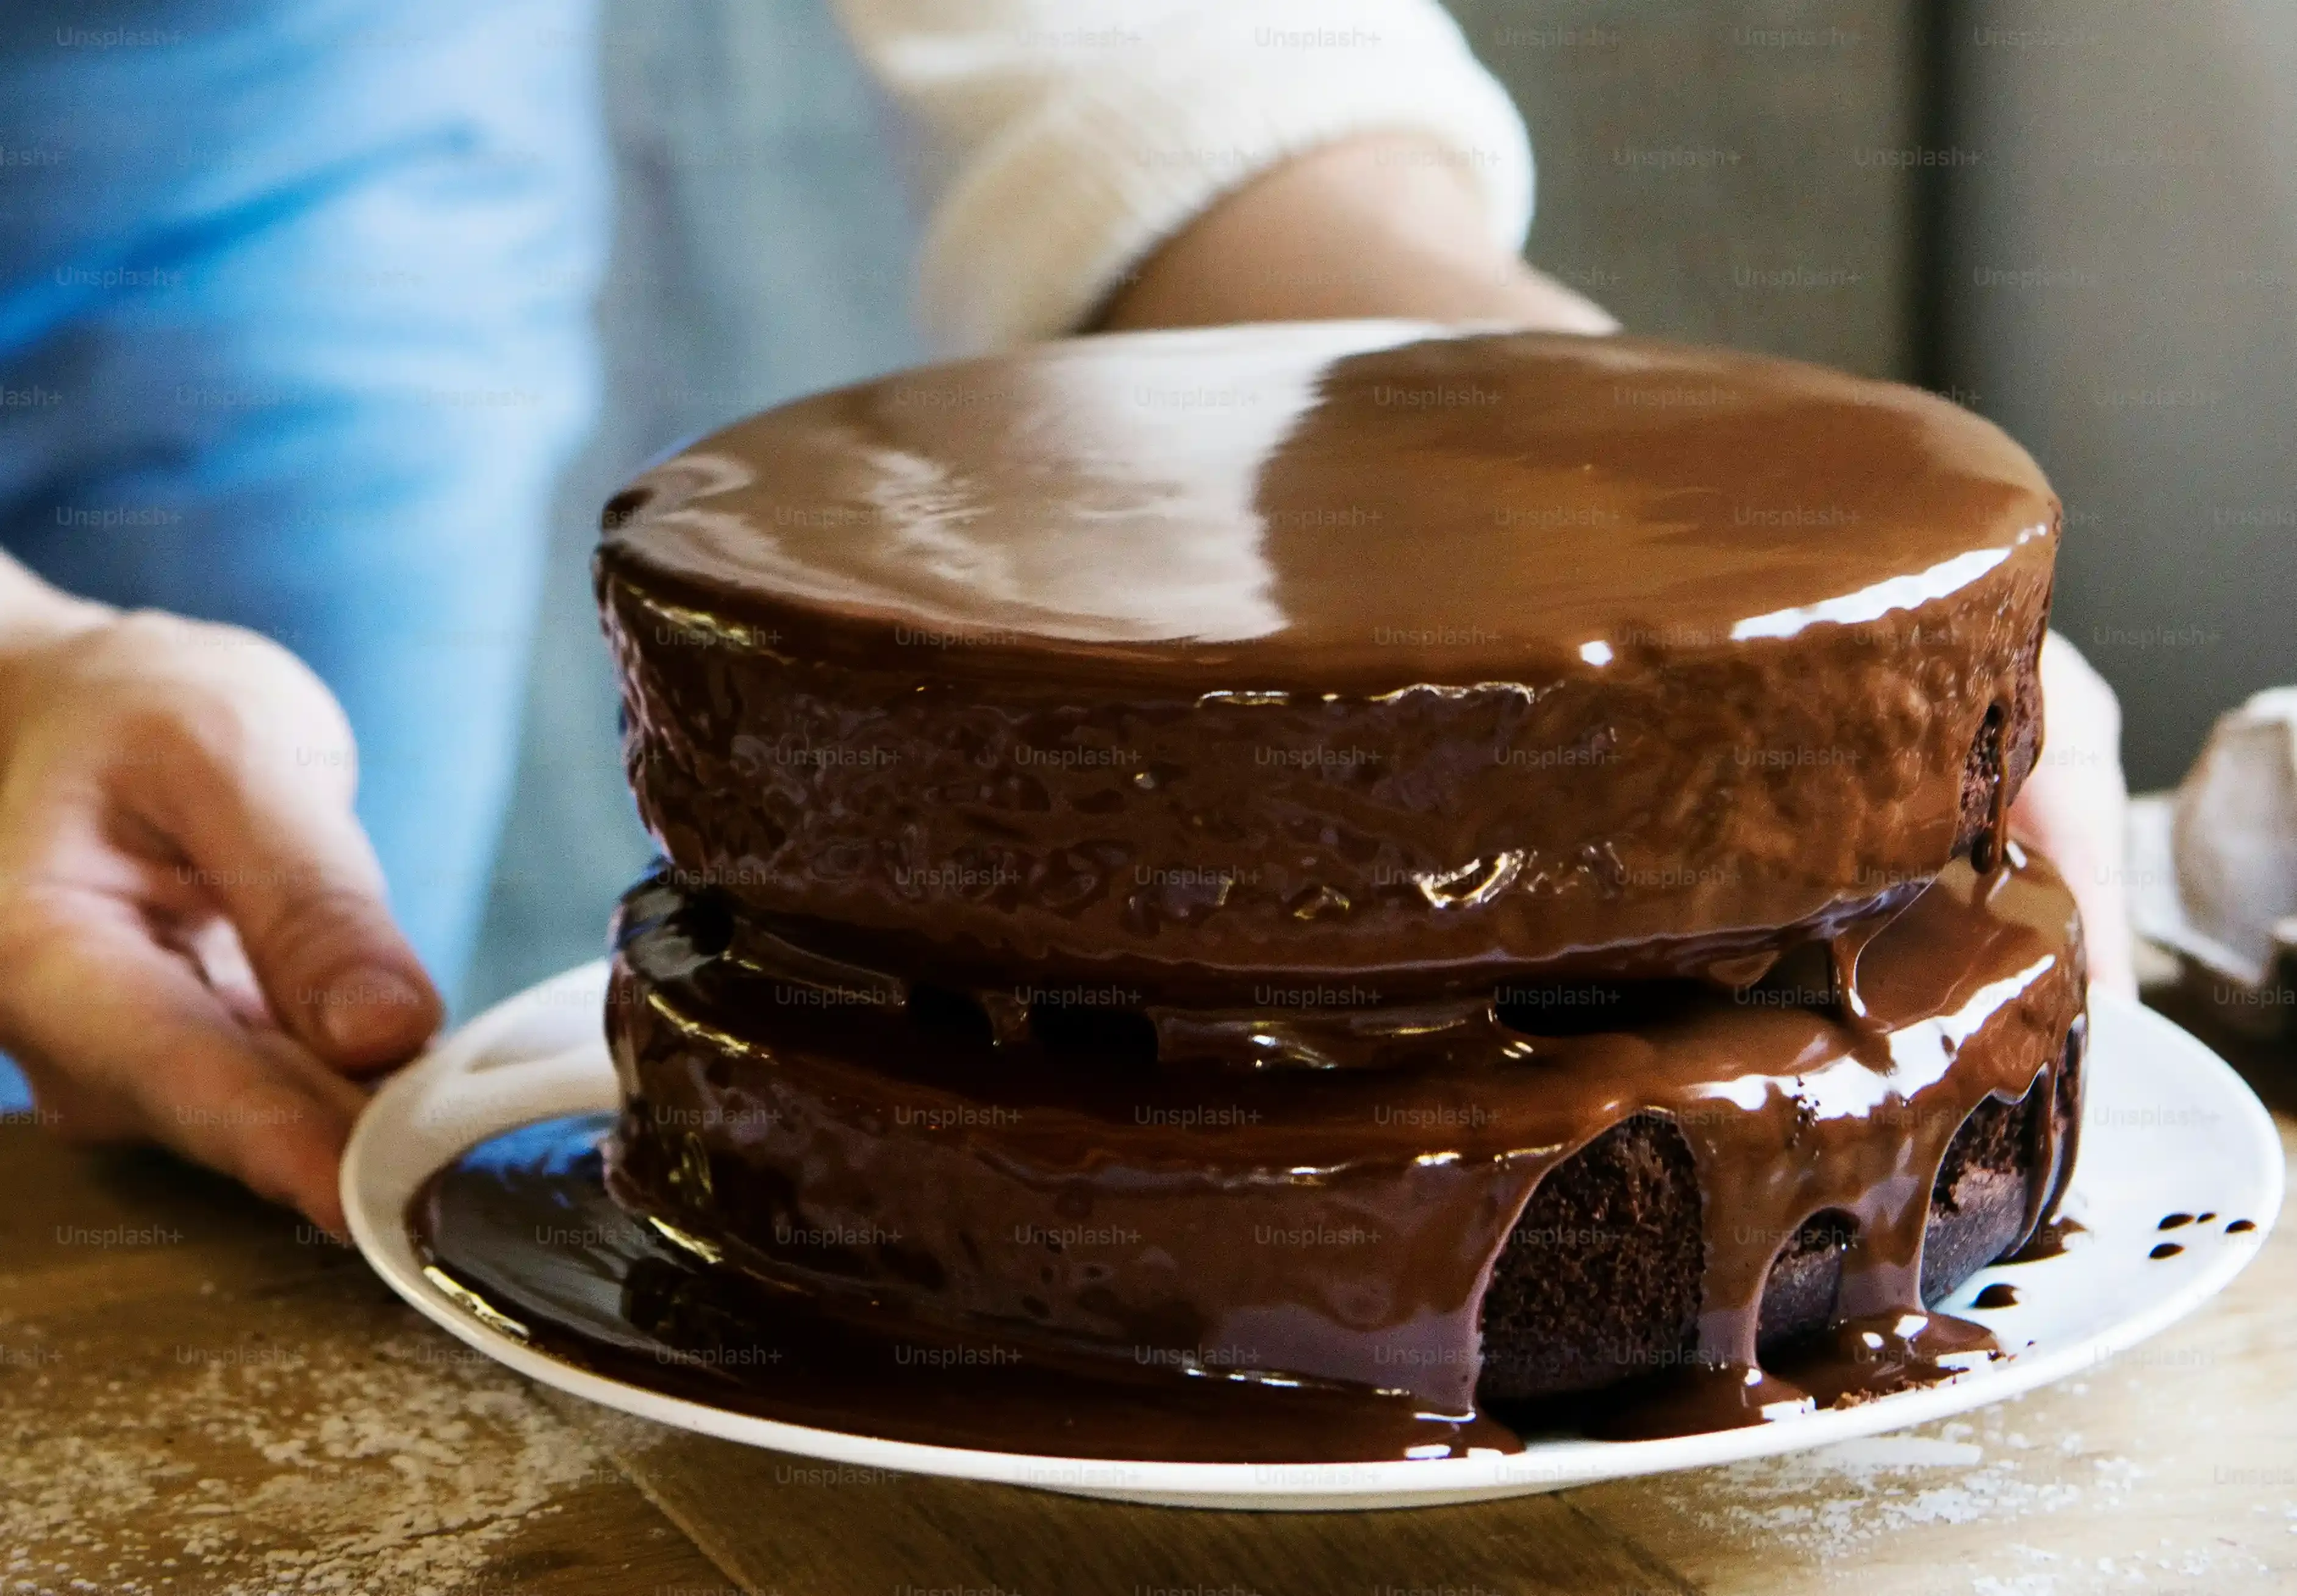
you've got your perfectly baked cake layers chilled and ready, your fudge is set just right, and the mousses are sitting pretty, waiting for their moment in the spotlight. Now comes the fun part: putting this beast together. Think of this as edible construction. You absolutely need a springform pan or an adjustable cake ring for this gig. Line the sides with parchment or acetate for a clean release later – trust me, future you will thank you. Place your first chocolate cake layer right in the bottom. Make sure it fits snugly. Now, if you're using that fudge layer, spread it evenly over the cake. It might be a little stiff, so take your time. Next up is your first mousse layer, probably the darker chocolate one. Spoon it over the fudge (or directly onto the cake if skipping fudge). Spread it out gently to the edges. You don't want air pockets or uneven spots; that's how cakes get wobbly.
Adding Height and Chill Time
With that first mousse layer down, carefully place the next cake layer on top. Press down *gently* to make sure it's level and making contact with the mousse. Then, repeat the process with your second mousse layer – likely the white chocolate this time. Pour or spoon it over the cake, smoothing it out just like the first layer. Now, here's the critical part for assembling your showstopping 4 layer chocolate mousse cake: chilling. This isn't optional. Each mousse layer needs time to set firm before you add the next layer or try to remove the ring. Trying to rush this step is like attempting to build a sandcastle during high tide. Pop the whole thing into the fridge for at least 2-3 hours, or preferably the freezer for an hour or two, after adding each mousse layer. This ensures clean lines and a stable structure. Here’s a quick assembly sequence reminder:
- Place first cake layer in prepared pan/ring.
- Spread fudge/ganache layer (optional but recommended).
- Add first mousse layer (dark/milk chocolate).
- Chill until firm.
- Add second cake layer.
- Add second mousse layer (white chocolate).
- Chill until firm.
- Add final cake layer (if using 3 cake layers).
- Add final mousse layer (if using 2 cake layers, this would be your third mousse).
- Chill overnight for best results before unmolding.
Troubleshooting and Tips for the Perfect 4 Layer Chocolate Mousse Cake
Troubleshooting and Tips for the Perfect 4 Layer Chocolate Mousse Cake
Alright, so you've carefully crafted your layers and stacked them like a pro, but what happens when things don't go exactly to plan? Making a 4 layer chocolate mousse cake, while rewarding, can definitely hit a few snags. Maybe your mousse is a little too soft and threatens to ooze out the sides, or perhaps the cake layers seem determined to slide off-center as you stack them. Don't panic. These are common hurdles, not signs of a baking apocalypse. Often, the issue boils down to temperature – not chilling things enough between steps is the number one culprit for a wobbly cake. Another frequent headache is getting clean slices; warm knives are your best friend here. And sometimes, despite your best efforts, the mousse just doesn't set quite right, which might mean your gelatin wasn't properly dissolved or your whipped cream wasn't stiff enough. Troubleshooting and Tips for the Perfect 4 Layer Chocolate Mousse Cake often involves a bit of patience and knowing a few tricks of the trade to rescue your dessert from potential disaster.
Here are a few quick saves for common problems:
- **Mousse Too Soft:** Pop the whole cake (still in the ring) back into the freezer for 30-60 minutes to firm it up rapidly before slicing.
- **Cake Layers Sliding:** Ensure layers are level before stacking. If adding mousse, spread it evenly and chill thoroughly after each mousse layer to "glue" the layers together.
- **Difficulty Unmolding:** Make sure the cake is fully chilled, ideally overnight. Use a warm, damp cloth wrapped around the springform ring for a few seconds to help loosen it before gently unclipping.
- **Messy Slices:** Always use a sharp knife dipped in hot water and wiped clean between each slice. This is non-negotiable for clean cuts through mousse and cake.
Wrapping Up Your Layered Creation
So, you've navigated the layers, mastered the mousse, and hopefully, avoided any structural failures along the way. Building a 4 layer chocolate mousse cake wasn't just about mixing ingredients; it was about precision, patience, and maybe a little bit of muttered frustration when the ganache didn't cooperate immediately. The result sitting before you, however, is a tangible payoff for that effort. It's a cake that looks impressive because it *is* a bit of a project. Now, the real test: cutting into it and seeing if those distinct layers hold up. May your slices be clean and your dessert be devoured without hesitation. You made the cake. Now go eat it.