
Table of Contents
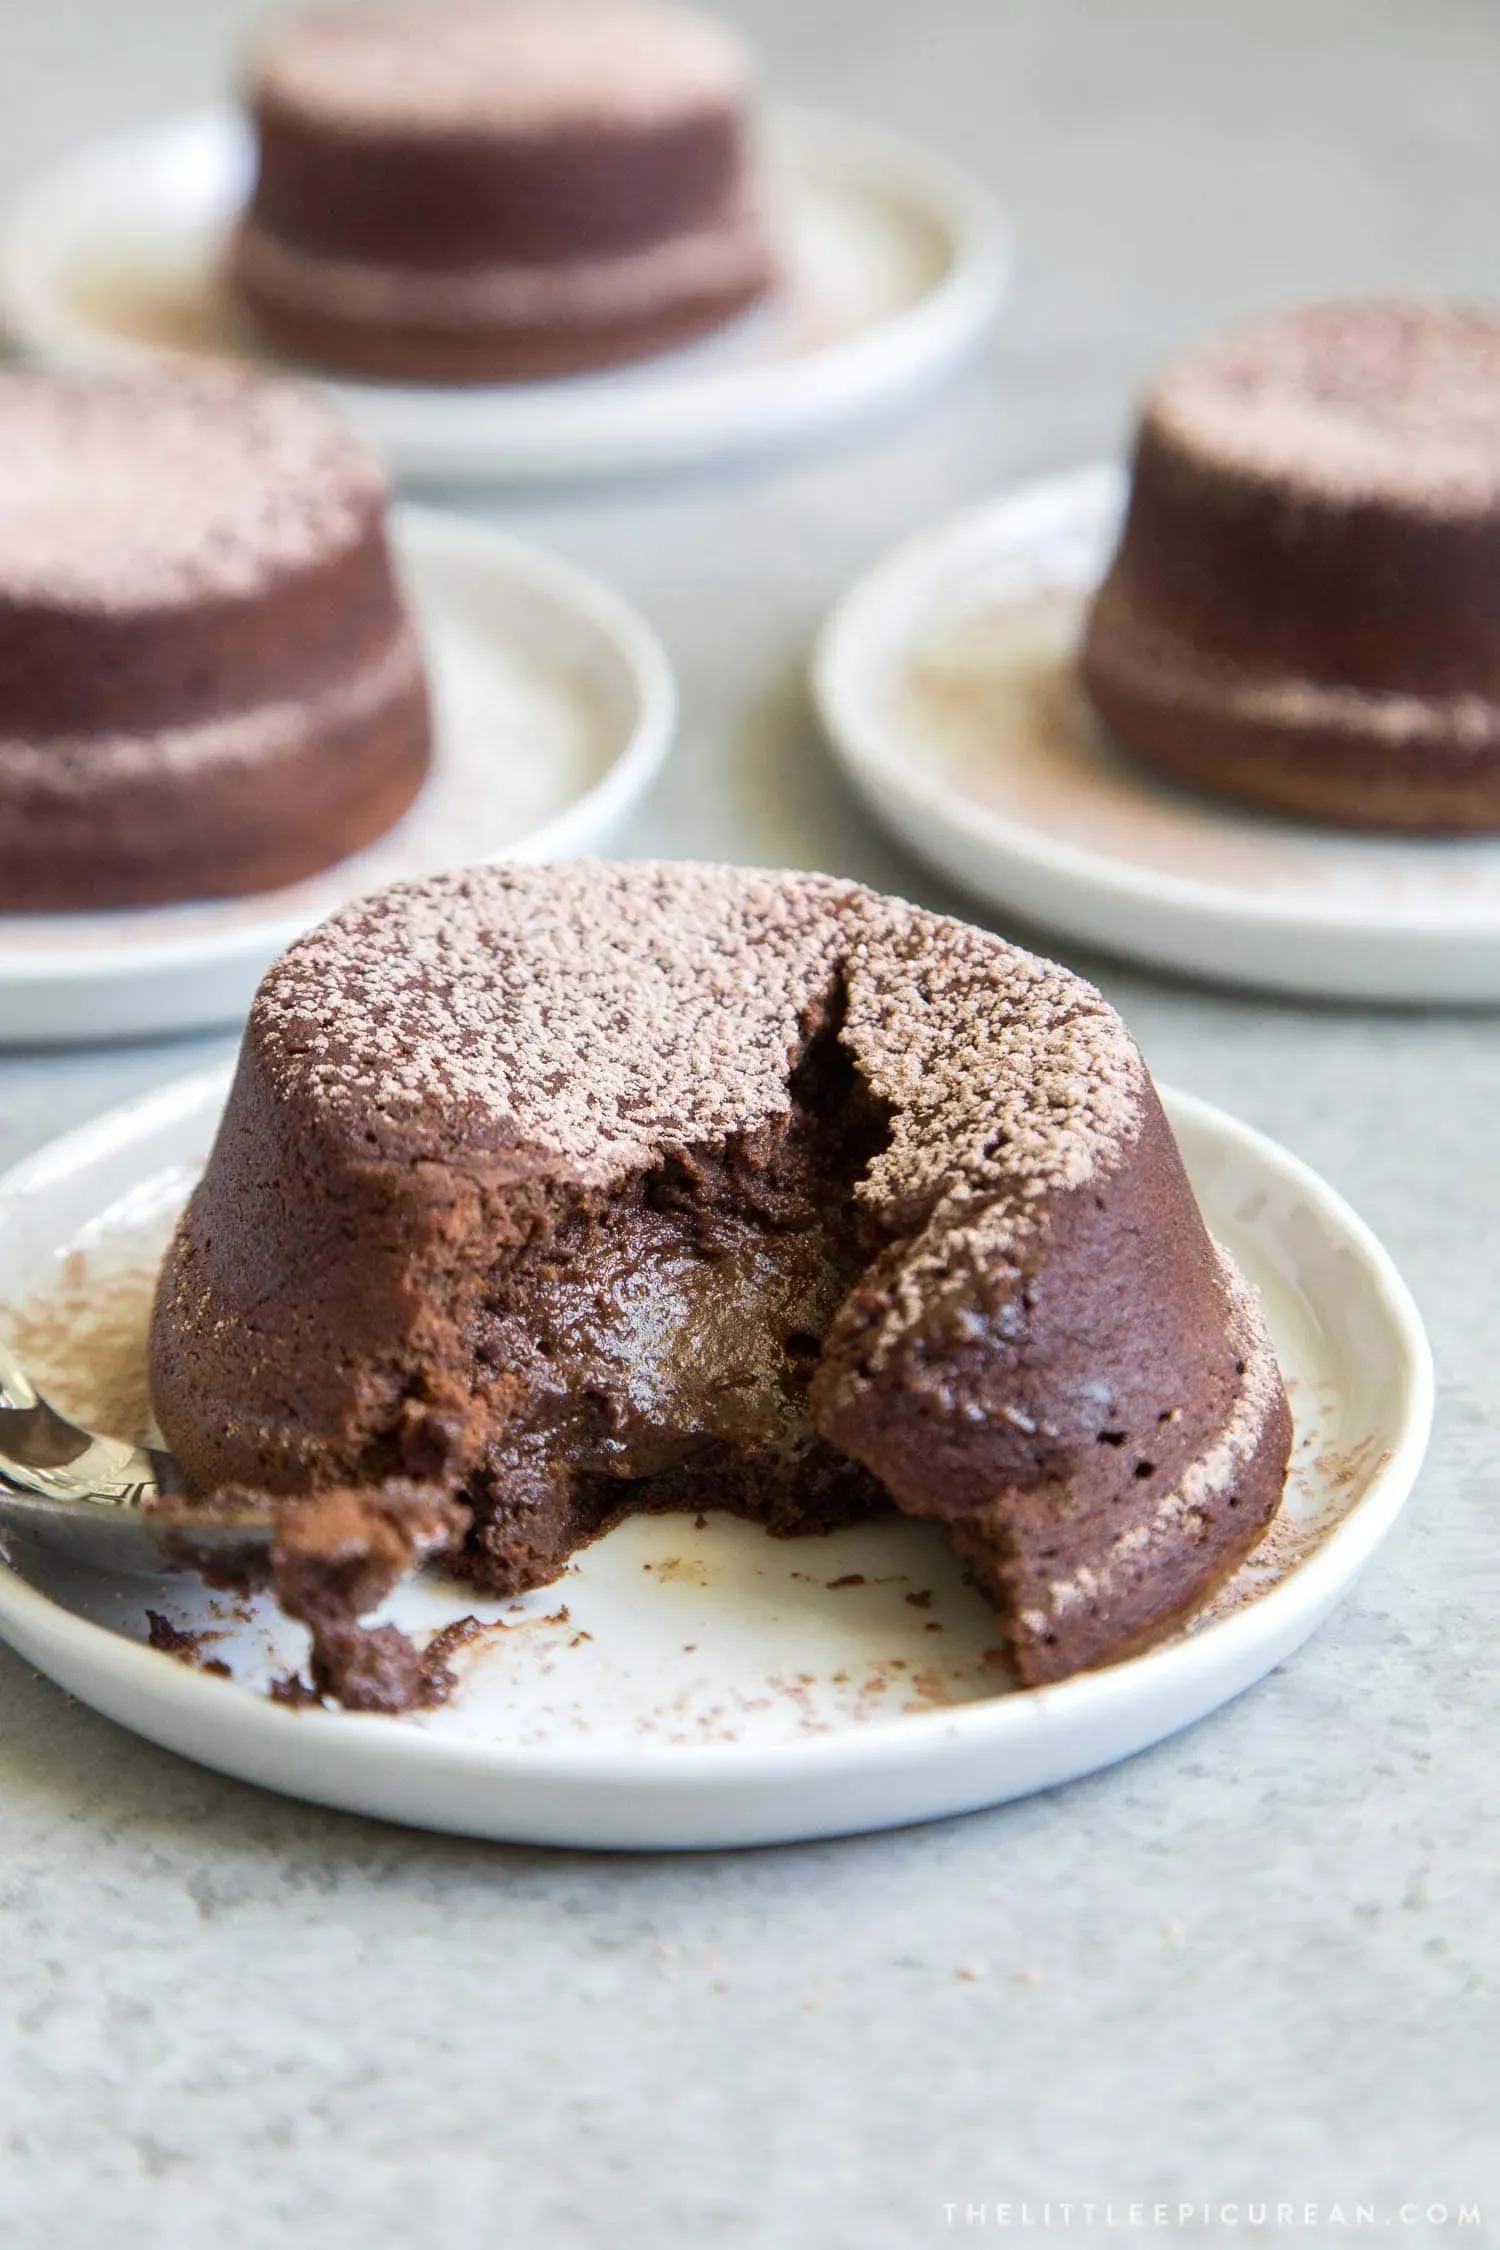
Let's be honest, sometimes you just need chocolate. Not just any chocolate, but warm, gooey, molten chocolate that oozes out like a delicious secret. The problem? Most lava cake recipes look like they require a culinary degree and a pantry stocked like a professional bakery. Forget the long ingredient lists and complicated steps. What if I told you that decadent dream is just four items away? Yes, we're talking about the elusive, yet entirely achievable, 4 ingredient lava cake.
The Appeal of a 4 Ingredient Lava Cake
The Appeal of a 4 Ingredient Lava Cake
Why Bother with Just Four Ingredients?
Look, we've all seen those fancy dessert recipes. They call for obscure flours, specific types of chocolate you need a bank loan for, and techniques that involve words like "temper" and "fold gently." It's enough to make anyone just grab a pint of ice cream and call it a night. The real draw of a 4 ingredient lava cake? It strips away all that pretense.
Think about it. Four ingredients means less shopping, less measuring, and crucially, way less cleanup. You spend more time actually eating the warm, molten goodness and less time scrubbing pots and pans. It's the culinary equivalent of showing up to a black-tie event in really stylish, comfy sneakers. You get the impressive result without the unnecessary fuss.
Decadence Doesn't Need Complexity
There's a common misconception that truly luxurious food must be complicated to make. This 4 ingredient lava cake recipe throws that idea right out the window. You're not sacrificing flavor or that signature gooey center just because you're keeping it simple.
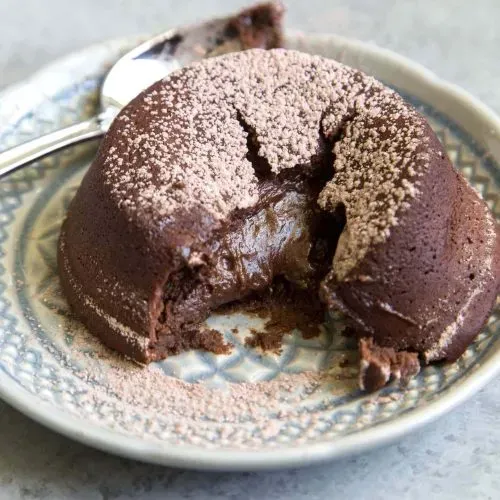
It’s about using the right few things in the right way. This isn't some sad, dry cake with a slightly moist middle. Done correctly, you crack open the side, and rich, dark chocolate pours out like a volcanic eruption in miniature. It proves you don't need a pantry full of specialty items to achieve a genuinely impressive dessert. It's efficient decadence.
Here's why keeping it simple works:
- Faster prep time
- Minimal dishes to wash
- Less chance of messing something up
- Focus stays on the core chocolate flavor
Gathering Your Simple 4 Ingredients for Lava Cake
Gathering Your Simple 4 Ingredients for Lava Cake
Seriously, Only Four? Let's Confirm
you've committed. You're ready to make this ridiculously easy dessert. The next step for your 4 ingredient lava cake is, predictably, gathering the ingredients. And yes, the promise holds true. We're not playing games here. You need just four things. No baking powder, no vanilla extract (unless you count it as a bonus!), no fancy cocoa powder you bought once and never used again.
This simplicity is the beauty of it. It means you probably have most, if not all, of these items in your kitchen right now. No emergency grocery store run in your pajamas required. It’s about minimal fuss for maximum reward. Think of it as the minimalist approach to dessert.
The Chocolate and The Fat: The Foundation
The first two heroes of our 4 ingredient lava cake story are chocolate and butter. This isn't the time for milk chocolate chips that barely melt. You want good quality semisweet or dark chocolate. Chop up a bar if you can, or use good quality chips. The better the chocolate, the better your lava. Period. It's the main flavor driver, so don't skimp here.
Butter provides the richness and helps create that molten texture when combined with the melted chocolate. Unsalted butter is usually the standard for baking, giving you control over saltiness, but honestly, a little salted butter won't ruin your life (or your lava cake) in this simple recipe. Just make sure it's real butter, not margarine or some spread.
- Quality chocolate (semisweet or dark)
- Butter (preferably unsalted)
- Eggs
- Granulated sugar (sometimes flour is the 4th, but sugar is common for simpler versions)
Completing the Quartet: Eggs and Sweetness
Rounding out our essential four are eggs and typically, sugar. Eggs are crucial; they provide structure to the outer cake while the yolks contribute to the richness and the molten center. You'll likely use whole eggs for this recipe, keeping it straightforward. No separating yolks and whites needed.
Sugar adds sweetness, obviously, but also helps with the texture and caramelization on the edges. The amount isn't huge, just enough to balance the bitterness of the dark chocolate. Some variations of a 4 ingredient lava cake might swap sugar for a tiny bit of flour, relying solely on the chocolate's sweetness, but sugar is the more common and reliable fourth player for that classic taste. These four elements work together to create that magical transition from solid batter to gooey core in the oven.
Whipping Up Your 4 Ingredient Lava Cake: The Quick Steps

Whipping Up Your 4 Ingredient Lava Cake: The Quick Steps
Melting Magic: Chocolate Meets Butter
Alright, you've got your four simple ingredients sitting there, looking innocent. Now comes the part where they transform. The first move for your 4 ingredient lava cake is getting that chocolate and butter into a glorious, melted state. Don't overthink this. Grab a microwave-safe bowl, toss in your chopped chocolate (or chips) and your butter. Pop it in the microwave on medium power, zapping it in 30-second bursts.
Pull it out, give it a stir. Repeat until it's mostly melted, then just stir until the residual heat finishes the job and it's silky smooth. Avoid scorching the chocolate – that's a sad, gritty road nobody wants to travel. If you're feeling fancy, or just don't trust your microwave, you can use a double boiler setup on the stove. Gentle heat is the name of the game here. Once it's a glossy, unified pool of chocolate-butter goodness, set it aside for just a minute to cool slightly.
Bringing It All Together: Eggs and Sugar Join the Party
With your chocolate base ready and slightly cooled (we don't want to scramble the eggs, obviously), it's time to incorporate the remaining stars of this 4 ingredient lava cake show: the eggs and sugar. Crack your eggs into the chocolate mixture. Don't whisk like you're trying to win a speed race; a gentle stir is all you need to break up the yolks and integrate them.
Next, add your granulated sugar. Again, no need for a power mixer here. Just fold it in until everything looks combined. The mixture will be thick and rich. That's exactly what you want. This isn't cake batter in the traditional sense; it's more like a dense, fudgy base that's going to do some incredible things in the oven.
- Melt chocolate and butter gently.
- Stir until smooth, avoid scorching.
- Let mixture cool slightly before adding eggs.
- Gently stir in eggs and sugar until just combined.
Prep the Stage: Ramekins Ready for Action
Before you even thought about mixing, hopefully, you preheated your oven and prepped your ramekins. A hot oven is key to getting that quick set on the outside while keeping the inside molten. Butter your ramekins generously. Like, *really* generously. Then, dust them with cocoa powder or granulated sugar. This step is non-negotiable unless you enjoy excavating your lava cake with a spoon, leaving half the goodness stuck to the dish. The cocoa or sugar coating helps the cake release cleanly, letting that beautiful lava flow freely onto the plate.
Pour your thick 4 ingredient lava cake batter into the prepared ramekins, filling them about two-thirds to three-quarters full. Don't stress about getting the tops perfectly smooth; they'll sort themselves out in the heat. Place the filled ramekins on a baking sheet – this makes them easier to handle and catches any potential overflow, though with only four ingredients, overflow is less likely than with more complex batters. They're now ready for their hot date with the oven.
Getting That Perfect Molten Center in Your 4 Ingredient Lava Cake

Getting That Perfect Molten Center in Your 4 Ingredient Lava Cake
Heat is Your Friend (But Don't Overdo It)
so you've got your little cups of potential sitting on a baking sheet. The secret to that glorious molten middle in your 4 ingredient lava cake is all about intense, quick heat. You need a hot oven, usually around 400°F (or 200°C). This high temperature does two things: it sets the outside of the cake quickly, creating a firm structure, while the inside stays relatively liquid because it doesn't have enough time to fully cook through. If your oven runs cool, you might need to bump it up slightly, but be careful not to burn the edges.
Think of it like searing a steak. You hit it with high heat to get a crust, but you pull it before the inside is fully cooked. Same principle here, just with chocolate and eggs. A lukewarm oven will give you sad, fully-baked mini cakes, which are fine, I guess, but not the molten magic we're aiming for. Preheat properly, give it time to get *hot*.
Timing is Everything: Watch the Jiggle
Here's where most people get nervous with a 4 ingredient lava cake. How long do you bake it? It's usually a surprisingly short time, often between 10 and 13 minutes. But ovens vary wildly. The real indicator isn't the clock; it's the cake itself. You want the edges to look set and slightly pulled away from the ramekin, but the center should still look soft and, crucially, *jiggly*. Give the ramekin a gentle nudge. If the center wobbles like a bowl of jelly, it's ready.
If the whole cake looks firm and stable when you jiggle it, you've probably overshot and cooked the middle. It takes a little practice, but watching for that tell-tale jiggle is key. It’s better to underbake slightly and have extra lava than overbake and have none. You can always pop it back in for another minute if you pull it too early, but you can't un-bake a solid center.
Sign of Readiness | What it Means |
|---|---|
Edges look set/firm | The cake structure is forming. |
Center is jiggly | The inside is still molten. |
No jiggle, firm center | Likely overbaked, less/no lava. |
The Critical Resting Period Before the Reveal
You've pulled your perfectly jiggly 4 ingredient lava cakes from the oven. Don't get impatient now! This is another crucial step. Let them rest in the ramekins for about 5 to 8 minutes. This resting time allows the edges to finish setting up just enough to hold their shape when you flip them, while the hot, liquid center stays molten. If you try to invert them immediately, they might collapse into a chocolate puddle (a delicious puddle, but not the intended effect).
While they're resting, grab your serving plates. When the time is up, carefully run a knife around the edge of the cake in the ramekin to ensure it's not sticking. Place a plate upside down over the ramekin, and with a quick, confident flip, turn the whole thing over. Lift the ramekin slowly. If all went well, you should have a beautiful little cake ready to unleash its chocolatey core. Sometimes, a gentle tap on the bottom of the ramekin helps persuade it.
Serving, Variations, and Storing Your Lava Cakes
Serving, Variations, and Storing Your Lava Cakes
The Grand Finale: Serving Your Molten Masterpiece
the moment of truth. You've patiently waited, you've flipped, and there it is – your beautiful 4 ingredient lava cake sitting proudly on the plate. This is where you get to play dessert stylist. The simplest way is often the best: a light dusting of powdered sugar. It looks elegant, and it doesn't compete with the intense chocolate flavor. But why stop there? A scoop of good vanilla ice cream melting slowly into the hot lava is a classic for a reason. The contrast in temperature and texture is pretty hard to beat.
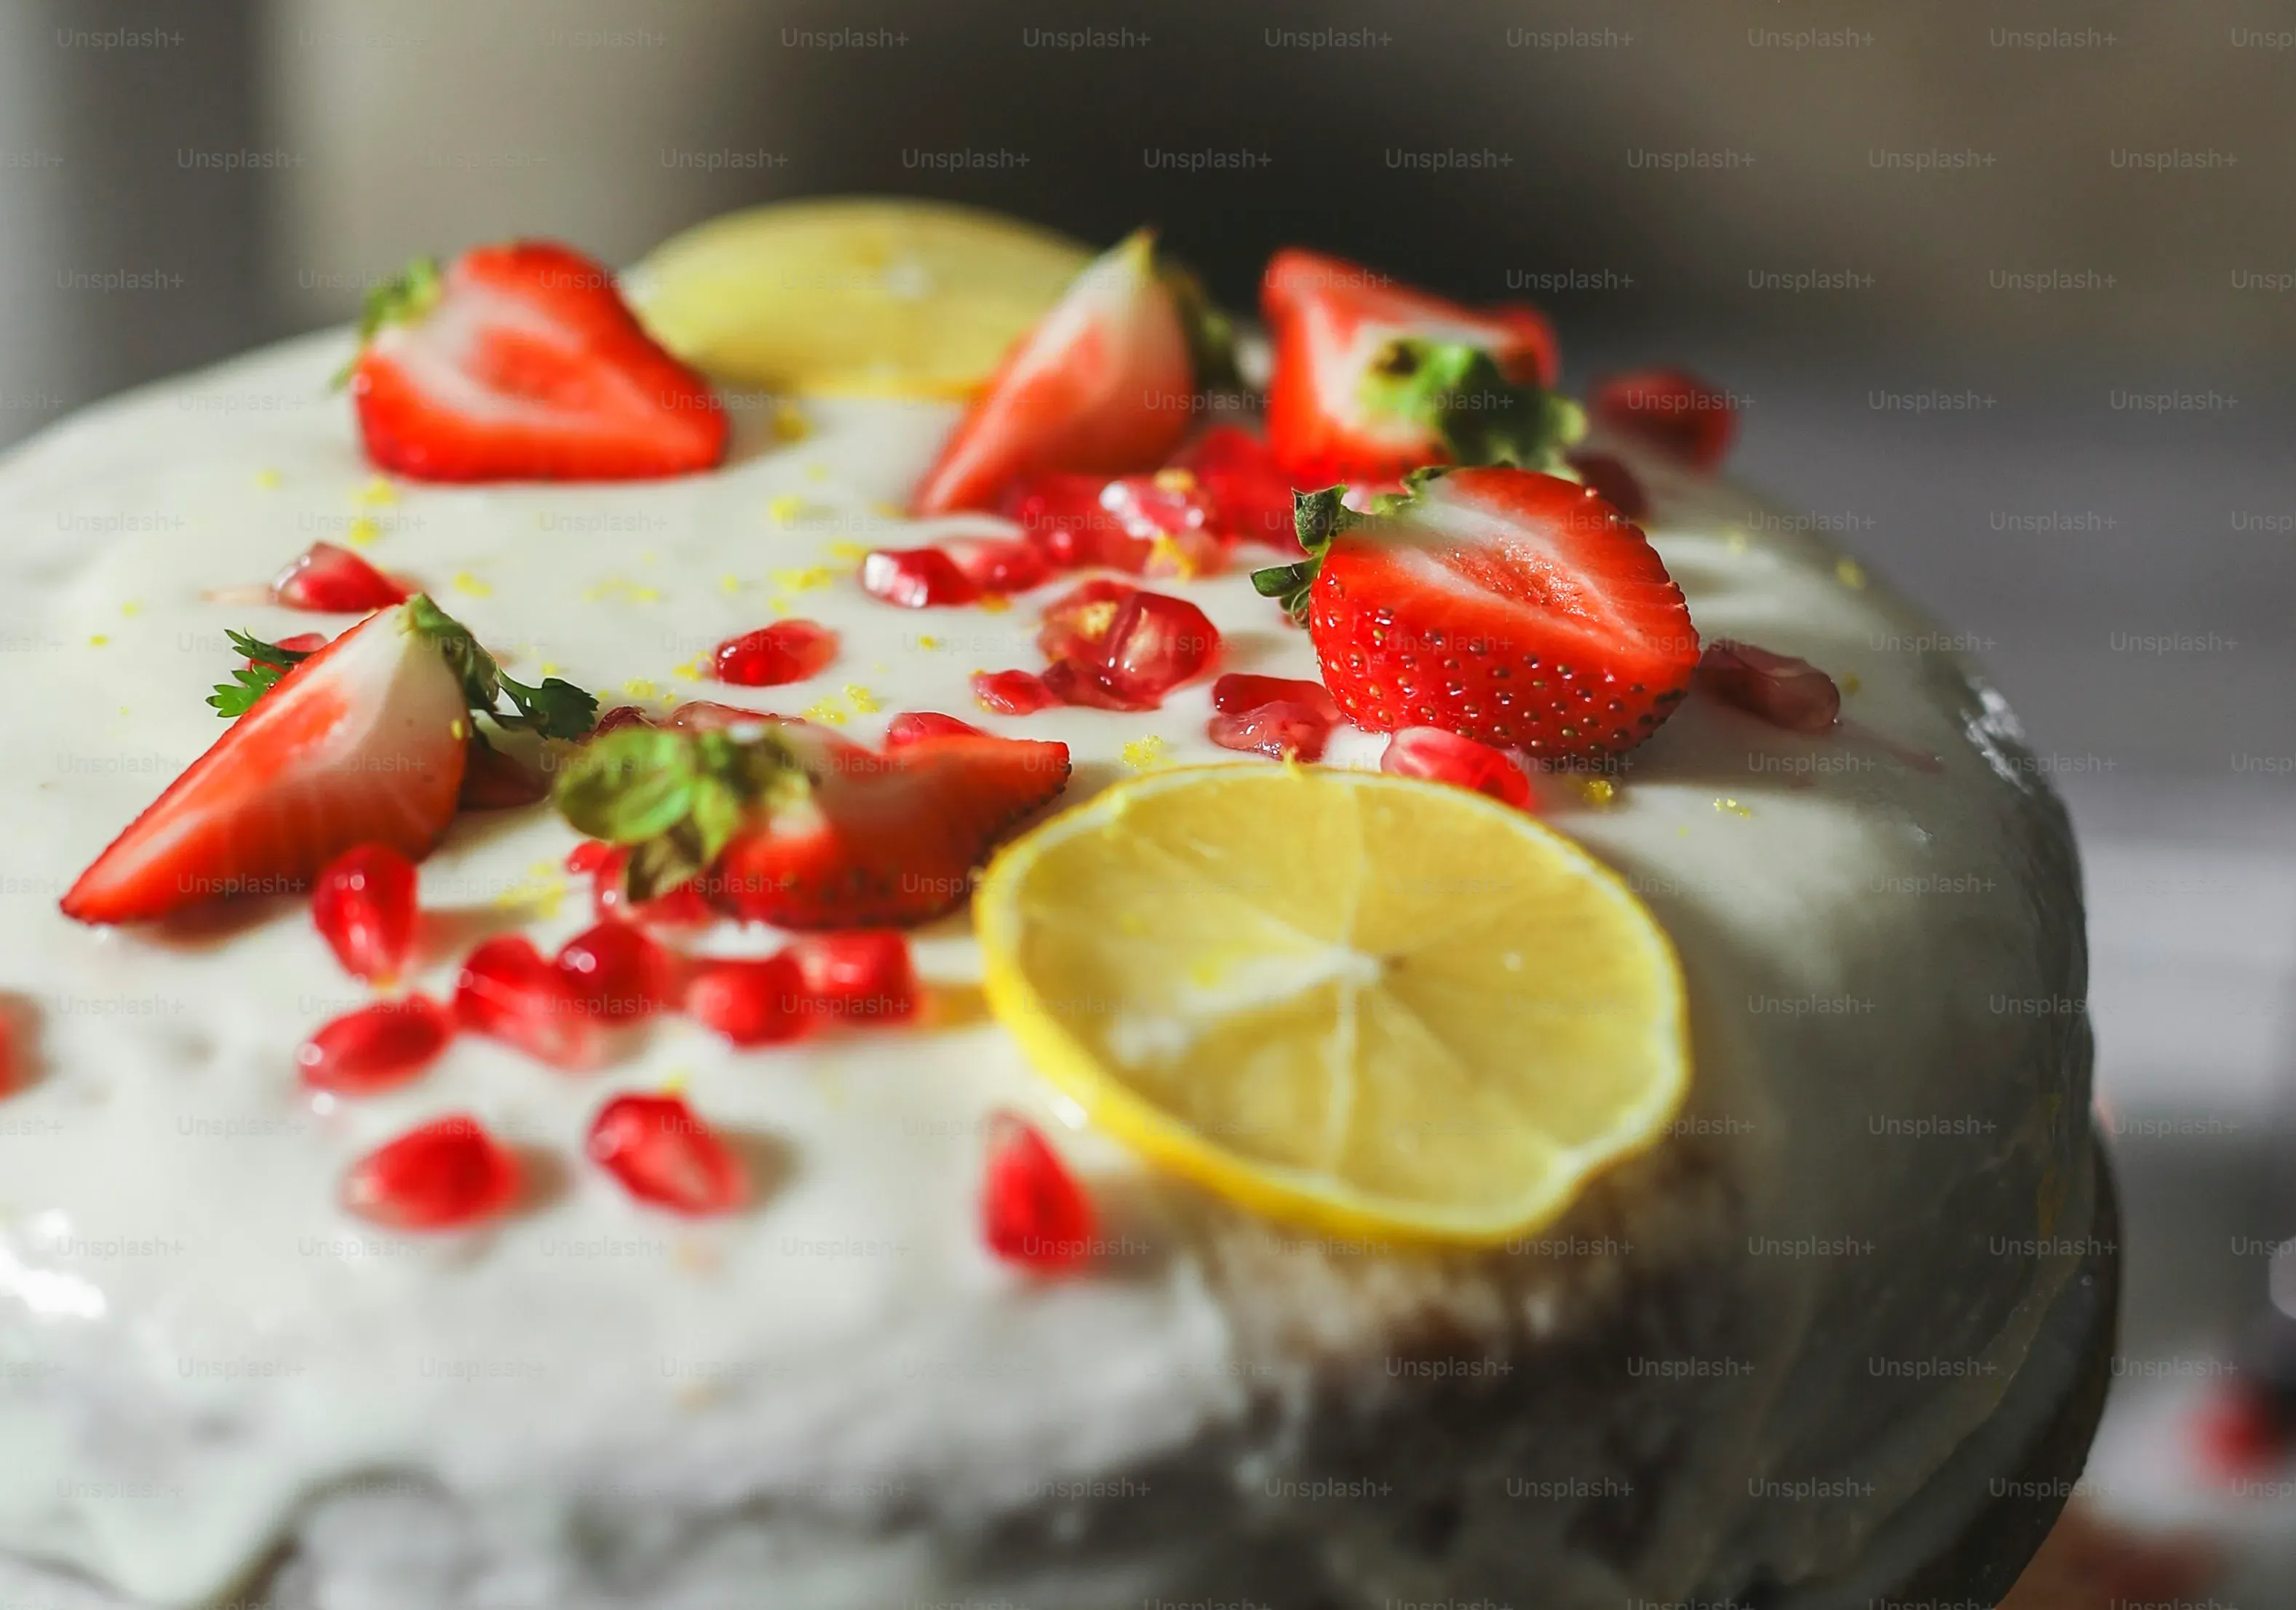
Fresh berries add a pop of color and a little tartness to cut through the richness. A drizzle of raspberry sauce? Absolutely. Or maybe just eat it plain, standing over the counter with a spoon, because sometimes self-control is overrated. The point is, the cake itself is the star, so don't bury it under too much stuff. Let that glorious molten center be the main event when you serve your 4 ingredient lava cake.
- Dust with powdered sugar.
- Add a scoop of vanilla ice cream.
- Pair with fresh berries (raspberries or strawberries work well).
- Drizzle with a fruit sauce (like raspberry).
- Serve it warm, immediately after resting and inverting.
Mix It Up and Keep It Fresh: Variations and Storage
While the beauty of the 4 ingredient lava cake is its simplicity, there's always room for a little tweak. Feeling fancy? Add a tiny splash of vanilla extract to the batter with the eggs. It's technically a fifth ingredient, but some folks don't count extracts. A pinch of sea salt sprinkled on top before serving can really enhance the chocolate flavor. If you're feeling adventurous and have it on hand, a teaspoon of espresso powder melted with the chocolate can deepen the richness without adding a coffee flavor.
Now, about leftovers. This dessert is definitely best eaten fresh, straight out of the oven. That molten center is at its peak performance then. However, if you do end up with uneaten cakes (a rare occurrence, I know), let them cool completely. Store them in an airtight container in the refrigerator for up to three days. To reheat, a quick zap in the microwave (like 20-30 seconds) can bring back some of the molten magic, but it might not be quite as dramatic as the first go-around. Consider them delicious, slightly-less-lava chocolate cakes the next day.
Your New Go-To Dessert? Probably.
So there you have it. The 4 ingredient lava cake. No fancy whisking techniques, no obscure ingredients you'll use once and forget about. Just a few basic items standing between you and a serious chocolate fix. It’s almost suspiciously easy, right? Like someone forgot to tell you about the hard part. But there isn't one. This isn't just a recipe; it's permission to indulge without spending an hour in the kitchen. Next time a chocolate craving hits, or you need a quick win for dessert, remember this simple truth: sometimes, less really is more. Especially when that 'more' is molten chocolate.