Table of Contents
Ever find yourself craving a slice of chocolate cake but don't want to bake a huge one? I get it. Sometimes, you just need a little something sweet, and that's where this 4 chocolate cake recipe comes in. This isn't your average, massive layer cake; instead, it's a perfectly portioned, delightfully moist treat that's ideal for a small celebration, a cozy night in, or even just because you deserve it. This recipe will guide you through making three adorable 4-inch cake layers (or two 6-inch ones). We will explore ingredient swaps, because sometimes you are out of eggs, or want to make it gluten free. Then I'll give you my best tips for baking a perfect small cake, from prepping the pans to leveling the layers. I will also give you my advice for making these layers in advance, and how to store your cake. So, let's grab our aprons and get baking!
Easy 4Inch Chocolate Cake Recipe Details
Easy 4Inch Chocolate Cake Recipe Details
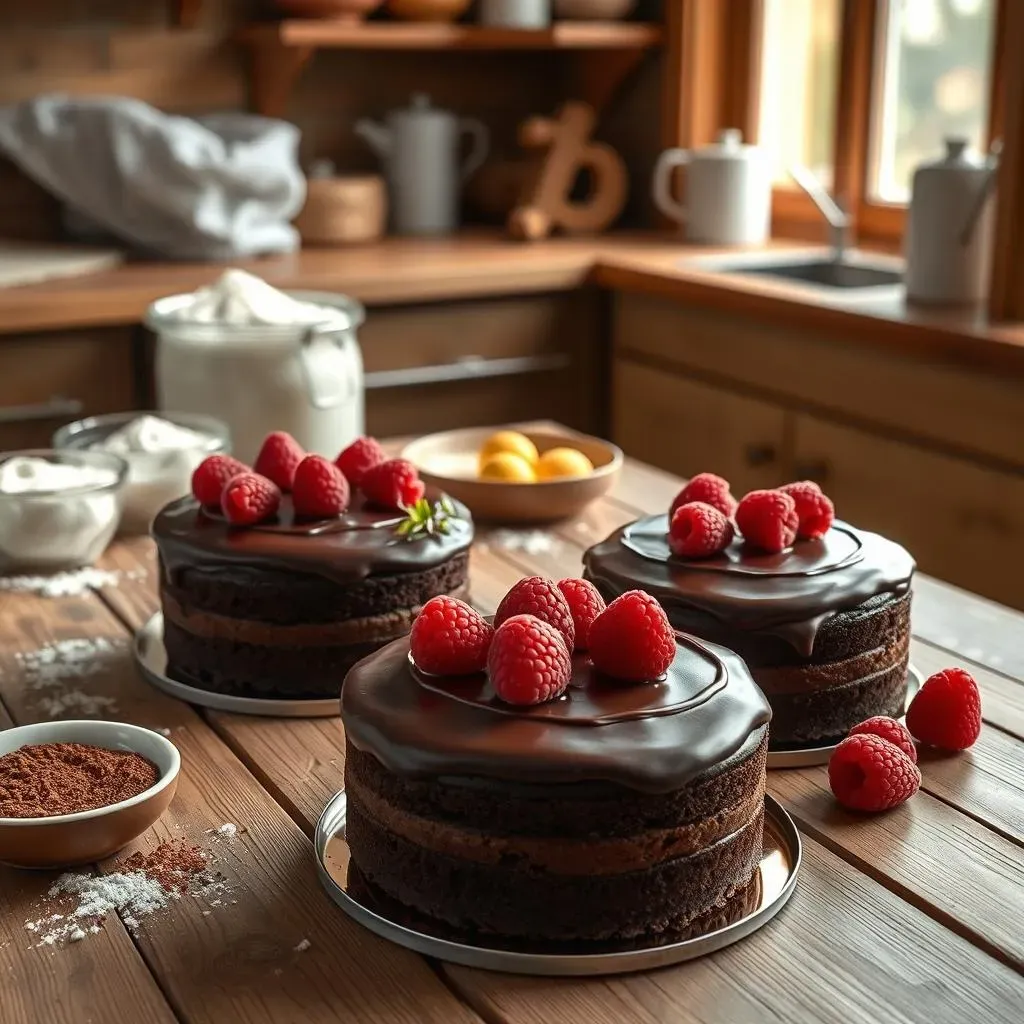
Alright, let's get into the nitty-gritty of this easy 4-inch chocolate cake recipe. First off, you won't believe how simple this is. We're talking one bowl, people! That's right, less mess and more cake. The base of this recipe is pretty standard: flour, sugar, cocoa powder, baking powder, and salt. But, we're adding melted butter and oil to the mix, which is the secret to that super moist texture. The batter will be quite thin – don't freak out! It's supposed to be. This thin batter is what makes for a light and fluffy cake, it's not going to be a dense brick, I promise! We're pouring it into either three 4-inch pans or two 6-inch pans. If you don't have those, you can use a muffin tin to make cupcakes instead. Bake time is about 25-30 minutes for the small cakes, or around 30-35 minutes for the 6-inch ones, or 18-20 for cupcakes. Just keep an eye on them, and when a toothpick comes out clean, you're good to go.
Ingredient Swaps for Your 4 Chocolate Cake
Ingredient Swaps for Your 4 Chocolate Cake
Flour Power: Gluten-Free and More
Okay, so you're staring at your pantry and realize you're out of all-purpose flour, or maybe you're trying to avoid gluten. No sweat! This 4 chocolate cake recipe is surprisingly flexible. For a gluten-free version, swap in a gluten-free flour blend. But, here's the secret trick to make it work: over-mix the batter, and then let it rest for about 30 minutes before you bake it. This allows the gluten-free flours to fully hydrate and gives your cake a good structure. If you're just out of regular all-purpose, you could try cake flour for a lighter crumb, or even a mix of all-purpose and whole wheat for a slightly denser, nuttier flavor. Don't worry, your cake is going to be delicious!
Let's talk about sugar now. The recipe calls for granulated sugar, but what if you're trying to reduce refined sugar? You can totally swap in coconut sugar or even maple syrup. If you're using maple syrup, reduce the liquid in the recipe by a couple of tablespoons to account for the extra moisture. And if you're using coconut sugar, it might give the cake a slightly more caramel-like flavor, which is never a bad thing.
Ingredient | Swap Options | Notes |
|---|---|---|
All-Purpose Flour | Gluten-Free Blend, Cake Flour, Whole Wheat (mix) | Over-mix and rest for gluten-free, cake flour for lighter crumb. |
Granulated Sugar | Coconut Sugar, Maple Syrup | Reduce liquid for maple syrup, coconut sugar for caramel flavor. |
Butter | Coconut Oil, Vegan Butter | Use melted coconut oil, vegan butter for dairy-free. |
Dairy and Egg Alternatives
Now, let's talk about the dairy and eggs. If you're dairy-free, you can easily swap the melted butter for melted coconut oil or a vegan butter alternative. The flavor will be slightly different, but still delicious. For the buttermilk, if you're out or trying to avoid dairy, you can make your own by adding a tablespoon of lemon juice or vinegar to regular milk or non-dairy milk like almond, soy, or oat, and let it sit for five minutes. For the eggs, if you're vegan, you can use applesauce or mashed banana as a binder. About 1/4 cup of applesauce or mashed banana is a good substitute for one egg. Keep in mind, using banana will give a slight banana flavor to your cake.
Finally, let's talk about cocoa powder. This is where you can really play around with the flavor. If you have Dutch-processed cocoa, it will give a darker, richer flavor. If you only have regular unsweetened cocoa, that works perfectly fine too. And if you're feeling adventurous, you could even try a mix of both!
Tips for Baking the Best 4Inch Chocolate Cake
Tips for Baking the Best 4Inch Chocolate Cake
Alright, let's talk about how to make this 4-inch chocolate cake recipe truly shine. First things first: prepping your pans. Don't skip this step! Grease them well, and then dust them with cocoa powder instead of flour. This will prevent any white residue from sticking to your cake and will give a more chocolatey look. Parchment paper rounds at the bottom are also a lifesaver, making it easy to remove the cake once it’s baked. Now, for the batter: don't overmix it. Overmixing develops the gluten and makes the cake tough. Mix until just combined, and that's it. Also, make sure your oven is preheated and at the right temperature. An oven thermometer is your best friend here because ovens can be temperamental and lie to you sometimes. And lastly, don't open the oven door too early when baking, that can cause the cake to collapse.
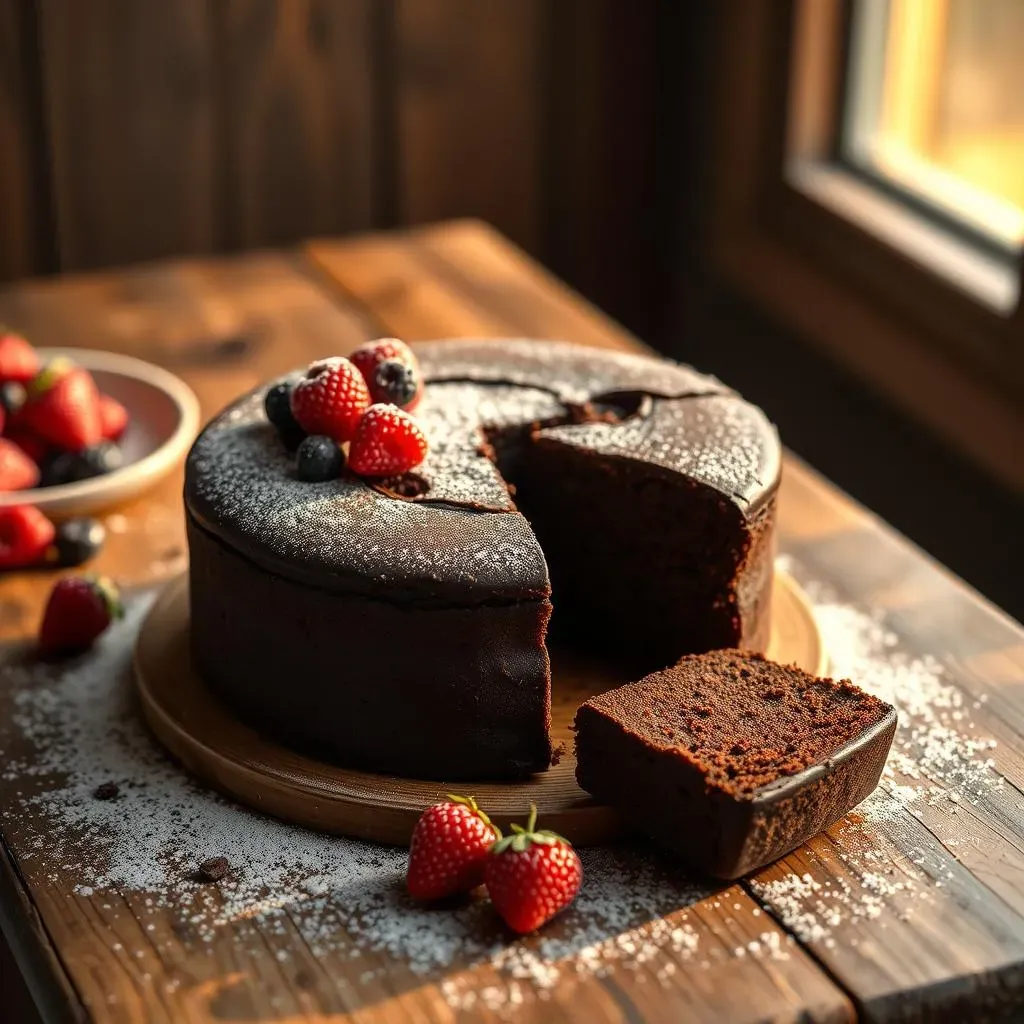
Another pro tip? Once the cake layers are fully cooled, level them using a serrated knife. This will give you a flat surface to stack and frost, so your cake won’t look like the leaning tower of Pisa. Speaking of frosting, chill your cake layers in the freezer for about 20 minutes before you start assembling. This will make them much easier to handle and frost. It's like a little spa treatment for your cake, and makes it stable. And hey, don't stress too much about making it perfect. Embrace the imperfections, they make your cake unique. This cake is all about having fun and enjoying the process, and the taste of course!
Tip | Why it Matters |
|---|---|
Grease and Cocoa Dust Pans | Prevents sticking and no white residue. |
Parchment Paper Rounds | Easy cake removal. |
Don't Overmix Batter | Avoids tough cake. |
Use an Oven Thermometer | Ensures correct baking temperature. |
Level Cake Layers | For flat and stable stacking. |
Chill Layers Before Frosting | Easier to handle and frost. |
MakeAhead and Storage Advice for Small Chocolate Cake
MakeAhead and Storage Advice for Small Chocolate Cake
Baking Ahead: Your Secret Weapon
Okay, so you're planning a party or just want to get ahead of the game? This small chocolate cake recipe is perfect for that! You can absolutely bake the cake layers in advance. Once they are completely cooled, wrap each layer tightly in plastic wrap, and then put them in a freezer bag. They can hang out in your freezer for up to 3 months. When you're ready to assemble your cake, just take them out of the freezer and let them thaw for a bit. I usually let them sit at room temperature for about 30 minutes before I start frosting, so they're not rock solid. It's like a little time capsule of deliciousness waiting for you.
Frosting and Final Touches
The frosting is also very make-ahead friendly. The chocolate buttercream frosting can be made a few days before you need it. Just store it in an airtight container in the fridge for up to a month. When you're ready to use it, just let it come to room temperature and give it a good mix to fluff it up again. If you want to store the frosted cake, it can last in the fridge for up to a week. But, if you want to keep it longer, you can freeze the frosted cake for up to a month. Just make sure it's well-wrapped, I do a layer of plastic wrap and then foil to protect it. When you want to eat it, put it in the fridge to defrost overnight or on the counter for a few hours.
Component | Make-Ahead Time | Storage Method |
|---|---|---|
Cake Layers | Up to 3 Months | Wrapped tightly and frozen |
Frosting | Up to 1 Month | Airtight container in fridge |
Frosted Cake | Up to 1 Week in fridge, 1 Month in freezer | Wrapped well in fridge or freezer |
Serving and Decorating
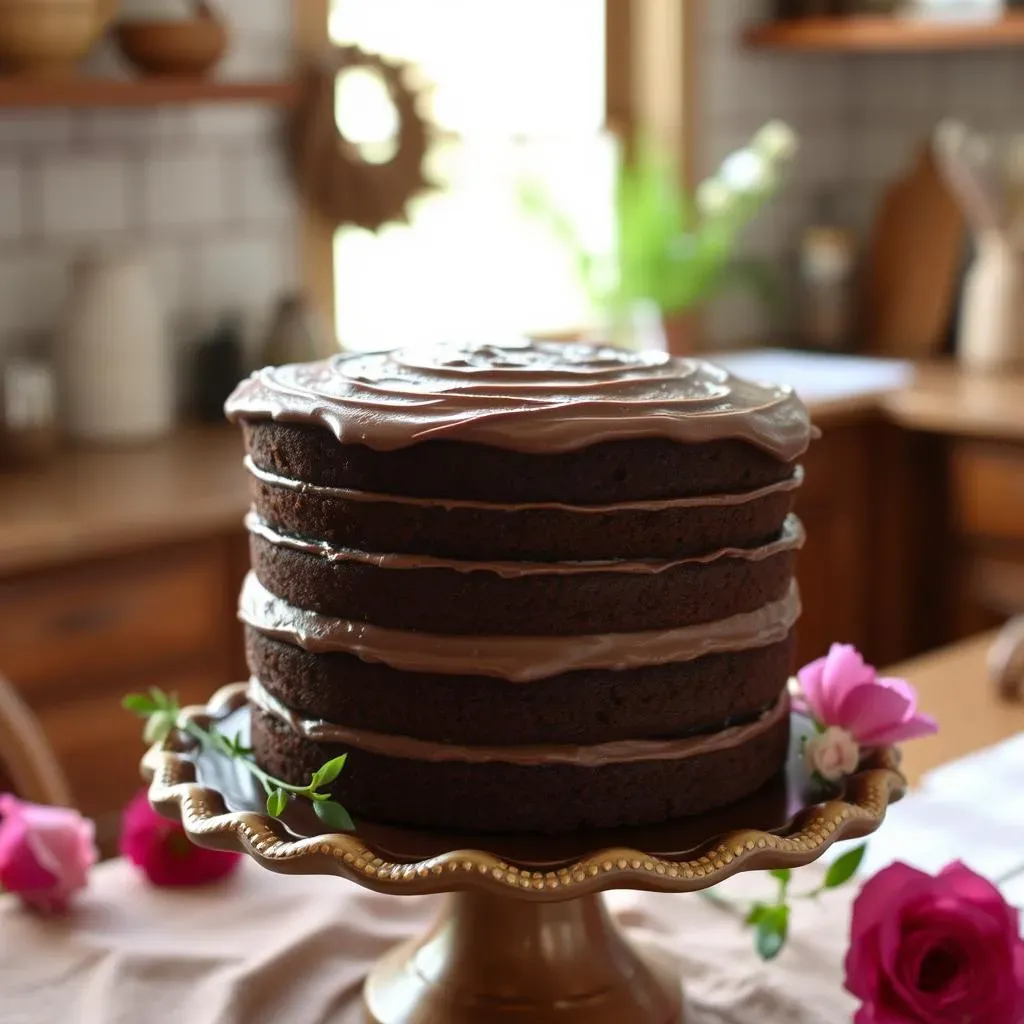
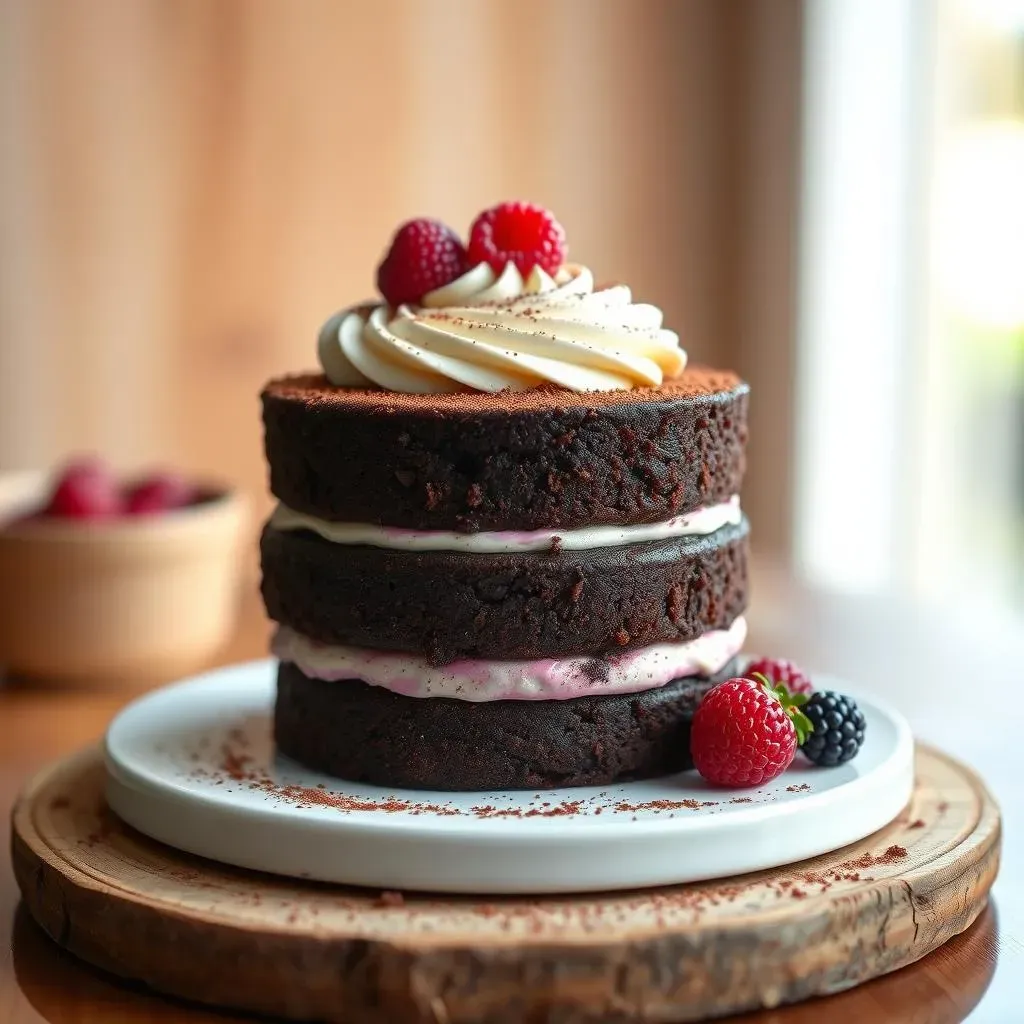
When you're ready to serve your cake, you can decorate it however you like. I'm a big fan of a textured buttercream look, it's super easy. Just use a spatula to create swirls and peaks. If you want a more classic look, you can smooth it out and make it elegant. You can also add sprinkles, chocolate shavings, or fresh berries for an extra touch. This cake is perfect for a small birthday party, a date night, or just a treat for yourself. I've made this cake for so many occasions and it's always a hit. It's the perfect size, and it's so easy to make, you'll be baking it all the time! Don't overthink it; just have fun, and enjoy your delicious homemade cake!
Wrapping Up Your 4-Inch Chocolate Cake Adventure
So there you have it, a complete guide to making your very own perfect 4-inch chocolate cake. This small but mighty cake recipe is not only easy to make but also customizable to your preferences. Whether you're swapping out ingredients, freezing layers for later, or perfecting your frosting swirls, remember that baking should be fun. With this recipe, you’re equipped to whip up a delightful treat anytime the craving hits, without the hassle of a huge cake. Enjoy every delicious bite, and happy baking!